Setting the clock, Notes, To display the date or time – Sony PCM-R500 User Manual
Page 8: For more accurate time recordings, Getting started
Attention! The text in this document has been recognized automatically. To view the original document, you can use the "Original mode".
Getting Started
Setting the Clock
Your deck has a built-in clock to keep track of the
current date and time. Once you set the date and time
by the menu settings, this information will be recorded
on the tape along with the audio signal during
recording, allowing you to check the recording date
time of the tape during playback at a later time.
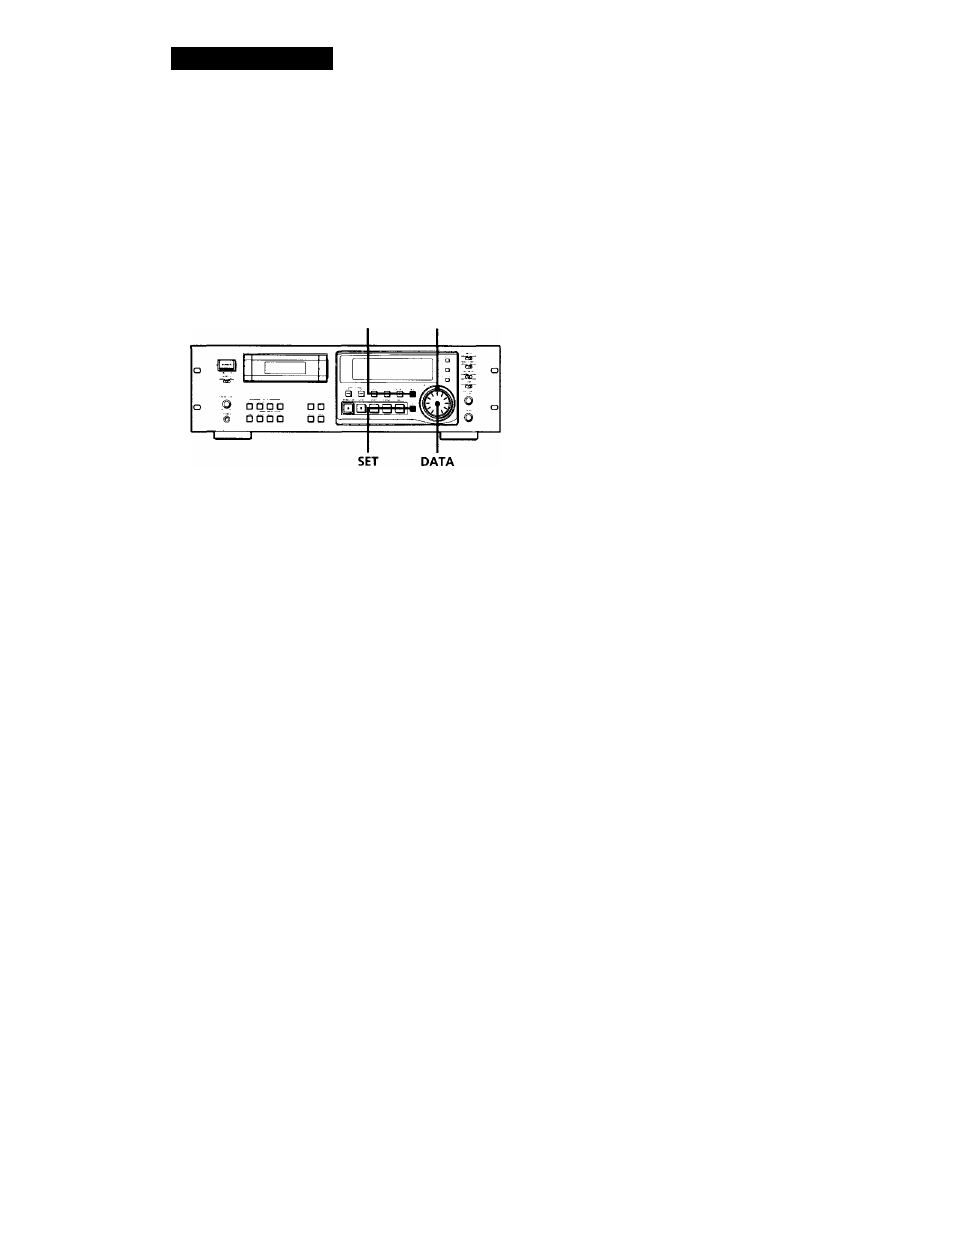
MENU SHUTTLE
Notes
• When you first set the clock after unpacking the deck,
" '---------- " will appear when you press the SET button in
step 3. This is normal. Set the clock according to the
procedures above.
• Your deck uses a back-up battery to keep the clock
running when the power is turned off. The life of the
battery under normal use is approximately seven years.
When the battery starts to run down, the clock will stop
operating normally. When this occurs, have the battery
replaced (for a fee) at your dealer or nearest Sony Service
Center .
1
With the deck stopped, press MENU.
The menu appears in the display.
2
Turn SHUTTLE to display the "CLK-SET" menu.
3
Turn DATA to display "on" and press SET.
The year indication flashes.
4
Turn DATA to decrease or increase the displayed
year, then press SET.
The year indication stops flashing and the month
indication begins to flash.
’96'-:itei9 sp
5
Repeat step 4 until all items have been set.
After setting the seconds, press SET to start the
clock.
The day of the week is set automatically and is
displayed as follows:
Sunday: "SU", Monday: "MO", Tuesday: "TU",
Wednesday: "WE", Thursday: "TH", Friday: "FR",
Saturday: "SA".
To display the date or time
See "About the Display" on page 16.
Q’
You can specify the format (12-hour or 24-hour) for
the time display, and display order for the date
display.
For details, see "ODER" or "DATEHOUR" on page 25.
For more accurate time recordings
Adjust the clock once a week.
8"