Connecting the l.p. gas cylinder – Vermont Casting Gas Grill User Manual
Page 20
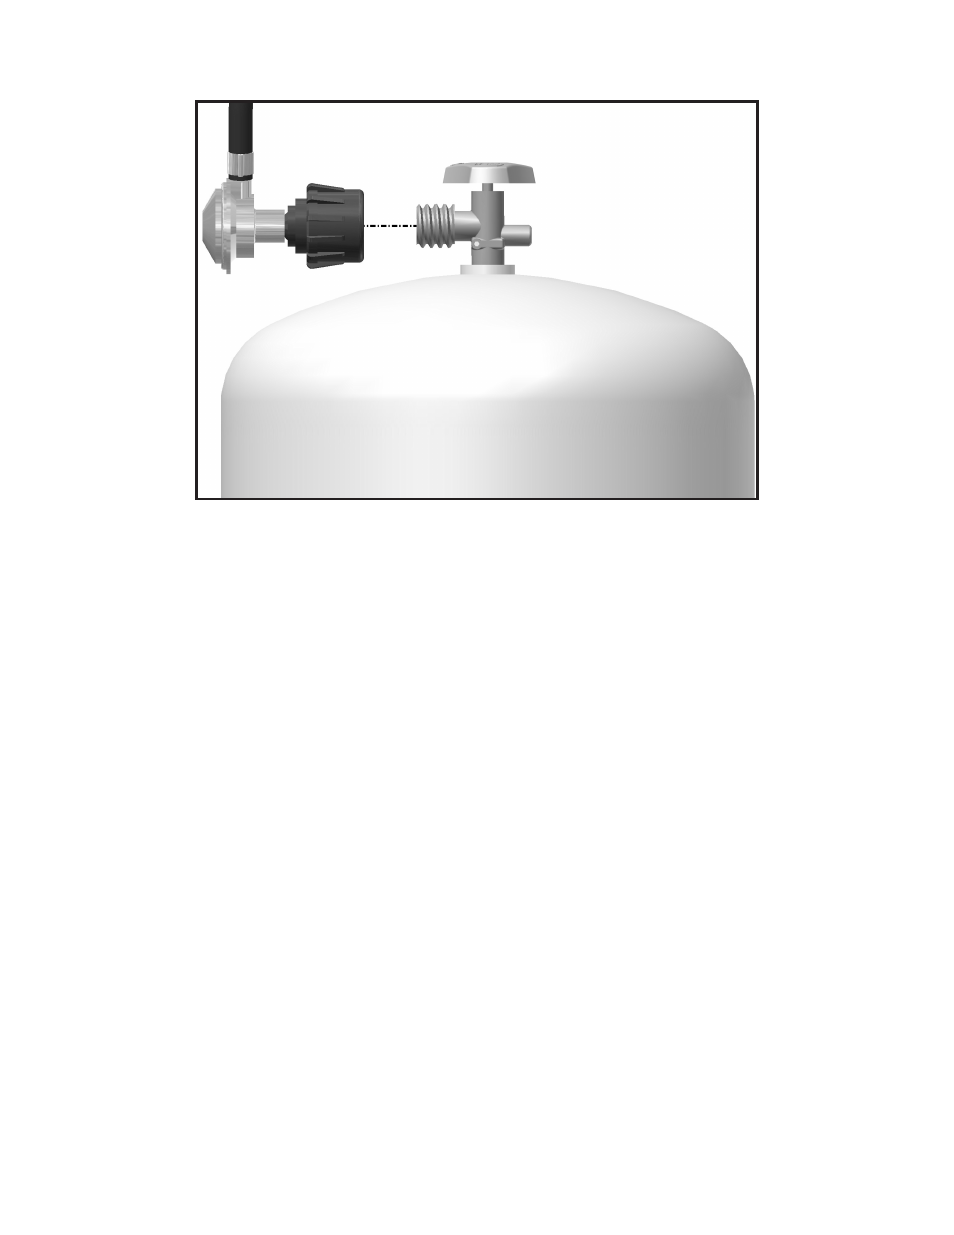
Connecting the Regulator to Cylinder
1. The top knob on the supply cylinder must
be closed. See that the top cylinder knob is
turned clockwise to a full stop.
2. Check that all the grill burner knobs are
turned off.
3. Remove the protective caps from the
cylinder valve and coupling nut, if present.
4. Hold the regulator in one hand and insert
the nipple into the valve outlet. Be sure the
nipple is centered in the valve outlet. The
coupling nut connects to the large outside
threads on the valve outlet. Use care not to
cross thread the connection.
5. Hand tighten the coupling nut clockwise
until it comes to a full stop. Tighten by hand
only. Do not use tools.
6. CAUTION: In the connection process,
the grill side of the connection will seal on
the back check in the valve, resulting in a
slight resistance. The connection requires
about one-half to three-quarters additional
turn to complete the connection.
20
Connecting the L.P. Gas Cylinder
NOTE: If you cannot complete the final
connection, disconnect the regulator and
repeat steps 4 through 6. If you are still
unable to complete the connection, do not
use this valve and regulator.
7. Make sure the hose has no kinks or
sharp bends and clears any areas that will
become hot during use. Never put strain on
the hose where it joins a fitting. The rubber
fuel supply hose must not touch the bottom
grill casting during use.
8. Before lighting grill, check all connections
for leaks using a mild soapy-water solution.
9. Make sure the grease pan is in place
before operating. If the grease pan is not in
place, hot grease and debris will fall on the
gas cylinder and may cause damage to the
fuel supply system.
Tank collar omitted for clarity