Rear i/o assembly, Removing the back i/o assembly, Replacing the back i/o assembly – Dell Vostro 320 (Mid 2009) User Manual
Page 20
Back to Contents Page
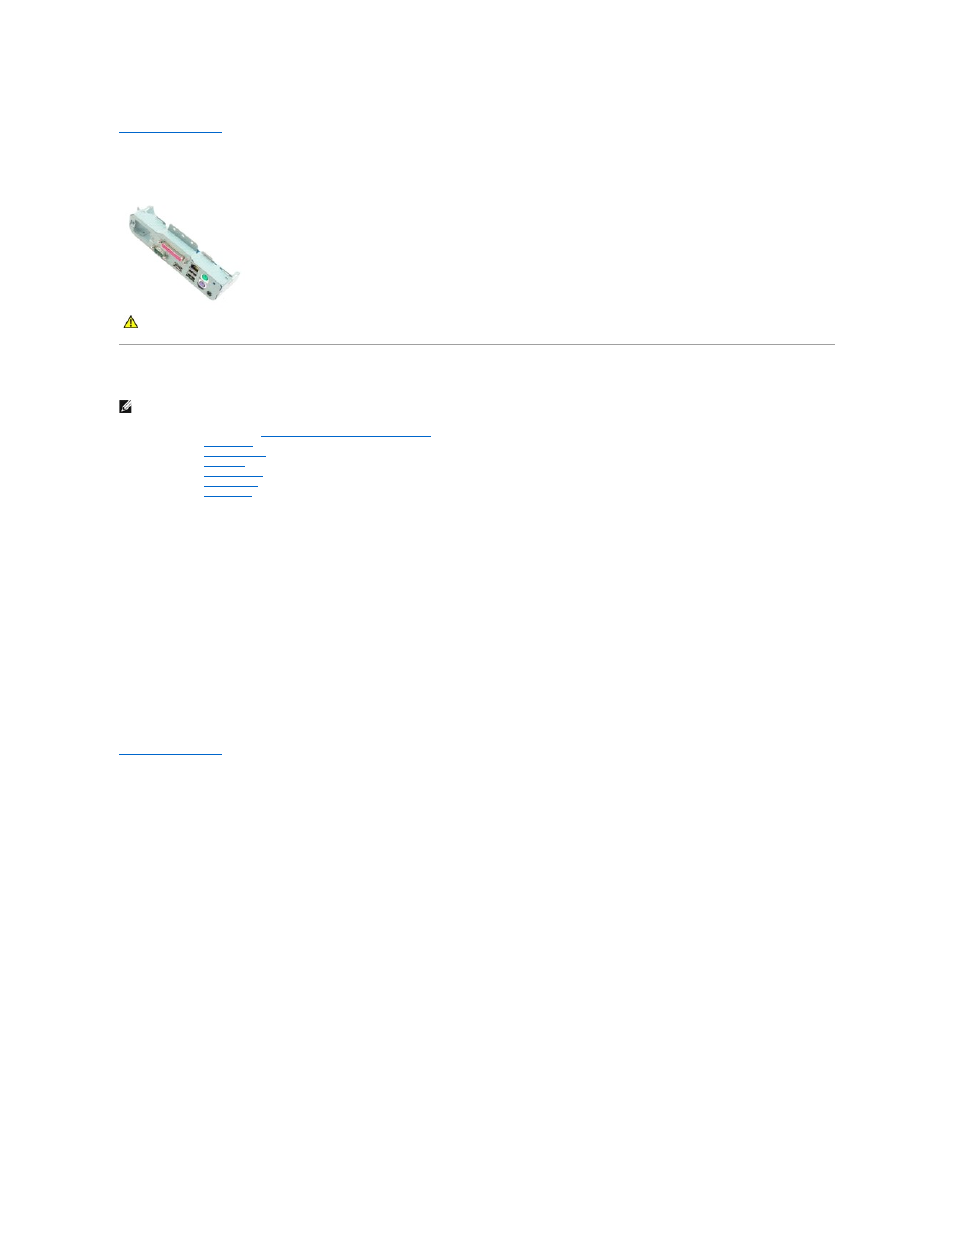
Rear I/O Assembly
Dell™ Vostro™ 320 Service Manual
Removing the Back I/O Assembly
NOTE:
You may need to install Adobe® Flash® Player from Adobe.com to view the following illustrations.
1.
Follow the procedures in
Before Working Inside Your Computer
.
2.
Remove the
front panel
.
3.
Remove the
internal panel
.
4.
Remove the
I/O cover
.
5.
Remove the
hinged stand
.
6.
Remove the
optical drive
.
7.
Remove the
back cover
.
8.
Remove the screws that secure the back I/O assembly to the computer.
9.
Carefully rotate the assembly away from the computer.
10.
Disconnect the USB cable, I/O cable, and system-board fan cable from the I/O panel.
11.
Lift the back I/O assembly away from the computer.
Replacing the Back I/O Assembly
To replace the back I/O assembly, perform the above steps in reverse order.
Back to Contents Page
WARNING:
Before working inside your computer, read the safety information that shipped with your computer. For additional safety best
practices information, see the Regulatory Compliance Homepage at www.dell.com/regulatory_compliance.