Graphics card assembly, Removing the graphics card assembly, Replacing the graphics card assembly – Dell Inspiron 1521 (Mid 2007) User Manual
Page 33
Back to Contents Page
Graphics Card Assembly
Dell™ Vostro™ 1500 and Inspiron™ 1520/1521 Service Manual
Removing the Graphics Card Assembly
Replacing the Graphics Card Assembly
Removing the Graphics Card Assembly
1.
Follow the instructions in
Before You Begin
.
2.
Remove the optical drive (see
Removing the Optical Drive
).
3.
Remove the hard drive (see
Removing the Hard Drive
).
4.
Remove the hinge cover (see
Removing the Hinge Cover
).
5.
Remove the keyboard (see
Removing the Keyboard
).
6.
Remove the display assembly (see
Removing the Display Assembly
).
7.
Remove the internal card with Bluetooth wireless technology, if installed (see
Removing the Bluetooth Card
).
8.
Remove the palm rest (see
Removing the Palm Rest
).
9.
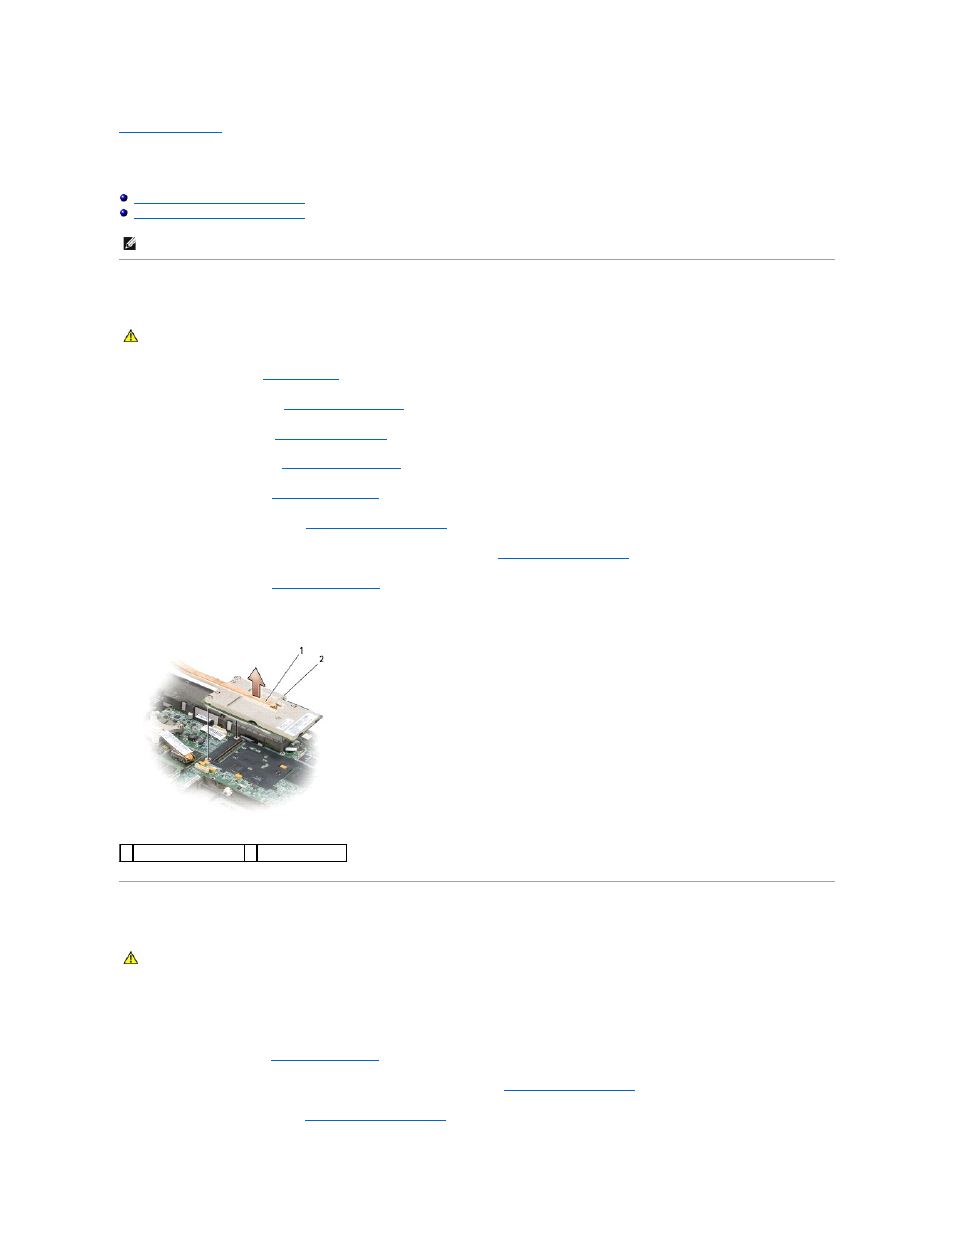
In sequential order, loosen the three captive screws that secure the graphics card assembly to the system board, then carefully lift the assembly out of
the computer.
Replacing the Graphics Card Assembly
1.
Align the three captive screws on the graphics card assembly with the screw holes on the system board.
2.
In sequential order, tighten the three captive screws to secure the graphics card assembly to the system board.
3.
Replace the palm rest (see
Replacing the Palm Rest
).
4.
Replace the internal card with Bluetooth wireless technology, if applicable (see
Replacing the Bluetooth Card
).
5.
Replace the display assembly (see
Replacing the Display Assembly
).
NOTE:
The graphics card assembly is available as an option on the Vostro 1500 and Inspiron 1520 only.
CAUTION:
Before you begin the following procedure, follow the safety instructions in the Product Information Guide.
1 graphics card assembly 2 captive screws (3)
CAUTION:
Before you begin the following procedure, follow the safety instructions in the Product Information Guide.