Replacing the system board – Dell Dimension C521 User Manual
Page 31
5.
Make a note of where each memory module(s) is installed so that you can reinstall the memory module(s) in the same connector.
6.
Remove the processor and heat sink assembly. See
.
7.
Remove the fan assemble. See
.
8.
Disconnect all cables from the system board.
9.
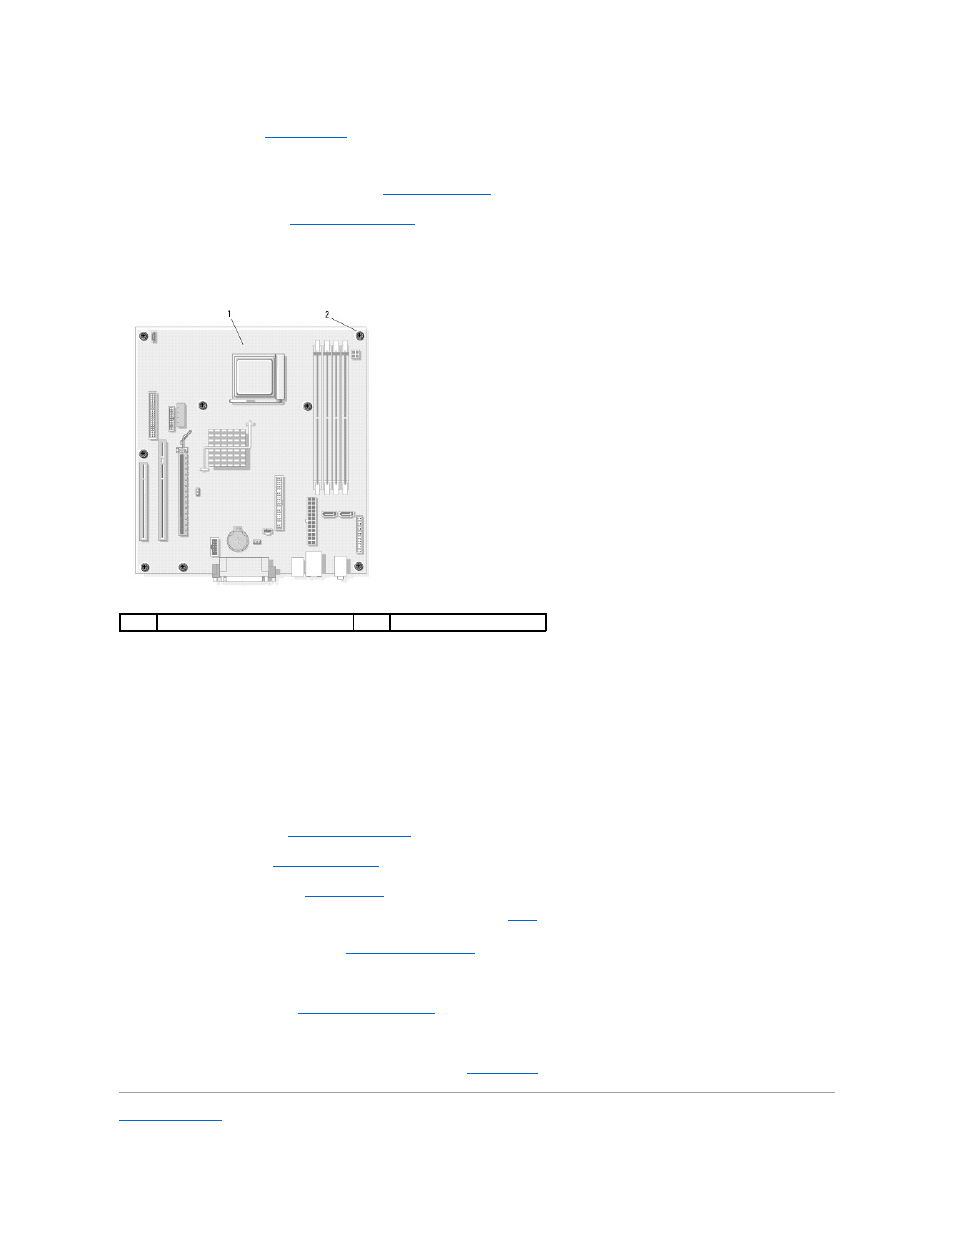
Remove the eight screws from the system board.
10.
Slide the system board assembly toward the front of the computer, and then lift the board up and away.
Place the system board assembly that you just removed next to the replacement system board to ensure it is identical.
Replacing the System Board
1.
Gently align the system board into the chassis and slide it toward the back of the computer.
2.
Using the eight screws, secure the system board to the chassis.
3.
.
4.
.
5.
Replace the memory modules. See
.
Ensure that you install the memory modules in the same connectors as noted in
6.
Replace any removed expansion cards. See
7.
Replace any other components and cables that you removed from the system board.
8.
Replace the computer cover. See
Replacing the Computer Cover
.
9.
Connect your computer and devices to electrical outlets, and turn them on.
10.
Verify the computer is operational by running the Dell Diagnostics. See
Dell Diagnostics
.
Back to Contents Page
1
system board
2
screws (8)