Funcionamiento, Safety instructions for charger and batteries – Campbell Hausfeld DG141900CD User Manual
Page 3
30 Sp
Funcionamiento
(Continuación)
La dirección de rotación puede
revertirse para ayudar a liberar una
broca atascada. Asegúrese de
REAJUSTAR la dirección de rotación
antes de intentar seguir perforando.
7. Reduzca la presión en el taladro
justo antes de que la broca corte a
través del trabajo para evitar astillar
la madera o que se ahogue en el
metal.
8. Cuando la broca haya penetrado el
trabajo por completo y esté girando
libremente, retírela del trabajo
mientras el motor aún está en
funcionamiento, luego apague el
taladro.
CÓMO PERFORAR MADERA
Además de las instrucciones
enumeradas bajo la sección
PERFORACIÓN GENERAL, lo siguiente
también se aplica:
1. Cuando utilice una broca helicoidal
en madera, retírela frecuentemente
del orificio para quitar las láminas
que se acumulan en las estrías. Esto
ayuda a evitar que el trabajo se
recaliente o se queme.
2. Si se utiliza un bloque de apoyo
para que la parte trasera del trabajo
no se astille, sujételo en su lugar en
forma segura. Si no se usa un
bloque de apoyo con brocas de
paleta o sierras para orificios, libere
presión tan pronto como la punta
de la broca atraviese el trabajo y
complete el orificio desde el lado
opuesto.
CÓMO PERFORAR METAL
Además de las instrucciones
enumeradas bajo la sección
PERFORACIÓN GENERAL, lo siguiente
también se aplica:
1. Use únicamente brocas helicoidales
de acero para alta velocidad, de
buena calidad y afiladas cuando
perfore metal.
2. Comience a perforar con una
velocidad lenta y aumente
paulatinamente la velocidad a
medida que el taladro va cortando.
Cuanto más duro sea el material,
necesitará una velocidad más baja.
Cuanto más blando sea el material,
necesitará una velocidad más alta.
3. Cuando perfore un orificio grande,
es más fácil perforar primero un
orificio pequeño y después
agrandarlo al tamaño necesario.
4. El uso de un lubricante, como el
aceite, en la punta del taladro,
ayuda a mantener la broca fría,
aumenta la acción de perforación y
prolonga la vida útil de la broca.
CÓMO ATORNILLAR TORNILLOS
PARA MADERA
1. Perfore orificios piloto y orificios de
paso. Consulte la tabla denominada
“Tamaño sugerido de orificios para
tornillos para madera".
2. Instale la broca adecuada para el
destornillador.
3. Establezca la presión ajustando el
anillo para la torsión deseada y
coloque el selector de velocidad en
“1”, la configuración de baja
velocidad.
4. Ajuste el taladro para una rotación
correcta.
5. Introduzca con sus dedos el tornillo
en línea recta en el orificio.
6. Coloque la broca sobre el tornillo,
active el destornillador y aplique
presión para atornillar el tornillo.
7. Una vez que el tornillo esté en su
lugar, suelte el gatillo, y levante el
destornillador del tornillo.
8. Se podrá usar un lubricante, como
jabón o cera, sobre las roscas de los
tornillos para atornillar con más
facilidad. Esto es particularmente
importante en maderas duras.
9. La combinación de brocas para
orificios piloto, de paso y de
avellanar están disponibles en sus
casas de suministro locales, para
perforar orificios en una simple
operación.
CÓMO ATORNILLAR TORNILLOS
AUTORROSCANTES
1. Perfore un orificio piloto del
tamaño correcto según lo
recomendado por el fabricante del
tornillo para el sujetador que se
está usando.
2. Instale la broca adecuada para el
destornillador.
3. Establezca la presión ajustando el
anillo para la torsión deseada y
coloque el selector de velocidad en
“1”, la configuración de baja
velocidad.
4. Ajuste el taladro para una rotación
correcta.
5. Coloque la broca en la cabeza del
tornillo.
6. Coloque el extremo del tornillo en
el orificio perforado previamente,
retire los dedos, active el
destornillador y atornille el tornillo.
7. Una vez que el tornillo esté en su
lugar, suelte el gatillo, y levante el
destornillador del tornillo.
CÓMO ATORNILLAR TORNILLOS
PARA METALES
1. Perfore y limpie orificios del tamaño
correcto para el sujetador que usará.
2. Comience a colocar el tornillo en el
orificio con los dedos y atornille
como se indica en la sección CÓMO
ATORNILLAR TORNILLOS PARA
MADERA.
PARA QUITAR TORNILLOS
1. Configure el anillo de torsión para
la torsión máxima y coloque el
selector de velocidad en BAJA
(LOW).
2. Instale la broca adecuada para el
destornillador.
3. Ajuste el destornillador en rotación
inversa.
4. Coloque la broca en el tornillo y
active el destornillador para quitar
el tornillo.
5. Si es posible, perfore levemente la
posición donde va a taladrar
primero, para evitar que la mecha
del taladro patine.
Manual de Instrucciones y Lista de Piezas
DG141900CD
www.chpower.com
Safety Instructions
for Charger and
Batteries
Before using battery charger, read all
instructions on battery charger, battery
pack, and product.
1. A battery-operated tool with
integral batteries or a separate
battery pack must be recharged
only with the specified charger for
the battery. A charger that may be
suitable for one type of battery may
create a risk of fire when used with
another battery.
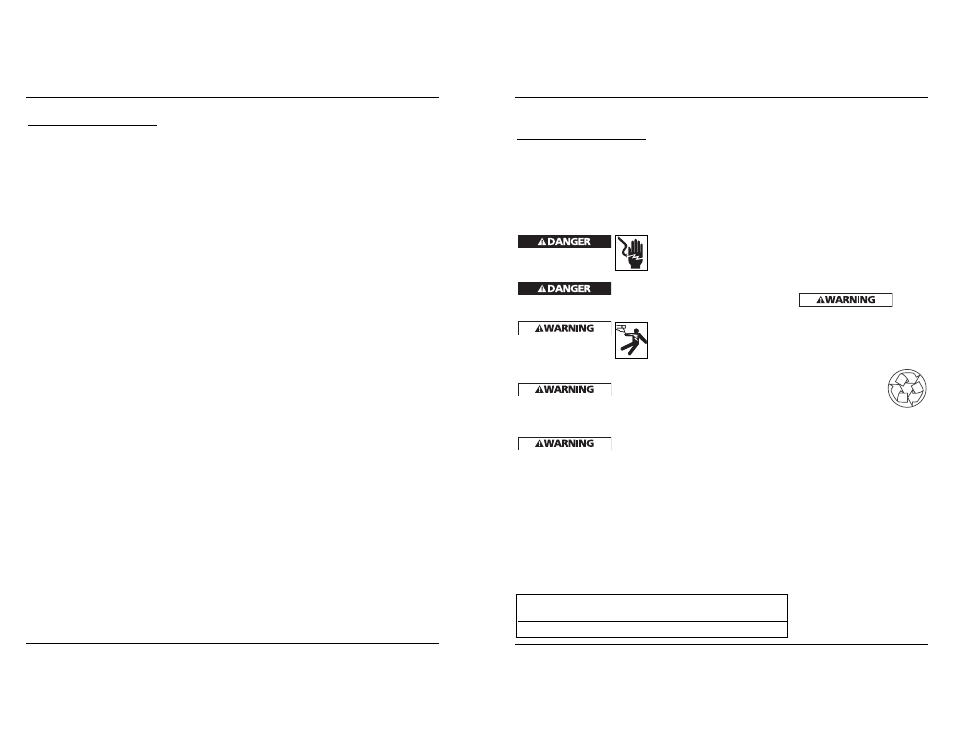
24 volts DC present at charging
terminals. Do not probe with
conductive objects. Danger of
electrical shock or electrocution.
If battery
pack case
is cracked or damaged, do not insert into
charger. Danger of electrical shock or
electrocution.
Avoid body contact with
grounded surfaces such as
pipes, radiators, ranges, and
refrigerators. There is an
increased risk of electric shock if your
body is grounded.
Charger
plugs
must match the outlet. Never modify
the plug in any way. Do not use
adapter plugs with grounded chargers.
Unmodified plugs and matching outlets
will reduce the risk of electric shock.
Do not abuse cord.
•
Never carry charger by its cord.
•
Never pull the cord to disconnect
from receptacle. Pull charger case
rather than cord when
disconnecting charger.
2. Do not operate charger with
damaged cord or plug.
• Have a damaged or worn
power cord and/or strain
relief replaced immediately.
• Do not attempt to repair
power cord.
3. Make sure cord is located so that it
will not be stepped on, tripped
over, or otherwise subjected to
damage or stress.
4. Do not operate charger if it has
received a sharp blow, been
dropped, or otherwise damaged.
Take it to a qualified serviceman.
5. Do not disassemble charger or
battery pack. Take it to a qualified
serviceman when service or repair is
required. Incorrect reassembly may
result in a risk of electric shock or
fire.
6. Do not use an extension cord unless
absolutely necessary. Use of
improper extension cord could
result in a risk of fire and electric
shock. If an extension cord must be
used, make sure:
• That the size of the cord is at
least as specified in chart titled
“Minimum Wire Size (AWG) of
Extension Cord for Battery
Charger.”
• That the pins on plug of
extension cord are the same
number, size and shape as those
of plug on charger.
• That the extension cord is
properly wired and in good
electrical condition.
• If an extension cord is to be used
outdoors it must be marked with
the suffix “W-A” or “W”
following the cord type
designation to indicate it is
acceptable for outdoor use. For
example – SJTW-A
7. Unplug charger from outlet before
attempting any maintenance or
cleaning.
8. Charge the battery pack in a well-
ventilated area. Do not allow any
object to cover the charger and/or
battery pack while charging.
9. Do not store the charger or battery
pack in locations where the
temperature may reach or exceed
105°F (40°C), such as a metal tool
shed, or a car in the summer. This
can lead to deterioration of the
storage battery.
10. For optimal charging of the battery
pack, charge it in temperatures
between 65°-75° F (18°-24°C). Do
not charge the battery pack in an
air temperature below 40°F (4° C),
or above 105°F (40° C). Charging the
battery outside of this range can
adversely affect battery
performance.
11. Do not charge battery in damp or
wet locations.
12. Do not charge battery pack if it
feels hot to the touch. Wait for it to
cool.
13. Do not expose charger to rain, snow
or frost.
14. Do not incinerate battery pack. It
can explode in a fire.
15. Battery charger is not intended for
any other uses other than charging
the rechargeable battery. Any other
uses may result in risk of fire,
electrical shock, or electrocution.
16. The charger is ventilated through
slots in the top and the bottom of
the housing. Do not block the
ventilation slots or place in a
location where ventilation slots may
become blocked. Intense heat and
risk of fire may result.
BATTERY DISPOSAL
Do not
attempt
to disassemble the battery or remove
any component projecting from the
battery terminals. Fire or injury may
result. Prior to disposal, protect
exposed terminals with heavy
insulating tape to prevent shorting.
NICKEL-CADMIUM BATTERY
• If equipped with a
nickel-cadmium
battery, the battery
must be recycled or
disposed of in an
environmentally sound
manner. Check with your county’s
Public Works Department for
information on recycling batteries.
Length of Cord in Feet
25 50 100
150
AWG Size of Cord
18 18 18 16
Minimum Wire Size (AWG) of Extension Cord for Battery Charger
3