Operation, Rotor configurations, Default user settings – Drucker Diagnostics Model 842HS Centrifuge User Manual
Page 7
OPERATION:
NOTE: Follow the initial setup procedure before initial operation.
1. Press the ‘OPEN / STOP’ button to unlock the lid and then open the centrifuge lid.
2. Turn rotor lid knob counterclockwise, and remove rotor lid.
3. Place the test tube samples into the rotor. Be sure to follow the rules for balanced loads.
4. Put the rotor lid in place and turn the lid knob clockwise until snug, do not over tighten.
THE ROTOR LID MUST BE IN PLACE BEFORE OPERATING THE CENTRIFUGE!
5. Close the centrifuge lid and turn the lid knob clockwise to its complete stop position. The
’LOCKED’ indicator light should illuminate to indicate that the latch is closed properly. If
the lid knob is not completely latched, the ‘LOCKED’ indicator light will not illuminate
and the centrifuge cannot be operated.
6. Set the desired speed and run time using the appropriate up and down arrow buttons,
or select the desired memory location.
7. If desired, adjust the braking level, acceleration rate, countdown delay, imbalance
sensitivity and audible indication. Turn to page 11 for a description of these features.
8. Begin the run by pressing the ‘START’ button on the control panel.
9. The centrifuge should begin to spin. The ‘RUNNING’ indicator light should illuminate.
IF A PROBLEM IS FOUND DURING A SPIN THAT REQUIRES THE CENTRIFUGE
TO SHUT DOWN, PRESS THE ‘OPEN / STOP’ BUTTON IMMEDIATELY!
10. After time has elapsed, the ‘RUNNING’ indicator light will extinguish and the rotor will
decelerate to a complete stop.
11. The ‘UNLOCKED’ indicator light will illuminate and the locking mechanism will
disengage, allowing entry into the rotor chamber. If the automatic unlock times out
(after 60 seconds) simply press the ‘OPEN / STOP’ button.
12. Turn the centrifuge lid knob counterclockwise and open the lid.
13. Turn rotor lid knob counterclockwise, and remove rotor lid.
14. Remove the samples.
15. The centrifuge may be used immediately.
page 7
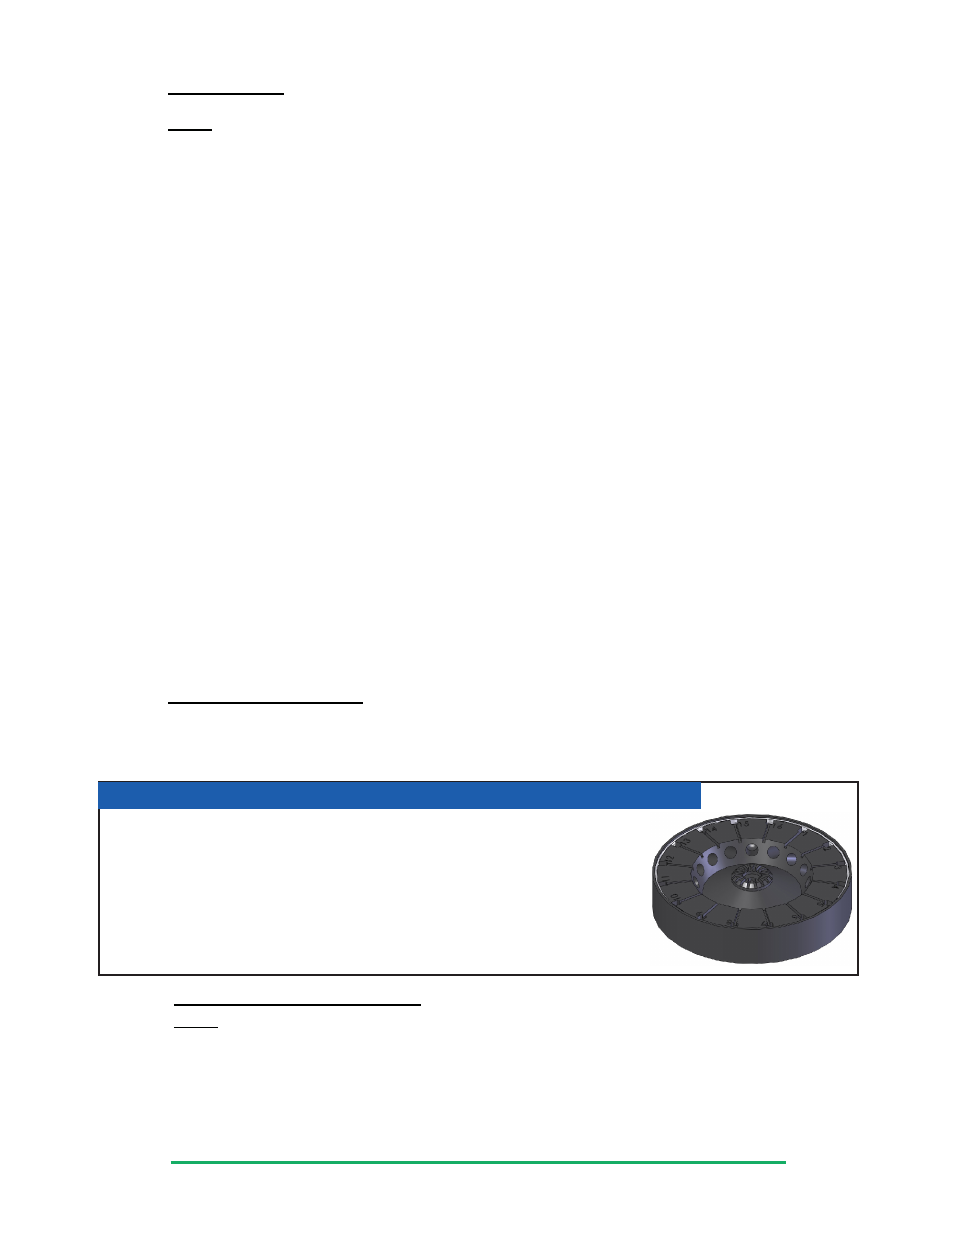
Sixteen-Place Microhematocrit, serum and QBC Rotor (Standard):
This rotor is designed to hold up to 16 standard 1.5mL microtubes and 16
hematocrit/ QBC tubes. All tube types can be spun at the same time if needed.
Your centrifuge must contain a balanced load in order to work properly. To ensure
that the load is balanced, keep these rules in mind when inserting test tube samples.
1. Opposing tube locations must be empty or loaded with equally weighted samples.
2. If an odd number of samples is to be spun, use a water-filled tube to mate with the
unpaired one.
Rotor Configurations:
The next section describes proper balancing and tube loading. Use the appropriate section for the
rotor installed in your centrifuge. Improper loading can result in damage to the centrifuge or test
tube samples.
DEFAULT USER SETTINGS:
NOTE: Your centrifuge comes pre-set with the following settings:
Braking Rate: 9
Acceleration Rate: 9
Countdown Delay: ON
Imbalance Detection: LOW
Audible Setting: 4
(See page 8/9 for a description of the user settings)