Field operation, Field set-up checklists, Final checklist – Great Plains 1500TM Operator Manual User Manual
Page 25: Field operation field set-up checklists
Great Plains Manufacturing, Inc.
Operating Instructions
21
12/12/2013
586-535M
Field Operation
This implement is designed to be pulled in the lowered
field position (including wide turns). Lifting for short dis-
tances to clear residue clogs is acceptable. Lifting for
tight turns or reverse moves is required.
Equipment Damage Risk:
Lift for tight turns and reverse moves. Tight turns can result in
a section moving backward. Never back up with harrows on
the ground. If the inside tire stops or rolls backward, the turn is
tight and requires lift.
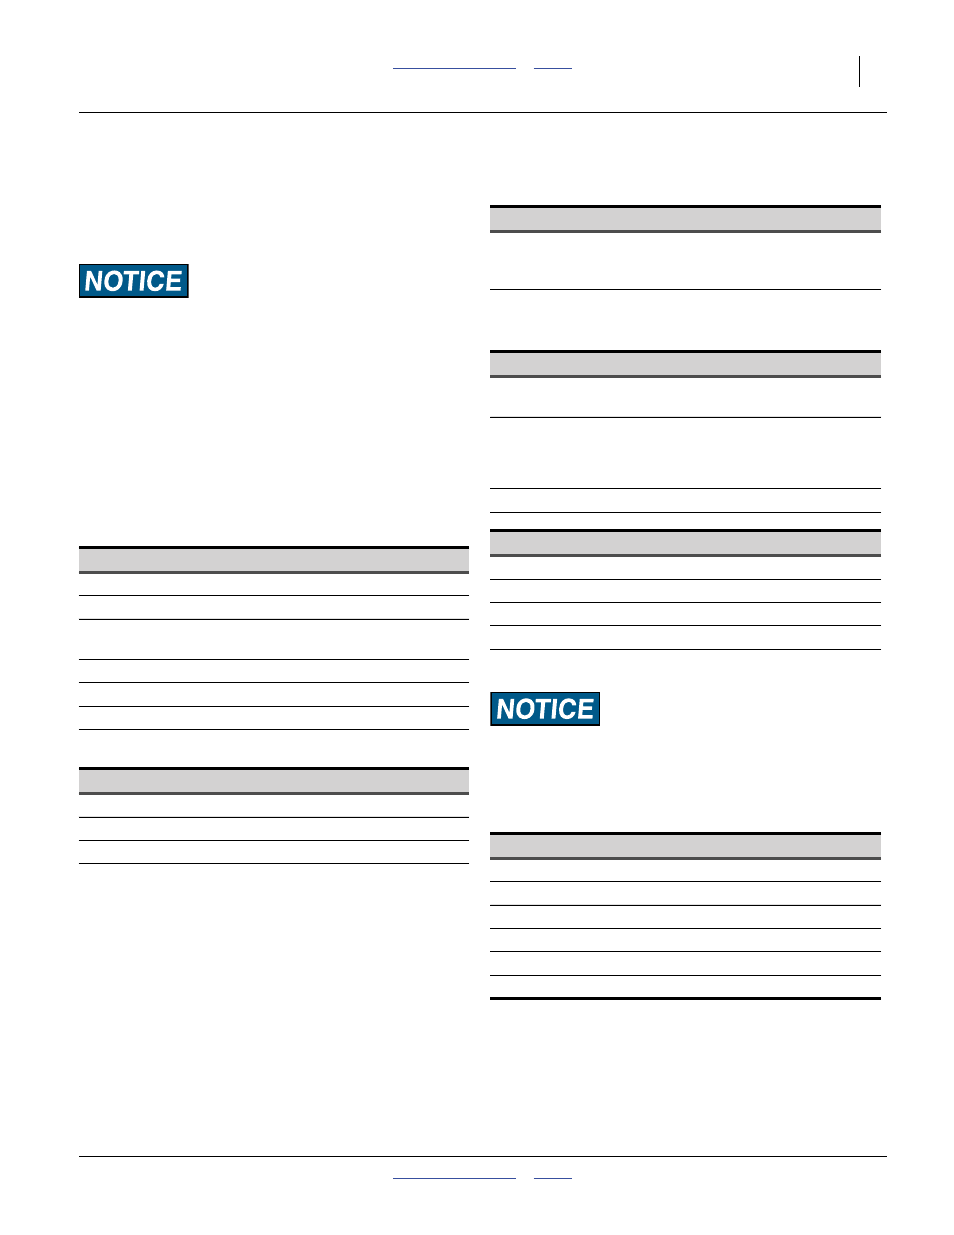
Field Set-Up Checklists
Use the following tables to develop a final checklist for
your tractor/Turbo Max configuration. Additional or fewer
steps may be necessary depending on tractor features,
Turbo Max options and accessories.
Final Checklist
Mechanical Checklist
Page
❑ Turbo Max hitched
❑ Hitch pin locked
-
❑ Safety chain secured to tractor or leading
implement
❑ Parking jack stowed
❑ Check all tire pressures
❑ Transport locks are in the field position
Hydraulic System Checklist
Page
❑ Check tractor hydraulic reservoir full
-
❑ Make hydraulic connections
❑ Inspect connections for leaks
-
Perform all steps in “Pre-Start Checklist” on page 19
and “Final Checklist” on page 21.
Do not make short radius turns with the implement in the
ground.
Note: If you stop in the middle of a pass, raise the imple-
ment and back up 10’ before resumption of tilling.
Electrical Checklist
Page
❑ Verify electrical hookups solid, or connec-
tor securely stowed if not using lights in
field.
First Pass Operation Checklist
Page
1. Pull forward, lower Turbo Max, and begin
tilling for a short distance.
-
2. Stop. Assess:
• coulter depth
• finishing attachment operation
-
3. Make necessary adjustments
Sharp Field Turns Checklist
Page
1. Raise Turbo Max
-
2. Make turn
-
3. Lower Turbo Max
-
4. Resume tilling.
-
Ending Tilling Checklist
Page
1. Suspend operations as above
-
2. Lift implement
-
3. Place locking valves in transport position
4. Place transport locks in transport position
5. Lower implement on to transport locks
-
6. Lights ON for transport
-