4 networking, Networking – Unitec Wash Select II to WashPay Integration Installation Manual User Manual
Page 11
W A S H
S E L E C T
I I
T O
W A S H P A Y
Document Number:
WS21046
7
5.
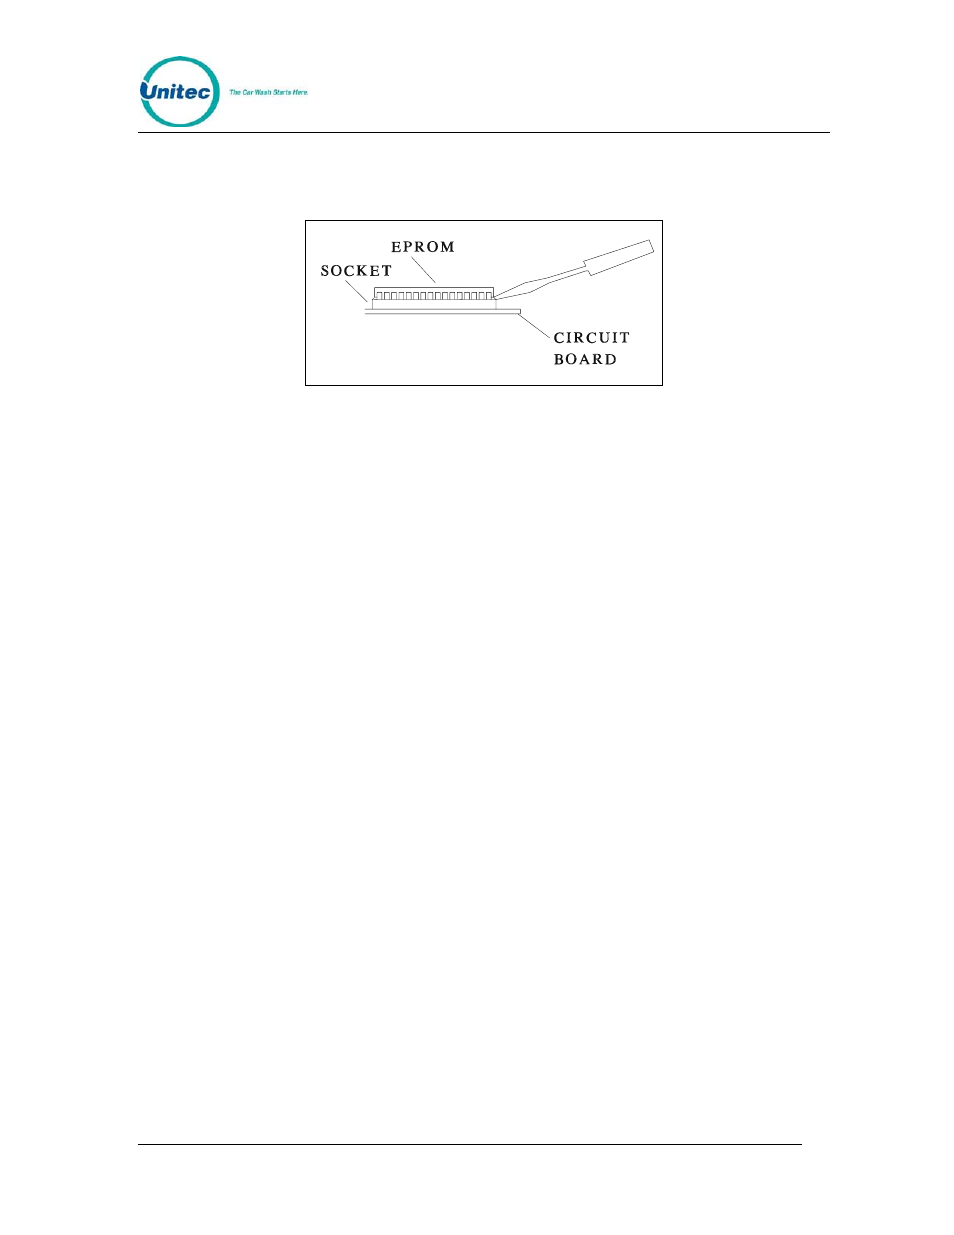
Carefully remove the EPROM chip from the socket. Use a small flat head
screw driver or an IC remover. Be careful to pry the chip from the socket
and not the socket from the board.
Figure 5. EPROM and Socket
6.
Carefully install the new EPROM into the socket. Make sure that the Dimple
on the chip is facing the same direction as it was before (refer to previous
drawing). Also, make sure that pins can be properly inserted into the
sockets without bending. Component legs can be bent to fit sockets as
follows:
• Lay the chip on its side with the pins facing away from you.
• Gently rock the chip away from you to bend the pins.
• Lay chip on its other side and rock it away from you.
• Repeat the above steps, alternating sides of the chip until the pins
line up in the socket without forcing the legs to fit.
7.
Reconnect the power and printer connections and turn on the unit. As the
system powers up the message “!!SOFTWARE UPGRADE!!” will appear
momentarily.
8.
After the unit is powered up, you MUST then press the RESET BUTTON to
reset the system.
9.
After pressing the reset button, the display will prompt you to press 99 or
55. Press 55.
10.
Reset the system two more times. If your system previously contained
standard version TG648 and above or Unicam version 656 and above, then
the codes and messages should be retained.
11.
Replace all screws and plastic cover. Connect all other cables previously
attached.
4 Networking
Run the CAT5E Ethernet cable from the router supplied with the WashPay server to the
newly-installed expansion board and plug it into the J4 rabbit connector. Power up the
Wash Select II and continue with software configuration.
Document Name:
WSII to WashPayIntegration Field Retrofit Installation Guide