Proximity sensor, Figure 65. guide arm cover removed, 8 proximity sensor – Unitec Sentine Owner’s Manual User Manual
Page 85
S E N T I N E L
Document Number: SENT1002
75
Document Title:
Sentinel Owner Manual
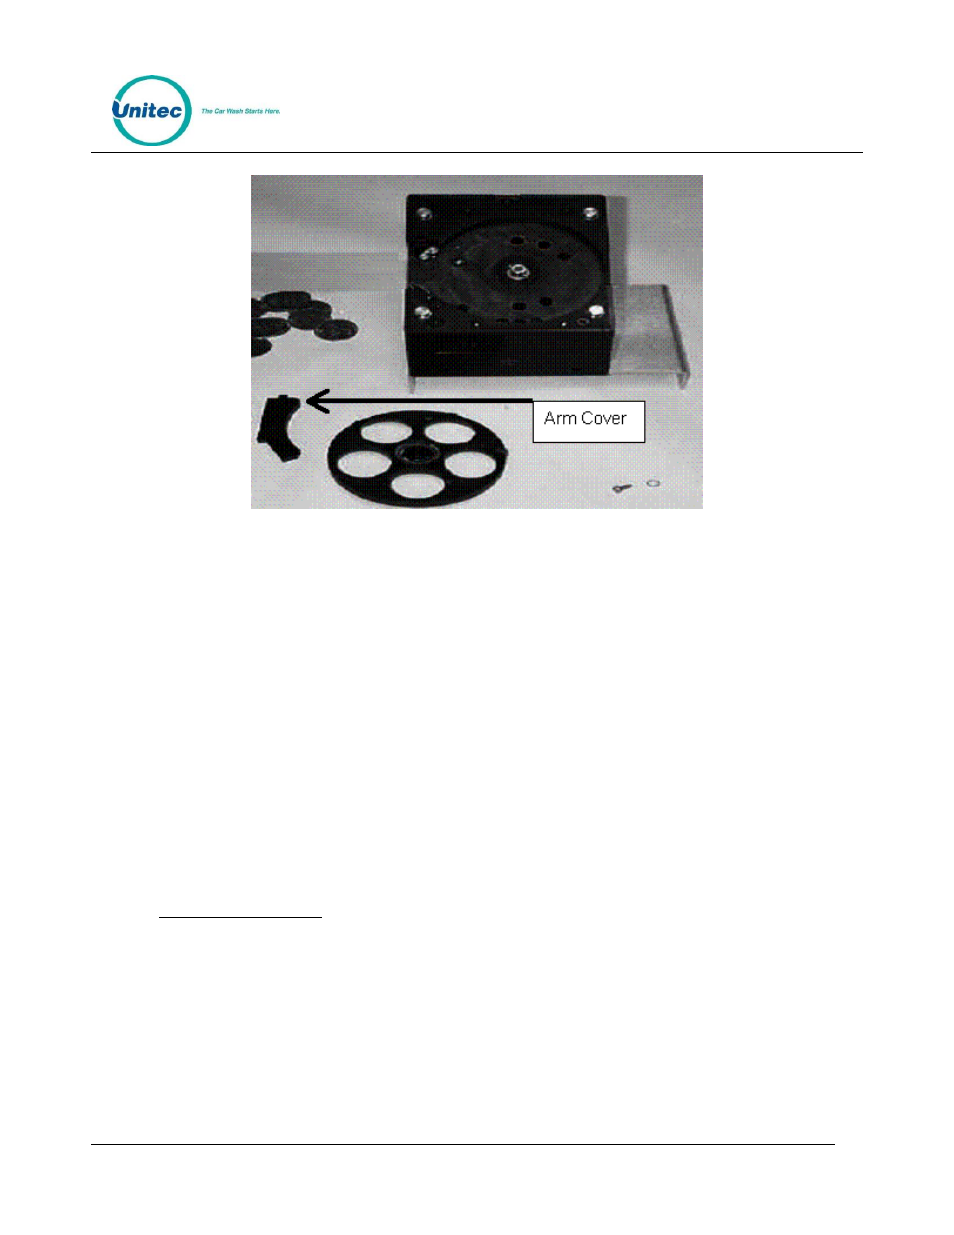
Figure 65. Guide Arm Cover Removed
7.
Using a screwdriver, gently pry off the old hopper arm. Be very careful not to break the pins
that hold the arm in place.
8.
Place the new hopper arm into the slot exactly as the old one was.
9.
Place the new hopper wheel into the plastic hopper exactly as the old one was.
10.
Once the new guide arm and dispensing-wheel have been replaced, reinstall the coin
guide arm cover.
11.
Slide the black plastic top back onto the hopper-cube assembly. Securely latch it in place
by locking the clasp.
12.
Place the hopper-cube back onto the mounting bracket and snap the locking tab back into
place.
13.
Reattach the coin bucket by replacing the three screws you removed previously. Be sure
that the coin exit opening of the hopper-cube is properly aligned with the exit chute of the
metal housing.
10.8 Proximity Sensor
The Sentinel uses an ultrasonic proximity sensor, mounted on the lower right-hand corner of the interior
side of the door, to detect the presence of a customer’s vehicle. The distance at which the proximity
sensor senses a vehicle can be adjusted by turning the small Phillips-head screw located on the back of the
proximity sensor.
To adjust the proximity sensor: