Operation – Triton TCM BS User Manual
Page 6
6
GB
UNPACKING YOUR TOOL
• Carefully unpack your sander. Ensure all packaging
materials are removed and fully familiarise yourself with
all features of the product.
• If any parts are damaged or missing, have these parts
repaired or replaced before use.
DUST EXTRACTION
• It is recommended that the sander is connected to
a vacuum cleaner or dust extractor, using the dust
extraction port. This will significantly reduce the dust in
the air around the work area.
• If vacuum dust extraction is not
available in your work area, a
dustbag can be fitted to the dust
extraction port.
• A suitable breathing mask should
be worn when operating this
machine. All wood and paint dust
is hazardous to health and may also be toxic.
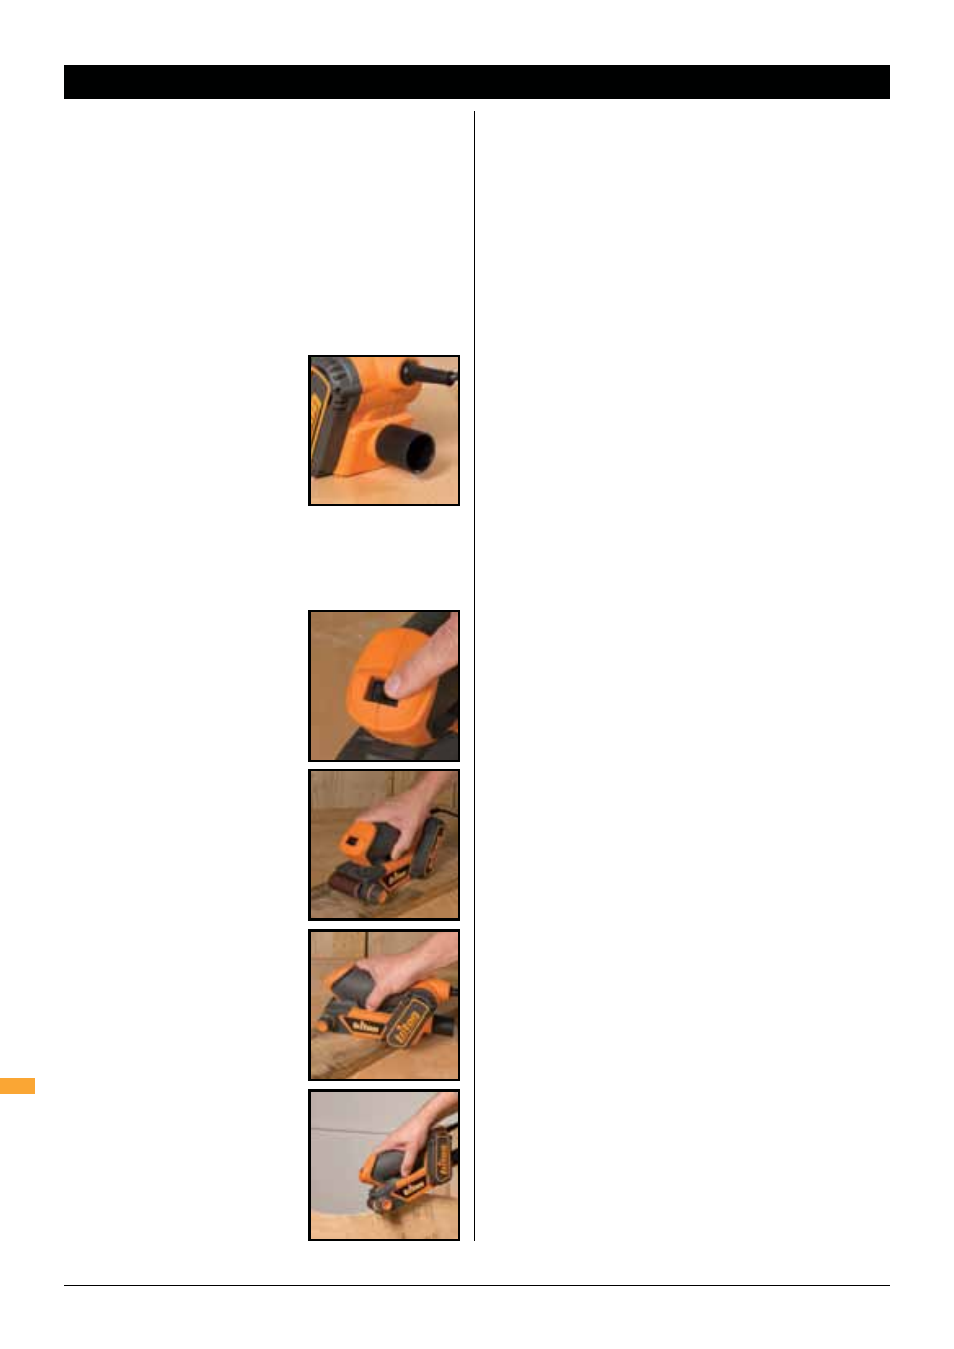
SWITCHING ON AND OFF
• Always hold the sander securely by the Main Handle (2)
• Ensure the sander is not in
contact with the surface when
you switch the machine on
• To switch the sander on, press
the 'I' switch. To switch the
sander off, press the '0' switch.
SANDING
• Apply light pressure as you
bring the sander in contact
with the workpiece
• Allow the sander to reach full
speed before moving it across
the workpiece
•
To remove paint or smooth very
rough wood, sand across the
grain at 45° in two directions
and then finish parallel with the
grain.
•
Use the Front Belt Roller (4)
only to sand corners or irregular
shapes.
•
Lift the sander clear of the workpiece before switching
off.
WARNING:
•
Do not apply too much pressure on the palm belt sander.
Pushing down too hard may cause damage or reduce
the life of the product
•
Keep your hands away from the belt, as it will continue
to move for a short time after the machine is switched
off.
SANDING TIPS
• Always start with a coarse grit paper and work through
progressively finer grit papers until the desired finish is
achieved.
• Only apply moderate pressure to the sander. Pressing too
hard onto the work surface may overheat the motor, or
damage the workpiece.
• Sand evenly over the work surface. The sanding belt
moves in a continuous rotary motion, as such it is not
necessary to work with the grain
CHANGING THE SANDING BELT
1.
Ensure the sander is disconnected from the power supply
2. Lift the Belt Tension Release Lever (6) to release tension
on the belt
3. Choose a new belt according to intended task, eg; low grit
rating produces faster stock removal, high grit rating for
smoother finish
4. Check that the replacement belt has a good join and is
not frayed at the edges
5. Position the new belt over the rollers, with the rotation
arrows on the inside of the belt pointing in the same
direction as the Belt Direction Indicator (7) on the sander.
6. Push the Belt Tension Release Lever (6) down to tension
the belt
7. Hold the sander upside down and plug into the mains
8. With the belt running, use the Micro Adjustment Knob (3)
to align the belt to the centre of the plate
Note: A range of sanding belts from Triton, in a choice of
grits, are available for use with this Palm Belt Sander
.
Operation
OPERATION