Prepare to install front suspension, Install front suspension – Trail Master Suspension TM3440-20013 JEEP WRANGLER (TJ) 4 SPRING KIT User Manual
Page 4
4
Prepare to Install Front
Suspension
1. Loosen, but do not remove, lug nuts on each
front wheel.
2. Jack the rear of the vehicle with the floor jack
under the differential and place jack stands un-
der the frame just behind the lower control arm
frame mounts. Leave the jack stands high
enough to let the floor jack down and still have
the front tires suspended in the air. Keep the
floor jack under the differential with slight pres-
sure for support. Remove the front wheels.
3. Disconnect the track bar from the axle and save
the hardware for reuse.
4. Unbolt the front brake line brackets from the
frame. Save the hardware for reuse.
5. Unbolt the front sway bar end links and remove
them from the vehicle. Save the hardware for
reuse.
6. Remove the shocks on both sides of the vehicle.
It may be necessary that you slightly raise the
axle to unload the shocks for removal. Save the
hardware for reinstallation.
7. If your vehicle came equipped with a skid plate
loosen the driver side bolt and remove the (2)
passenger side bolts.
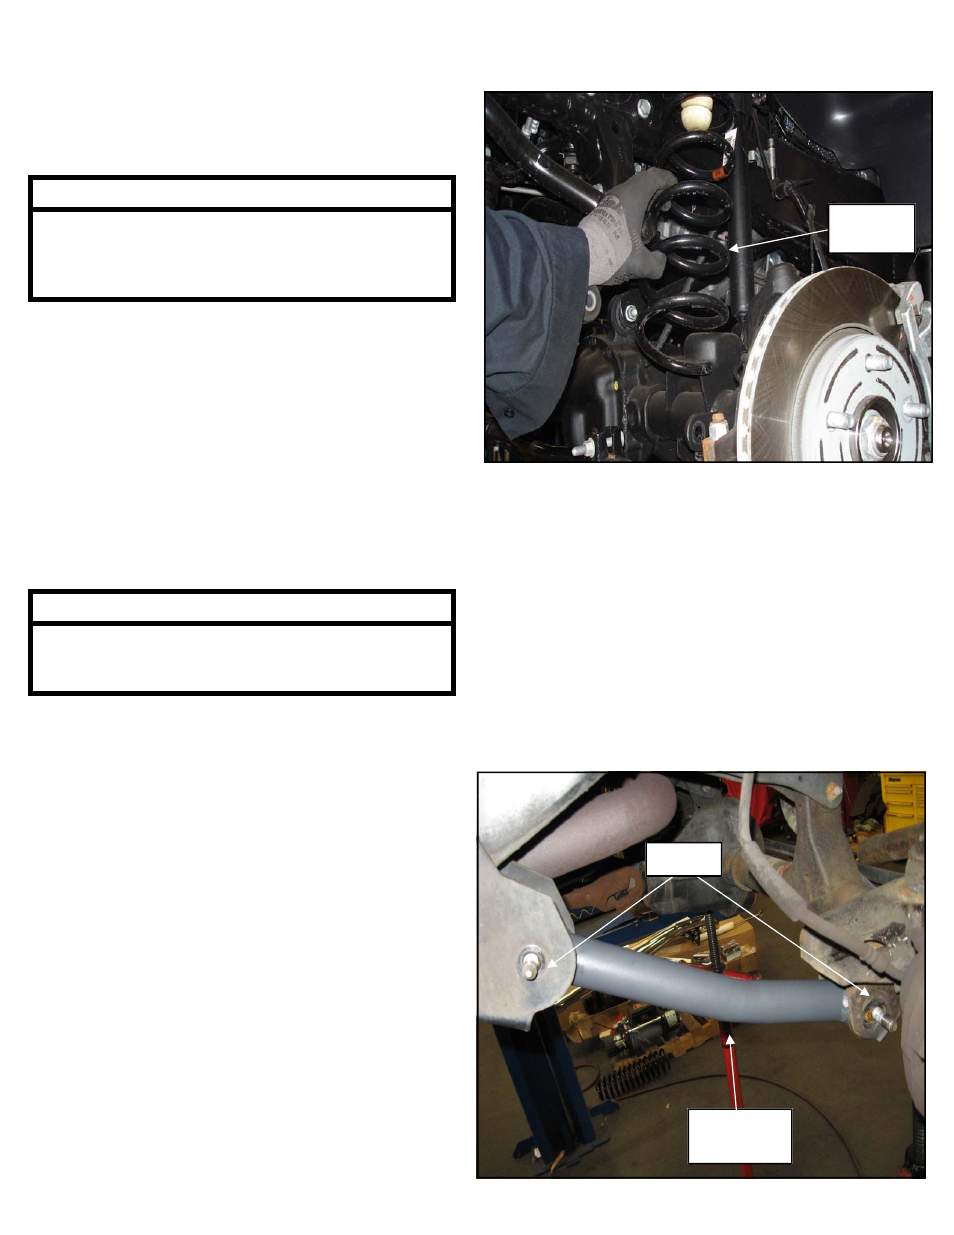
8. Lower the jack carefully, remove the OE coil
springs and the OE isolators. Label the springs
as to which side they were removed, Left and
Right so that they are reinstalled in the side in
which they were removed.
Install Front Suspension
1. On the passenger side, with the axle supported,
remove the passenger side lower control arm
from the vehicle. Be sure to leave the driver
side control arms in place to keep the front axle
from rolling over
2. Install the arm (82-TM30011) into the mounting
pockets on the frame using the previously re-
moved OE bolts and hardware.
OE Coil
Spring
WARNING
Compressed coil springs can expand violently causing
serious personal injury. Before removing the coil
springs, lower the axle housing as far as possible to al-
low the coil springs to expand.
WARNING
Use extreme caution when lifting vehicle from ground.
To prevent serious personal injury, ensure the lifting de-
vice is securely placed.
82-TM30011
Control Arm
OE Bolts