Chamberlain 1215E FS2 User Manual
Owner’s manual, Garage door opener
The Chamberlain Group, Inc.
845 Larch Avenue
Elmhurst, Illinois 60126-1196
Owner’s Manual
■
Please read this manual and the enclosed safety materials carefully!
■
Fasten the manual near the garage door after installation.
■
Periodic checks of the opener are required to ensure safe operation.
■
The model number label is located on the front panel of your opener.
®
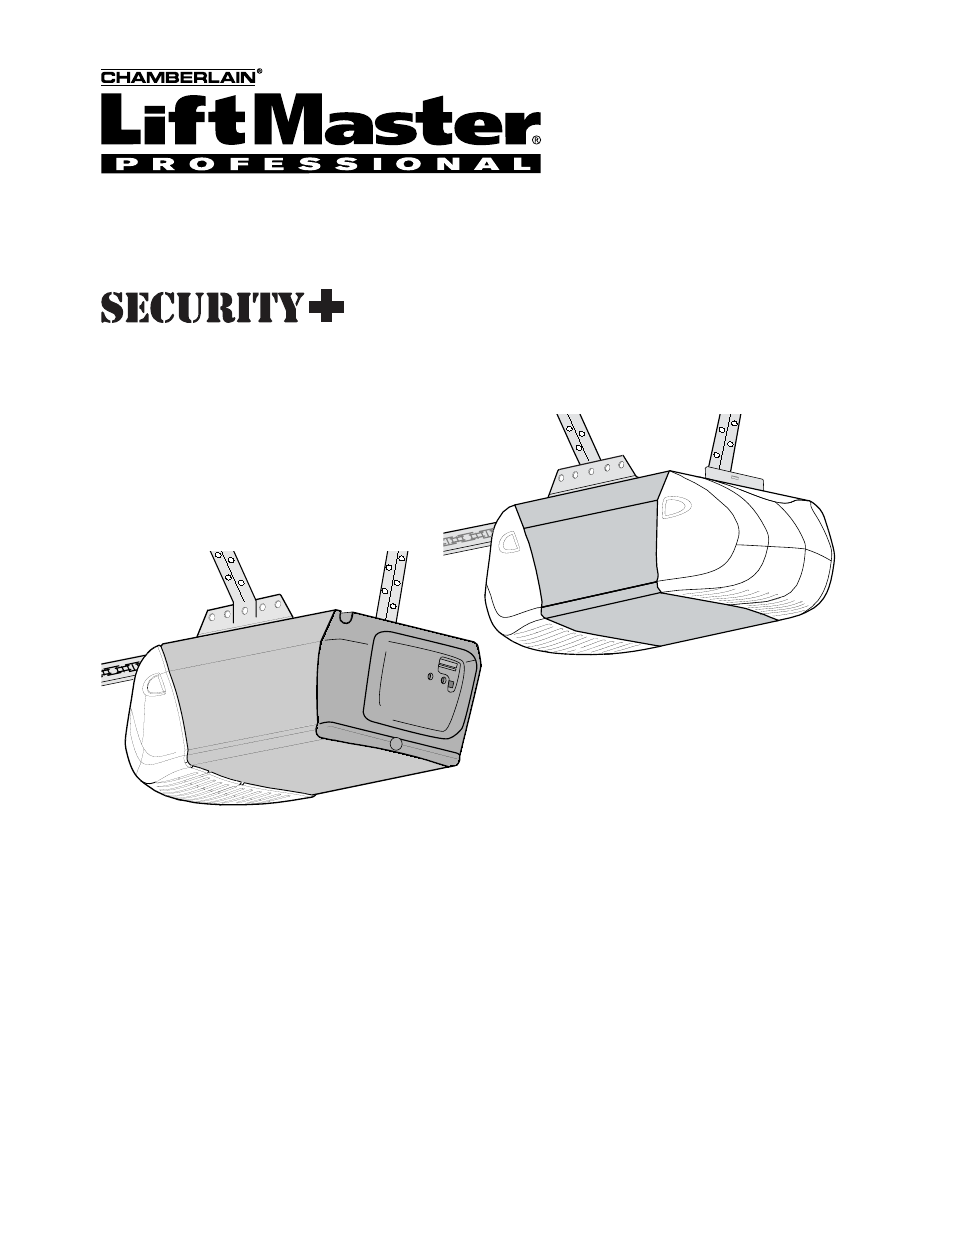
GARAGE DOOR OPENER
For Residential Use Only
Model 1215E FS2
Model 1225E FS2
This manual is related to the following products:
Table of contents
Document Outline
- ENGLISH
- GARAGE DOOR OPENER For Residential Use Only
- TABLE OF CONTENTS
- INTRODUCTION Safety Symbol and Signal Word Review
- ASSEMBLY
- ASSEMBLY STEP 1 For Sectional and One-Piece Doors ONLY Assemble the T-Rail and Attach the Chain Pulley Bracket HARDWARE SHOWN ACTUAL SIZE
- ASSEMBLY STEP 1 For Sliding and Swinging Gates ONLY Assemble the T-Rail and Attach the Chain Pulley Bracket HARDWARE SHOWN ACTUAL SIZE
- ASSEMBLY STEP 2 For Sectional and One-Piece Doors Only Install the Trolley HARDWARE SHOWN ACTUAL SIZE
- ASSEMBLY STEP 2 For Sliding and Swinging Gates Only Install the Trolley HARDWARE SHOWN ACTUAL SIZE
- ASSEMBLY STEP 3 Fasten the T-Rail to the Motor Unit CAUTION
- ASSEMBLY STEP 4 For Sectional and One-Piece Doors Only Install the Chain and Attach the Sprocket Cover To avoid possible SERIOUS INJURY to fingers from moving garage door opener: WARNING CAUTION
- ASSEMBLY STEP 5 Tighten the Chain
- INSTALLATION
- INSTALLATION STEP 1 Determine the Header Bracket Location Finished Ceiling Vertical Centerline
- INSTALLATION STEP 2 Install the Header Bracket
- INSTALLATION STEP 3 Attach the T-Rail to the Header Bracket
- INSTALLATION STEP 4 Position the Opener CAUTION
- INSTALLATION STEP 5 Hang the Opener WARNING
- INSTALLATION STEP 6 Install the Door Control CAUTION WARNING
- INSTALLATION STEP 7 Install the Lights
- INSTALLATION STEP 8 Attach the Emergency Release Rope and Handle • To prevent possible SERIOUS INJURY or DEATH from WARNING
- INSTALLATION STEP 9 Electrical Requirements WARNING WARNING
- INSTALLATION STEP 10 Fasten the Door Bracket CAUTION
- INSTALLATION STEP 11 Connect Door Arm to Trolley Inner Trolley
- ADJUSTMENT
- OPERATION
- Care of Your Opener
- PROGRAMMING
- Motor Unit Assembly Parts
- ACCESSORIES
- LIFTMASTER SERVICE IS ON CALL HOW TO ORDER REPAIR PARTS
- WARRANTY
- ESPAÑOL
- ABRE-PUERTAS DE GARAJE Sólo para uso residencial
- CONTENIDO
- INTRODUCCIÓN Revisión de los símbolos y términos de seguridad
- ENSAMBLADO
- ENSAMBLADO PASO 1 SOLO para puertas seccionales y de una sola pieza Ensamble de riel “T” con soporte de catarina
- ENSAMBLADO PASO 1 SOLO para puertas corredizas y batientes Ensamble riel "T" con Soporte de Catarina ESTAS PIEZAS
- ENSAMBLADO PASO 2 Solamente para puertas seccionales y de una sola pieza con rieles Instalar el carro sobre el riel en "T" ESTAS PIEZAS SE MUESTRAN EN SU TAMAÑO REAL
- ENSAMBLADO PASO 2 Sólamente para puertas corredizas y batientes Instalar el carro sobre el riel en "T" ESTAS PIEZAS SE MUESTRAN EN SU TAMAÑO REAL
- ENSAMBLADO PASO 3 Fijar riel "T" al abre-puertas de garaje PRECAUCIÓN
- ENSAMBLADO PASO 4 Solamente para puertas seccionales y de una sola pieza con rieles Instalar la cadena y conectar la cubierta del portacadena Para evitar posibles LESIONES GRAVES en los dedos causadas por las partes móviles del abre-puertas de garaje: • SI
- ENSAMBLADO PASO 4 Solamente puertas corredizas y batientes Instalar la cadena y conecte la cubierta del portacadena Para evitar posibles LESIONES GRAVES en los dedos causadas por las partes móviles del abre-puertas de garaje: ADVERTENCIA ADVERTENCIA
- ENSAMBLADO PASO 5 Apretar la cadena
- INSTALACIÓN
- INSTALACIÓN PASO 1 Determinar la localización de soporte de cabecera Guía linea vertical Cielo raso terminado Pedazo de madera
- INSTALACIÓN PASO 2 Instale la ménsula del cabezal
- INSTALACIÓN PASO 3 Coloque el riel en la ménsula del cabezal
- INSTALACIÓN PASO 4 Coloque el abre-puertas PRECAUCIÓN
- INSTALACIÓN PASO 5 Cuelgue el abre-puertas ADVERTENCIA ADVERTENCIA
- ADVERTENCIA INSTALACIÓN PASO 6 Instalar el control de la puerta
- INSTALACIÓN PASO 7 Instale el foco
- INSTALACIÓN PASO 8 Montaje de la manija y la cuerda de emergencia • Para evitar la posibilidad de una LESIÓN GRAVE O INCLUSO ADVERTENCIA ADVERTENCIA
- INSTALACIÓN PASO 9 Requisitos para la instalación eléctrica ADVERTENCIA ADVERTENCIA
- INSTALACIÓN PASO 10 Sujete la ménsula de la puerta PRECAUCIÓN
- INSTALACIÓN PASO 11 Conectar el brazo de la puerta al carro Carro interior
- AJUSTES,
- OPERACIÓN
- COMO PROGRAMAR EL ABRE-PUERTAS
- Piezas de la unidad del motor
- ACCESORI0S
- LOS SERVICIOS DE LIFTMASTER ESTÁN A SU COMO ORDENAR PIEZAS DE REPUESTO
- GARANTIA