Mounting the safe – GunVault GVB 2000 User Manual
Page 7
- 7 -
Enroll Additional Fingerprints
• Open the GunVault by administrator’s fingerprint. Immediately after the door opens press
and hold S1 button until 2 beeps sound.
• Place the new finger on the Fingerprint Reader, then press S1 button to activate the module,
hold the finger on the reader until the Green light is on (it may need about 1-2 seconds).
• The new fingerprint is now enrolled.
Delete All of the Fingerprint Templates
• Press and hold S2-Delete All Button (located inside the unit on the top back portion of the
metal lock housing) and then press and release the S1 to activate the GunVault.
• Continue to hold the S2 button until Green
and Red lights stop flashing, and then
release the S2 button.
S2 Button
• Now ALL of the
fingerprints are deleted.
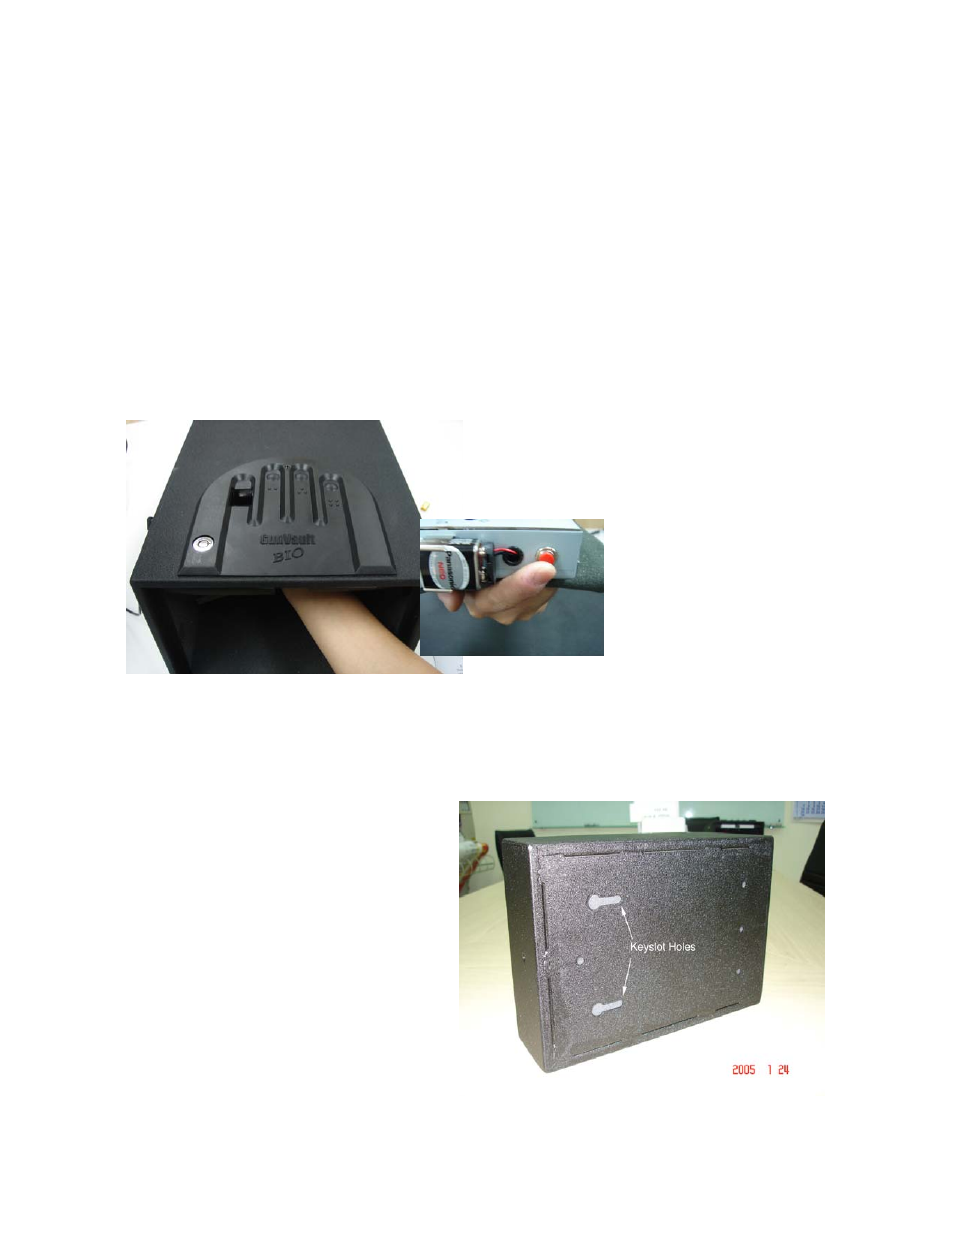
3. Mounting the Safe
The Vault can be mounted in almost any direction. Think carefully before you begin to drill
holes; make sure you could easily reach the keypad, but protect the safe from children.
IMPORTANT: Do not mount the Vault
with the door facing down! The contents
could fall out when the door is opened!
Think about your own unique mounting
requirements. You may wish to use
washers, lag bolts, or other mounting
devices for reasons of your own.
Compare the Mounting Template to the safe.
Notice the mounting holes in the bottom of
the safe. There are two “key-slot” holes,
and four round holes.