Better Light 7 User Manual
Page 17
17
a lens shade is recom-
mended to reduce possible
filter flare.
The infrared filter can
be fitted to most smaller
4x5 lenses by means of a
clip-on filter holder (not
supplied), usually sold for
use with 35 mm cameras.
An easily available alterna-
tive is to use photographer’s
black tape or a large rubber
band (using crossed loops
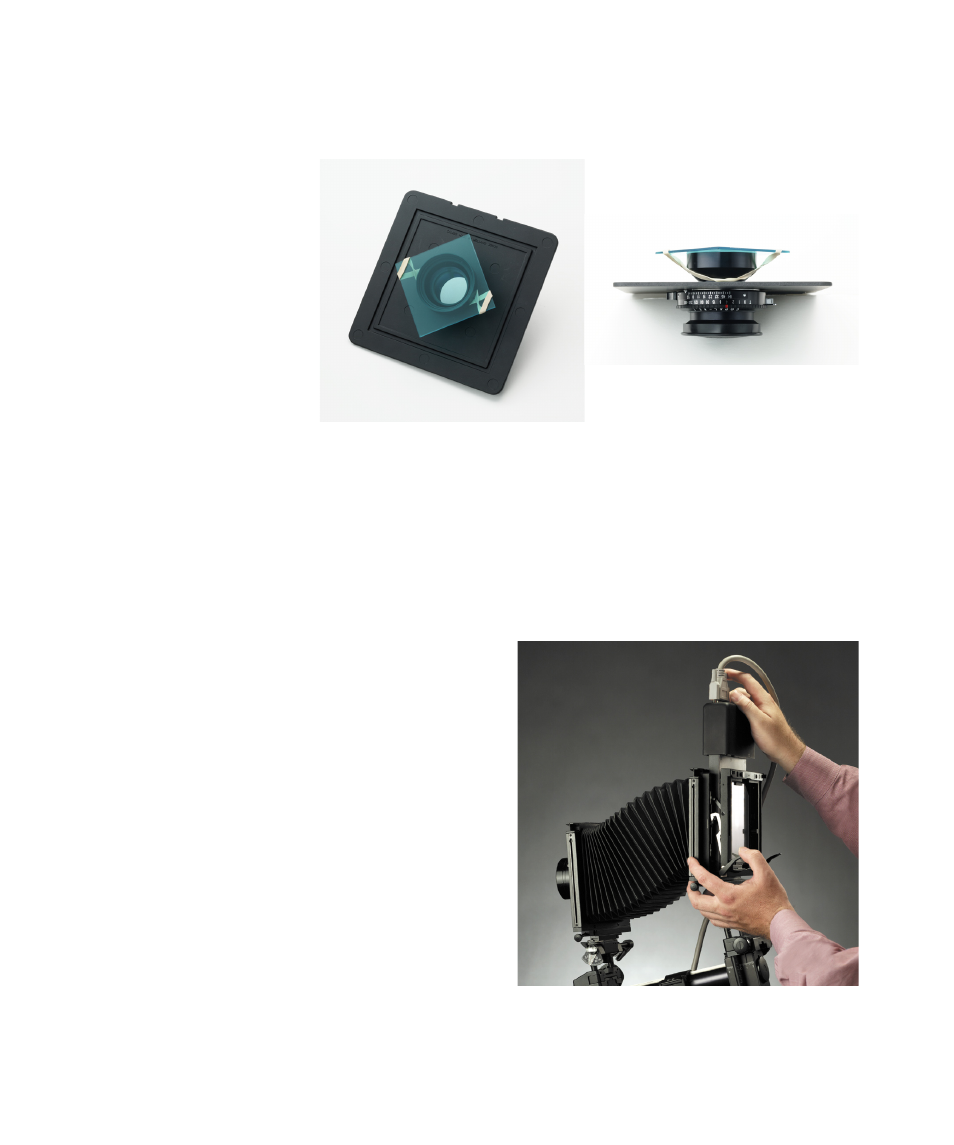
to secure alternate corners of the filter) to affix the filter to the inside of almost any lens.
8. Compose and focus the image
Compose the intended image on the camera’s ground glass, just as you would when using film.
Adjust swings and tilts with the camera’s controls, as necessary, to focus the image . A magnifier may
be of use for better focus adjustment.
9. Put the insert into the camera
Slide the insert into the back of the camera as
you would do with a film holder or Polaroid back.
The open side of the insert faces toward the lens. The
insert may be placed into the camera horizontally or
vertically, depending on the intended orientation of
the image and the requirements of your camera.
10. Start the ViewFinder™ software
Start the camera control software. The program’s
main screen will appear.
11. Select the image capture settings
Set the ISO, Line Time, Tone curve, Color balance
and the Insert Direction in the ViewFinder™ software.
Default settings could also be used.
Mounting the filter with a rubber band on the inside of the lens, top and side views.
Put the insert into the camera either vertically (shown) or
horizontally. (Yes, the photo was shot with a Better Light
scan back!)