Rapid flow installation – Bully Dog 83060 Rapid Flow User Manual
Page 6
5
rAPid FlOW inSTAllATiOn
rapid Flow exhaust # 83060
(Recommended Procedure: Do not fully tighten any clamps until the complete system is installed and
aligned.)
2. Install the new down pipe with the stock turbo clamp, and support it with the down pipe hanger clamp.
3. Install the corresponding cross member pipe onto the ball end of the down pipe. Rotate it to clear the frame
cross members.
4. Hang the muffler in the stock location, using the rear muffler hanger clamp at the rear of the muffler.
5. Install the Axle 1 piece into the muffler outlet and rotate it to pass by the shock but be centered over the
axle.
6. Install the tail pipe on to the outlet of the Axle 1 piece using one of the clamps. Rotate as needed to level the
outlet behind the rear tire. Attach the tail pipe hanger clamp in the stock rubber grommet.
7. Measure between the outlet of the intermediate pipe and the inlet of the muffler and add
5” to this measurement. Cut the straight pipe to the measurement and install it using two
clamps.
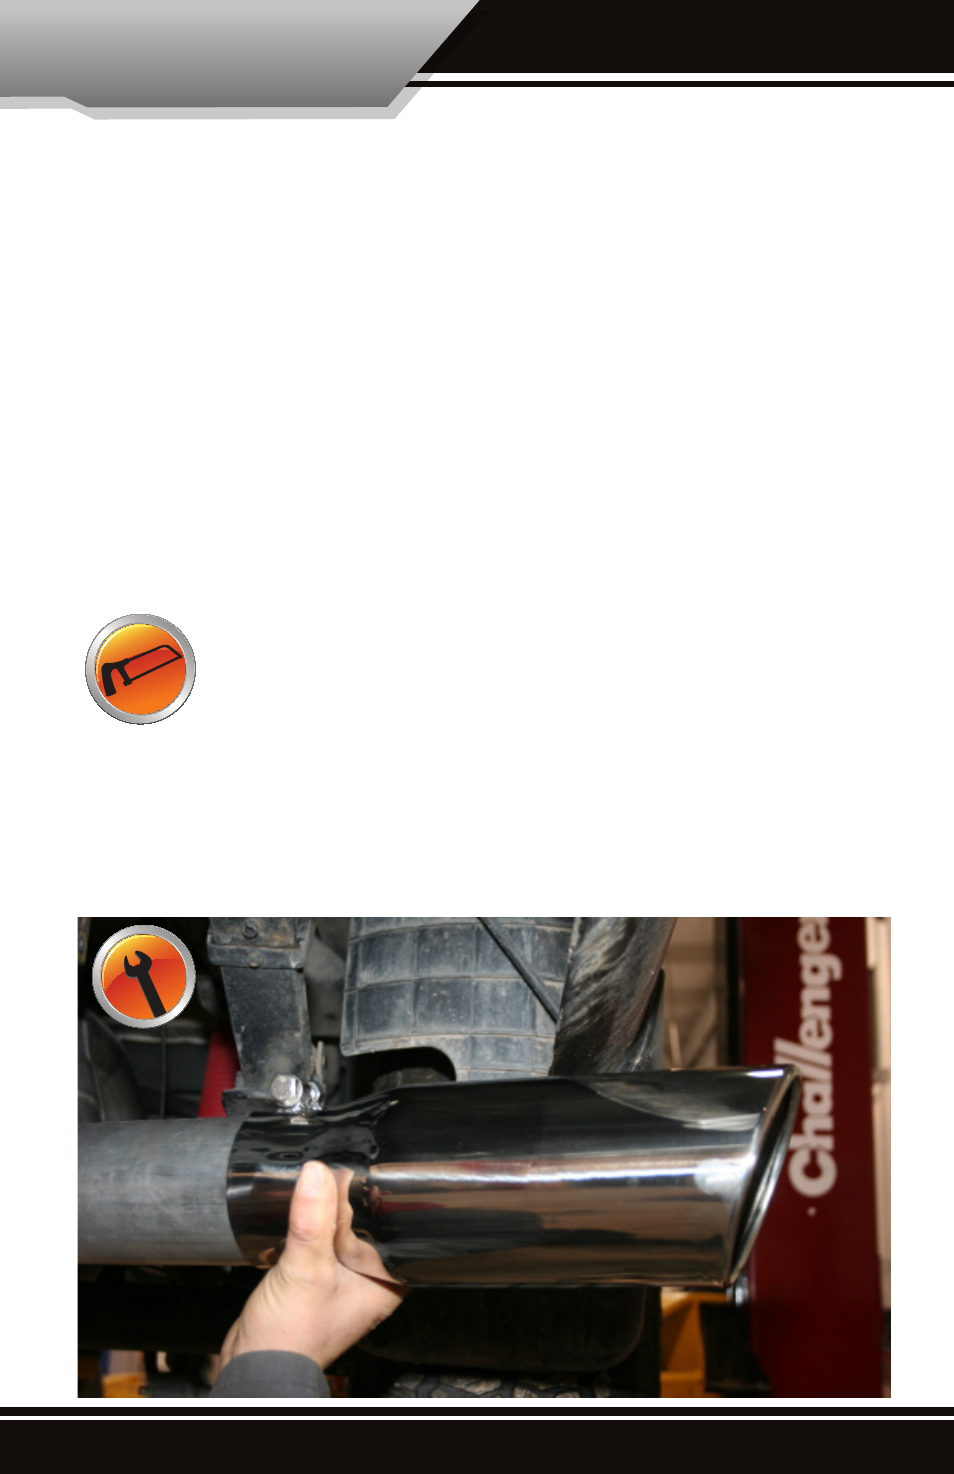
8. Once the entire exhaust system is installed, inspect the system to ensure that no part of the ex-
haust is in direct contact with the chassis or body; adjustments may be necessary. Having any
part of the exhaust system in direct contact with any part of the body or chassis will the cause the
exhaust to rattle. Then tighten all of the clams using a 9/16” hand wrench or socket and finish the install by
installing the exhaust tip. The exhaust tip is a bolt on tip that tightens using a 17mm hand wrench.
17mm