Ultrabass bx4500h, Wiring examples – Behringer BX4500H User Manual
Page 7
7
ULTRABASS BX4500H
3. WIRING EXAMPLES
Connect the SEND/TUNER output to the input of your
effects device, for example, our proven multi-effects
processor BEHRINGER VIRTUALIZER PRO DSP2024P.
This output can also be used to connect your tuner.
Connect the RETURN jack to the output of your effects
device. Since the BX4500H features a serial effects path,
the mix ratio must be set on your effects device.
Use the balanced D.I. XLR output to feed the audio signal
from your ULTRABASS to an external mixing console. The
D.I. signal is wired post-EQ.
Use the LINE OUT jack to connect your BX4500H to a
mixing console that has no balanced inputs and/or to
provide a signal that is independent of all settings adjusted
on the BX4500H.
+
The LINE OUT output is wired post effects loop
&
and can also be used to feed the output signal
of your BX4500H to an external bass amp.
2.2 Rear panel
Fig. 2.4: BX4500H rear panel (section 1)
Use the POWER switch to switch the BX4500H on or off.
You should always make sure that the POWER switch is in
the Off position when initially connecting the unit to the
mains.
To disconnect the unit from the mains, pull out the main cord
plug. When installing the product, ensure that the plug is
easily accessible. If mounting in a rack, ensure that the
mains can be easily disconnected by a plug or by an all-pole
disconnect switch on or near the rack.
+
Please note: Merely switching the unit off does not
mean that it is fully disconnected from the mains.
When not using the unit for prolonged periods of
time, please unplug the units power cord from the
power outlet.
MAINS CONNECTION. Use the power cord supplied with
the unit to connect it to the mains.
FUSE HOLDER/VOLTAGE SELECTOR. Before
connecting the unit to the mains, make sure that the voltage
setting matches your local voltage. A blown fuse should
only be replaced by a fuse of the same type and rating. On
some units, the fuse holder can be switched to one of two
positions, i.e. 230 V and 120 V. When operating the unit
outside Europe at 120 V, a higher fuse rating is required.
SERIAL NUMBER.
Fig. 2.5: BX4500H rear panel (section 2)
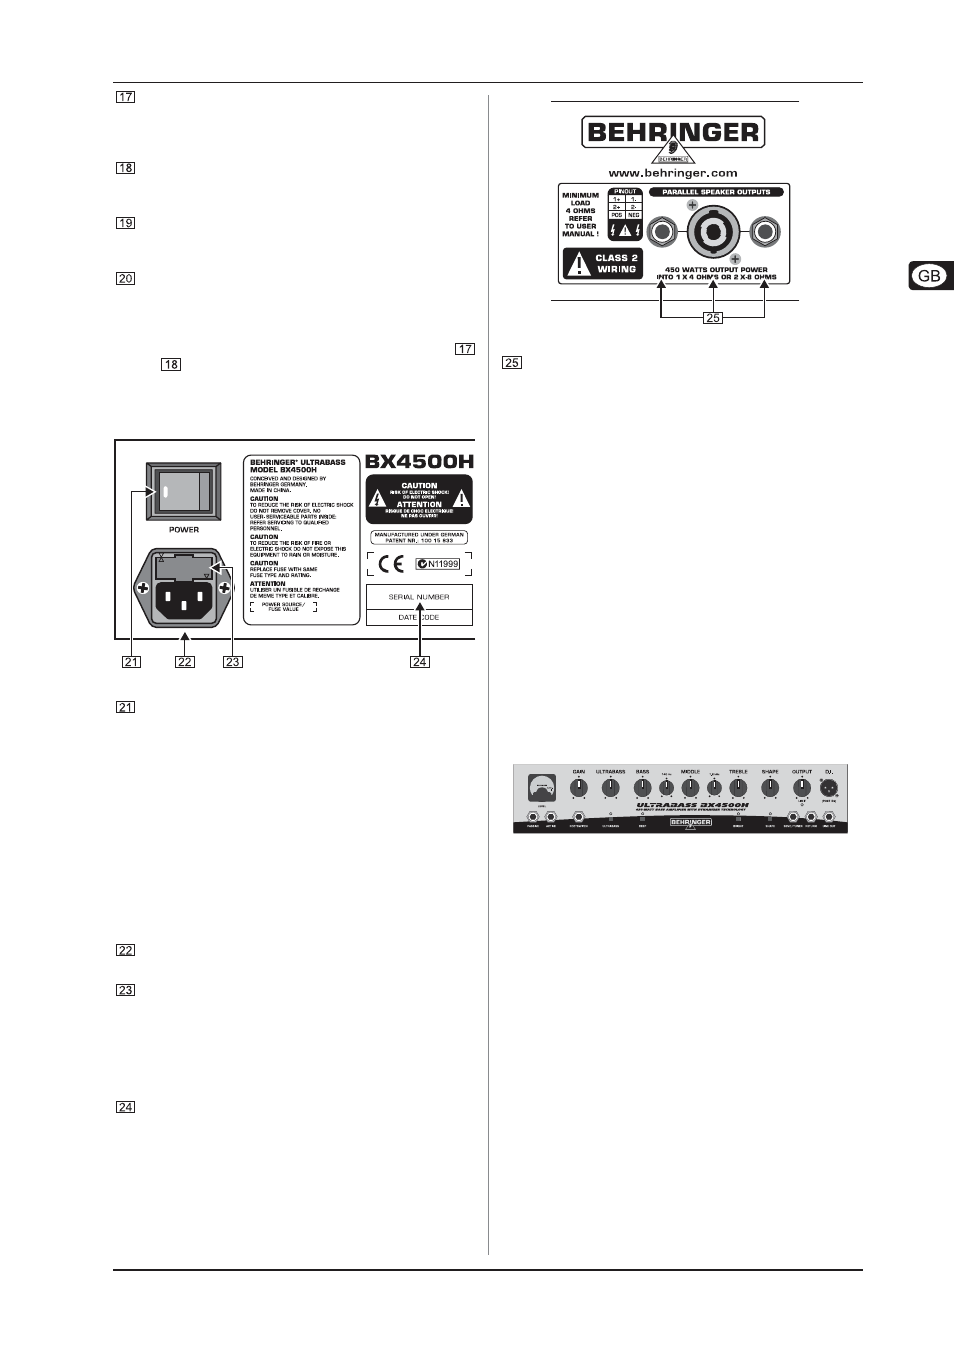
Use the SPEAKER outputs to connect your loudspeakers.
The outputs are wired in parallel on two 1/4" jacks and a
professional loudspeaker connector (compatible to Neutrik
®
Speakon
®
).
+
Your speaker cabinets should have a sufficient
power rating (>450 W) and preferably a total
impedance of 4
W
to avoid speaker damage. Too
high a load impedance will decrease the output
power rating of the power stage!
+
For correct speaker connection please also refer
to chapters 3.3, 3.3.1 and 6.2.1!
3. WIRING EXAMPLES
This chapter is aimed at describing and illustrating basic wiring
examples.
3.1 Standard setup comprising footswitch
and one loudspeaker
The standard setup is intended for rehearsals, sessions and
club gigs.