Frame assembly, Attach motors to arms, Choose + or x – 3D Robotics DIY Quad Kit User Manual
Page 3: You may have opted to also receive
2
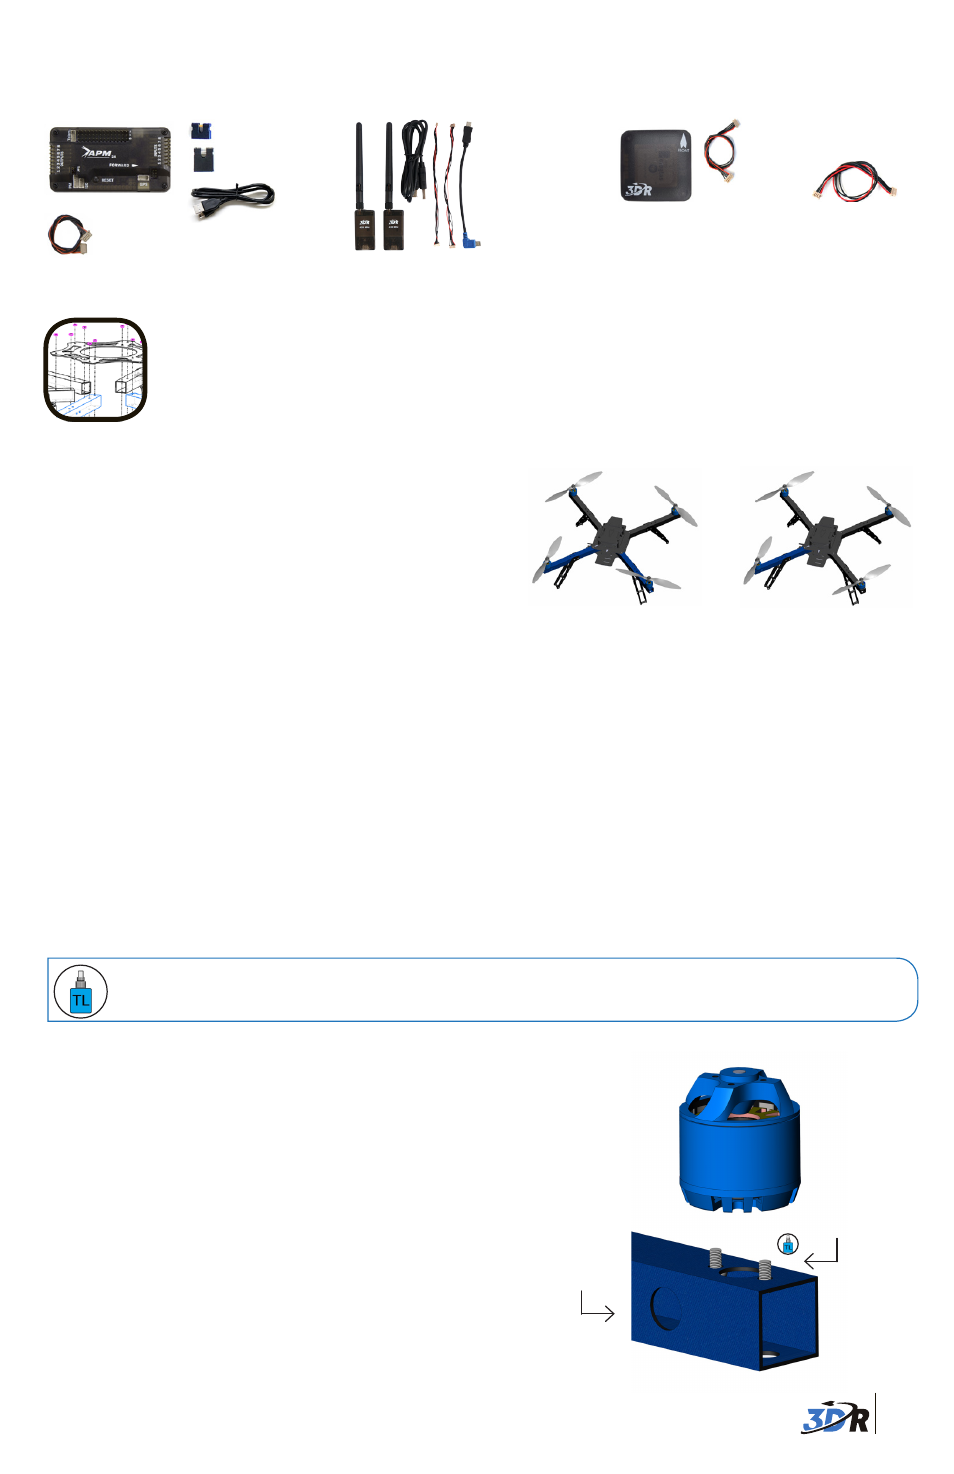
Micro USB cable
4 mm JP1
jumper connector
6 mm PPM
jumper connector
3DR APM 2.6:
You may have opted to also receive:
Telemetry adapter
cable
3DR APM 2.6
3DR uBlox GPS+Compass:
3DR uBlox GPS
board with compass
6-position to
5-position GPS
cable
4-position compass
cable
3DR Radio:
FRAME ASSEMBLY
2
Attach motors to arms
Each arm of your Quad will have a motor attached to the top of the arm using two 5 mm steel
bolts and two metal lock washers. To ensure motors are securely bolted to arms, apply a
small amount of threadlock to each bolt before fastening.
Threadlocking compound is an important component to ensure your motors remain
firmly attached! For application tips, check out this video:
goo.gl/bM3MA.
5 mm bolts
and lock
washers
Position holes in the bottom of the motor over the
two small holes on either side of the larger hole in
top in the of the arm. Secure with two 5 mm steel
bolts (with a metal lock washer on each bolt) by
accessing through the two large holes in the bottom
of the arm. Thread the motor cables through the arm
using the hole in the side of the arm. Repeat for all
four arms.
Thread
cables
1
Choose + or x
Your 3DR Quad can be flown in both + (plus)
and x (cross) configurations. A plus-configured
copter flies with one arm forward, while a
cross-configured copter flies with two arms
forward. While both configurations provide
excellent performance, cross is standard and
recommended for new fliers. For plus, use three
black arms and one blue arm when assembling your copter, and remember to specify plus
when choosing your frame orientation during software configuration. These instructions will
continue assembling a Quad in cross orientation.
x (cross) configuration
+ (plus) configuration
Radios (2)
Antennas (2)
Micro-USB cable
Android OTG cable
Autopilot connectors