Traditions Vortek StrikerFire User Manual
Page 43
5. Lightly oil striker assembly.
6. Lightly oil inside of Receiver (#27).
7. Lightly oil Trigger (#17), Sear (#15) and Striker Stop (#13) and
Mechanism Pins (#22). This is best accomplished by applying one
drop of quality gun oil to each side of the referenced parts pivot
points.
(Caution-Do not over lubricate)
8. Apply Traditions EZ Clean™ to barrel brush and cleaning patches to
clean both interior and exterior of barrel.
9. Dry barrel interior with several dry bore patches.
10. Lubricate with Wonderlube™ to help protect all interior and
exterior surfaces of both Barrel (#50) and Receiver (#27) from
rust and to ease loading.
11. Lightly grease frame pivot pin (#26) and barrel catch surface on
barrel (#50)
Step: #4
Reassembly:
1. Press barrel catch lever (#25) and reinstall lubricated striker
assembly into striker channel in Receiver (#27).
2. Reinstall Striker Retention Pin (#32) from left to right.
3. Reconnect Striker Retention Spring (#11) to Striker Retention Pin
(#32)
(Caution- place spring fully in grove of pin)
4. Carefully slide on butt stock (#1) into position on receiver (#27).
5. Reinstall Butt Stock Bolt (#1) and Washer (#4). Tighten bolt with
6mm Allen t-handle wrench.
6. Reinstall Butt Pad (#2)
7. Reinstall Safety Button (#10) from right to left.
Only install
safety
button from
this side!
CAUTION: Only install the Safety Button from right to left side.
Installing the Safety Button from the other direction can damage
your Safety Button, Spring and/ or Butt Stock.
8. Reinstall barrel (#50) on to receiver (#27) and install forearm (#41).
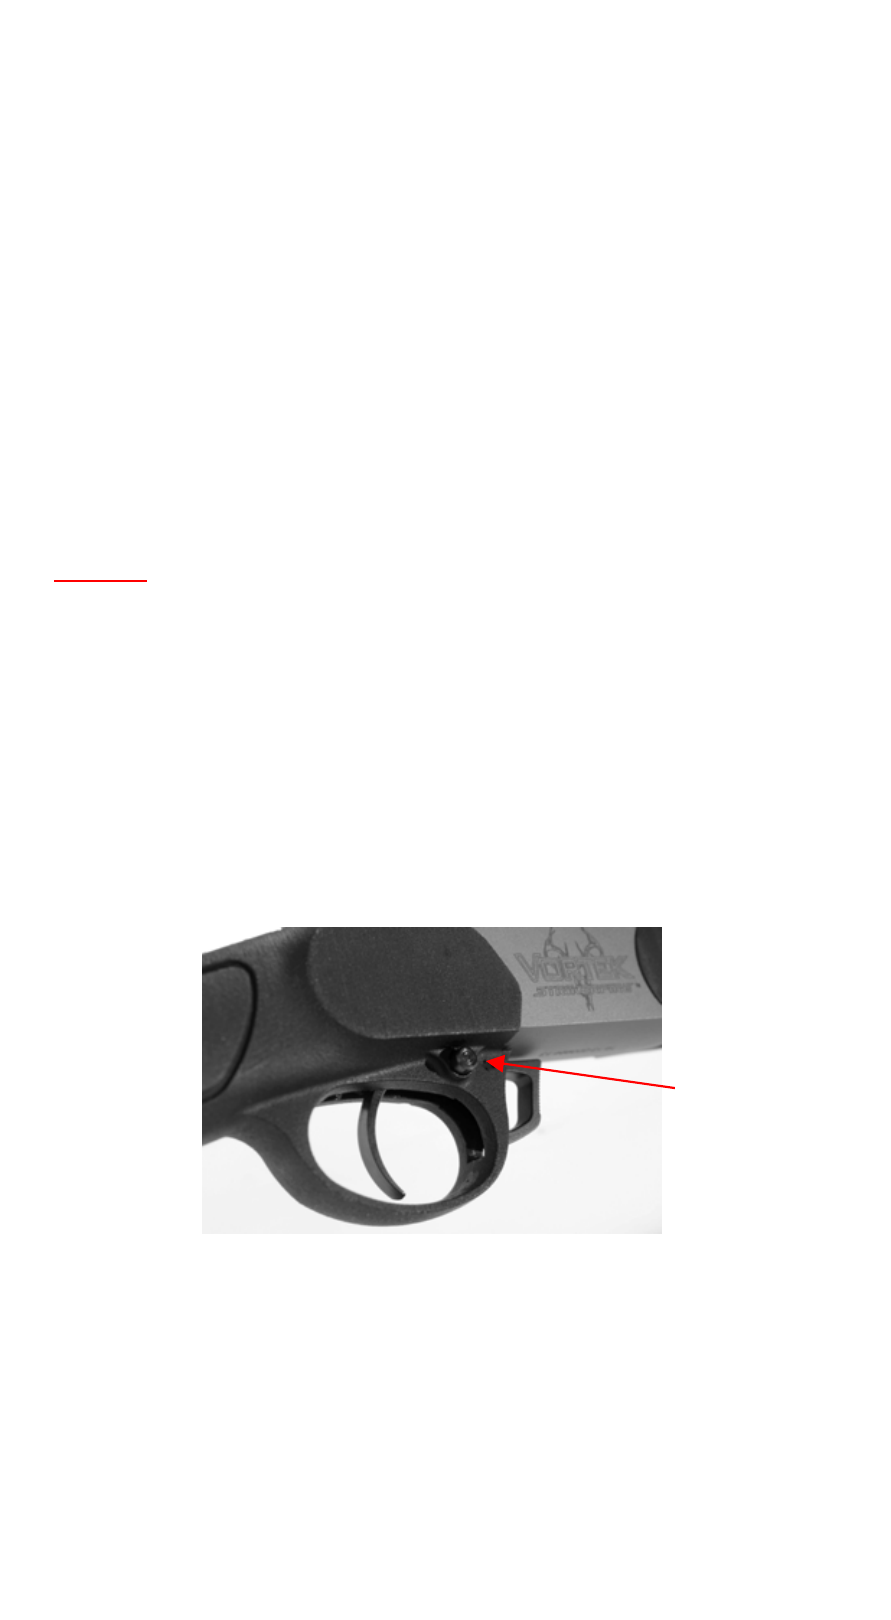
9. Install forearm screw (#40) and tighten with 4mm Allen wrench.
10. Reinstall Ram Rod (#55)
43