Switronix ReconX5 User Manual
Page 6
Thank you for your choice in purchasing the Recon X5.
This solution delivers uncompressed 1080i True Cinema video content
to your monitor.
It operates the transmission in
5.15GHz-5.25GHz, 5.725GHz-5.85GHz(non-
DFS Frequency Bands)
frequencies that can adjust its frequency auto-
matically in case of interference with another RF system.
With external antennas, it can transmit uncompressed video content
with less than a frame of latency.
Specification
Model
Video Formats
Audio Format
Antenna
Latency
Frequency
Applicable
Regulations
Interface
Audio/Video
Power Supply
Power Switch on Operation Panel
LED Light
Dimensions(mm)
RECON X5
SDI Input 1080p,1080i, 720p, 576i, 480i
Digital Audio Up to 3.072Mbps AC-3 and DTS
Omni – directional, high efficiency antenna system
Less than 1 frame
5.15GHz-5.25GHz, 5.725GHz-5.85GHz
(non-DFS Frequency Bands) US, EU, JP, CN
FCC, CE, NCC, CCC
RECON X5TX RECON X5RX
SDI Input 1 No
SDI Output 1 2
Input Battery or JetPack 11V-17V DC
1RED
POWER LED 1
VIDEO LED 1
LINK LED 1
175(W)×105(L)×3 180(W)×100(L)×32
(H) (H)
Installation
For the Recon X5 systems
with V or 3 Stus plates, you can simply
mount the transmitter as you would a
battery pack, positioning the TX
between camera and battery.
For those who have a modular system,
please see the illustration to the right
on how to “hard” mount the
modular TX to the camera and coupling
that with an optional Jetpack X power
distribution module.
Step1: RECON X5TX the transmitter:
1. Install the 2 external antennas.
2. Connect the BNC cable to the
High-Definition device's SDI OUT
socket.
3. Connect the BNC cable to
RECON X5TX's SDI IN socket.
4. Connect the JetPack or other
power supply equipment.
Step2: RECON X5RX the receiver:
1. Install the 2 external antennas
2. Adjust the DIP switch according to the input signal formats( See
RECON X5RX)
3. Connect the BNC cable to RECON X5RX's SDI OUT socket
4. Connect the BNC cable to the display device's SDI IN socket.
5. Connect the AC power supply.
Step3: Power on
Press the power switches to power on your RECON X5TX and RECON
X5RX, POWER LED indicators turn solid green.
If RECON X5TX receives SDI signals, VIDEO LED on the RECON X5
TX lights up; if the signal link between RECON X5TX and RECON X5
RX is established, LINK LED on the RECON X5RX lights up. In this case
the communication is normal, you can normally transmit signals.
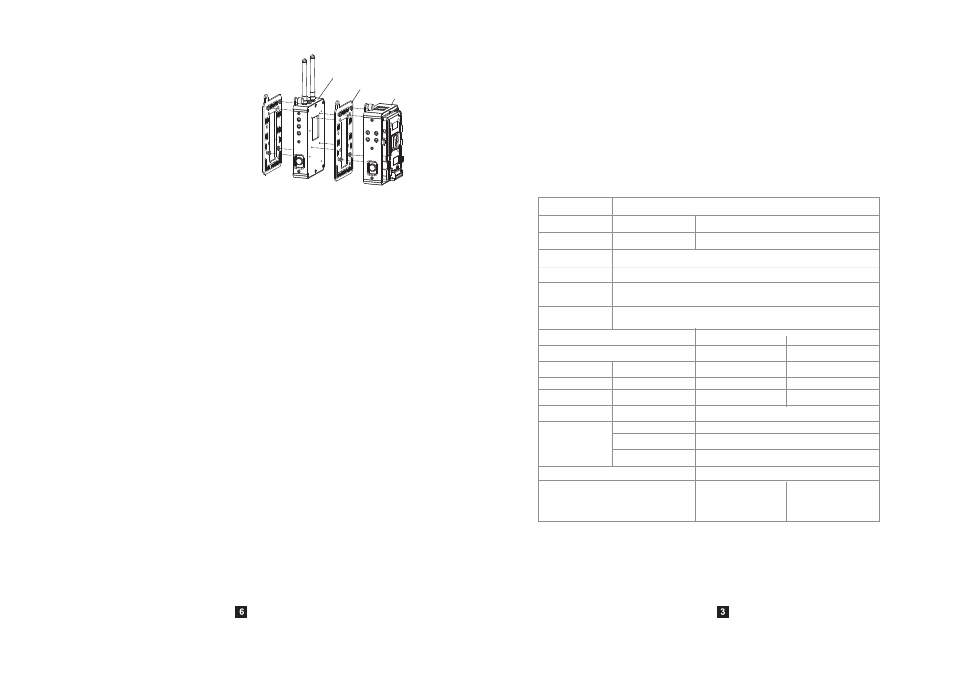
JetPack
Connecting Plate
RECON X5TX
Connect the JetPack to RECON X5TX