Nh-u9 & -u12 | installation guide, Attaching the fan, Support warranty information – Noctua NH-U9 User Manual
Page 3
NH-U9 & -U12 | Installation Guide
3
Now, your Noctua NH-U
is ready for use –
welcome to a new world
of power and silence!
In addition to the implied warranty, your Noctua NH-U cooler has a 3 years
manufacturer’s guarantee as well as an option to extend warranty up
to 5 years at no additional cost by joining the Noctua Extended Warranty
Program. To participate, free registration is required at www.noctua.at.
In case of warranty, you can either request RMA at your retailer or use our
Direct RMA Service. For further information, please consult www.noctua.
at.
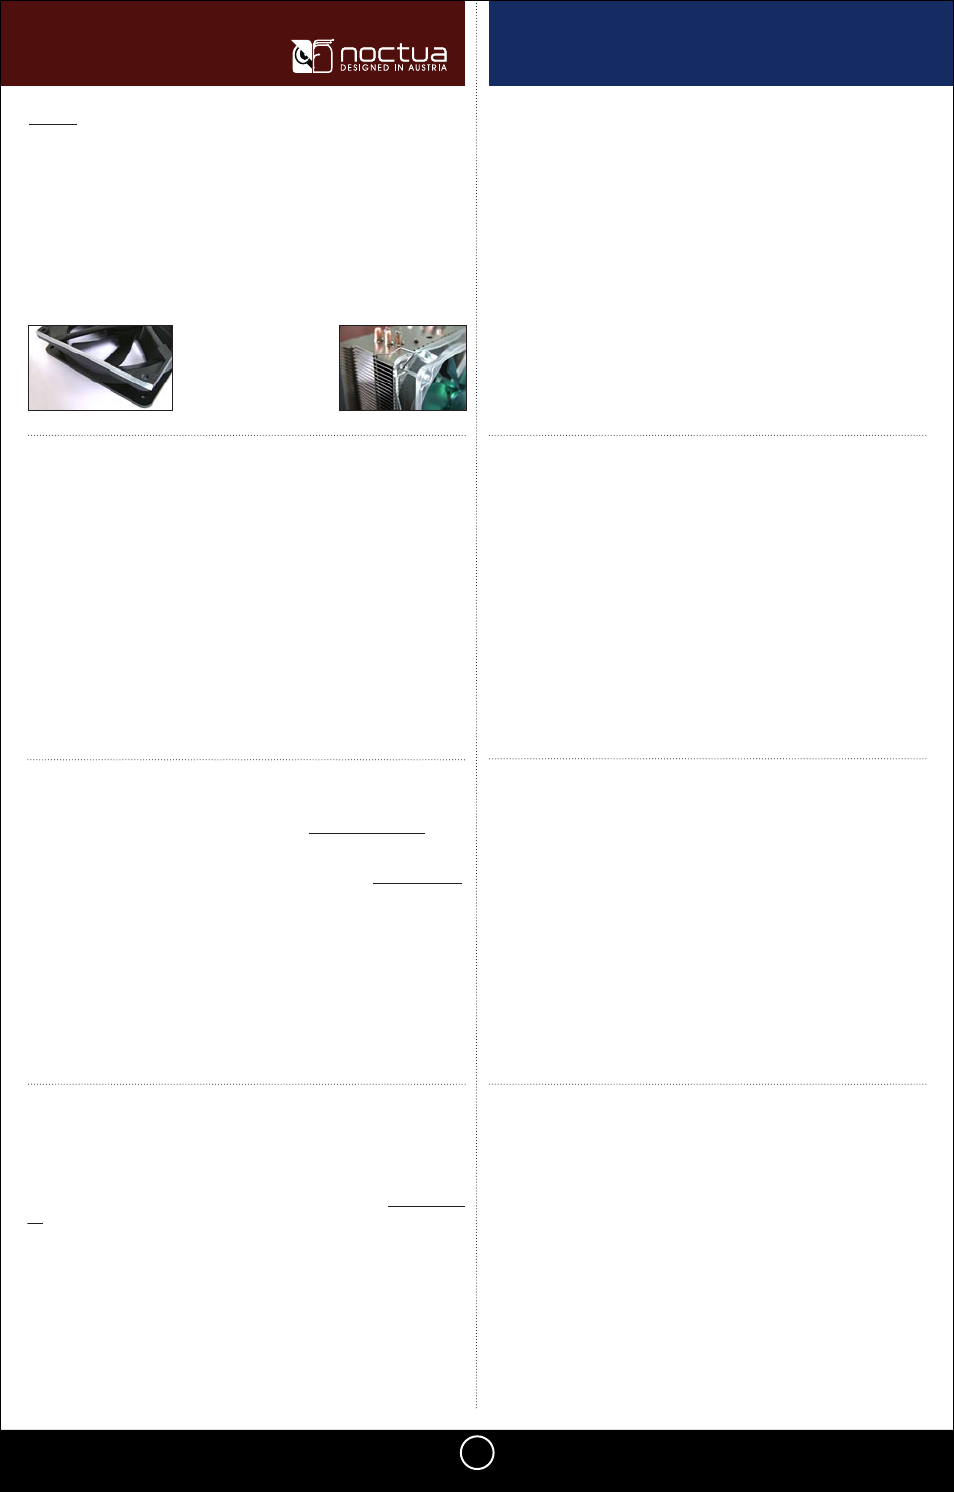
First stick the 2 anti-vibration strips onto the lower edges of the fan that are
in direct contact with the heatsink to dampen vibrations.
Then attach the fan onto the heatsink using the steel clips, placing it so
that it blows onto the heatsink. Depending on the socket orientation, the
fan should either blow towards the rear side of the case or the power sup-
ply in accordance with the airflow within the case.
Connect the fan to the mainboard, power supply or fan controller as rec-
ommended by the manufacturer.
Attaching the fan
8th Step
Illustration 15
Illustration 14
For all enquiries concerning your Noctua NH-U cooler, both your retailer
and the international Noctua support team at [email protected] are at
your service.
Please also note the FAQ section on our homepage www.noctua.at,
where we elaborate on questions that frequently arise in connection with
our products.
Support
Warranty Information
Even with high-grade products and strict quality control, the possibility of
defects cannot be eliminated entirely. Therefore, we aim at providing the
highest possible level of dependability and convenience by offering a
warranty period of up to 60 months and direct, fast and straightforward
RMA service.