Multiquip HAL 300 User Manual
Page 13
Bullfloat HAL 150 & 300 — PARTS & OPERATION MANUAL — REV. #1 (05/27/99) — PAGE 13
Operation of the Electric Bullfloat
1.
Check that the Bullfloat is properly assembled and that
the switch is in the ‘OFF’ position.
2.
Put the plug of the drive-unit’s feeder cable in the wall
socket.
3.
Place the Bullfloat in the direct vicinity of where you are
going to smooth the surface of the concrete-floor.
4.
Place the Bullfloat on the surface of the freshly poured
concrete, and turn the speed regulator slowly to the
required revolutions.
5.
Adjust the trowel blade angle.(read paragraph 2, on page
11)
6.
Now start to smooth the surface of the concrete floor by
moving the Bullfloat backwards in a slow but steady
motion.
7.
After having finished one lane of concrete, switch off the
Bullfloat immediately, by turning the speed regulator’s
knob to the position ‘Minimal’. You will hear a “CLICK”.
(Fig. 2.2, on page 11)
Tip:
If the processed concrete-surface is
not smooth
or level
enough, repeat the procedures 5
,6,7 and 8.
8.
Pull the plug of the feeder cable out of the wall socket.
9.
After use, place the Bullfloat on a dry and stable surface.
Figure 2.3
Work situation during smoothing and
compacting of the concrete floor.
HAL 150 AND 300 — OPERATIONS
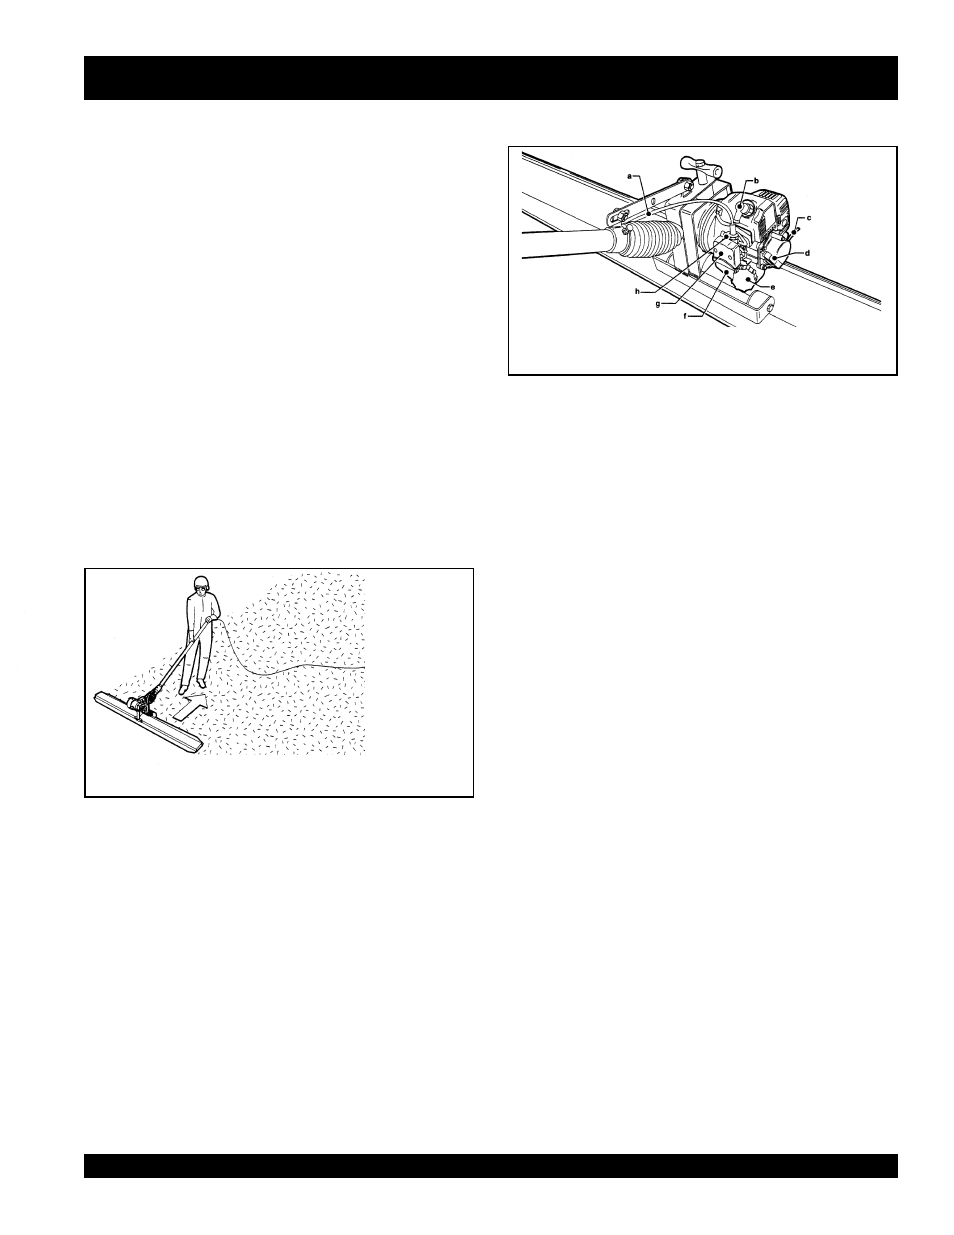
Operation of the Gas Bullfloat
a.
Throttle cable
b.
Spark plug
c.
Overflow pipe
d.
Starter rope
e.
Fuel cap and fuel filter
f.
Fuel tank
g.
Air filter
h.
Carburetor
Figure 2.4
Components of the gas-engine