Mtr-60l — operation – Multiquip MTR60L User Manual
Page 14
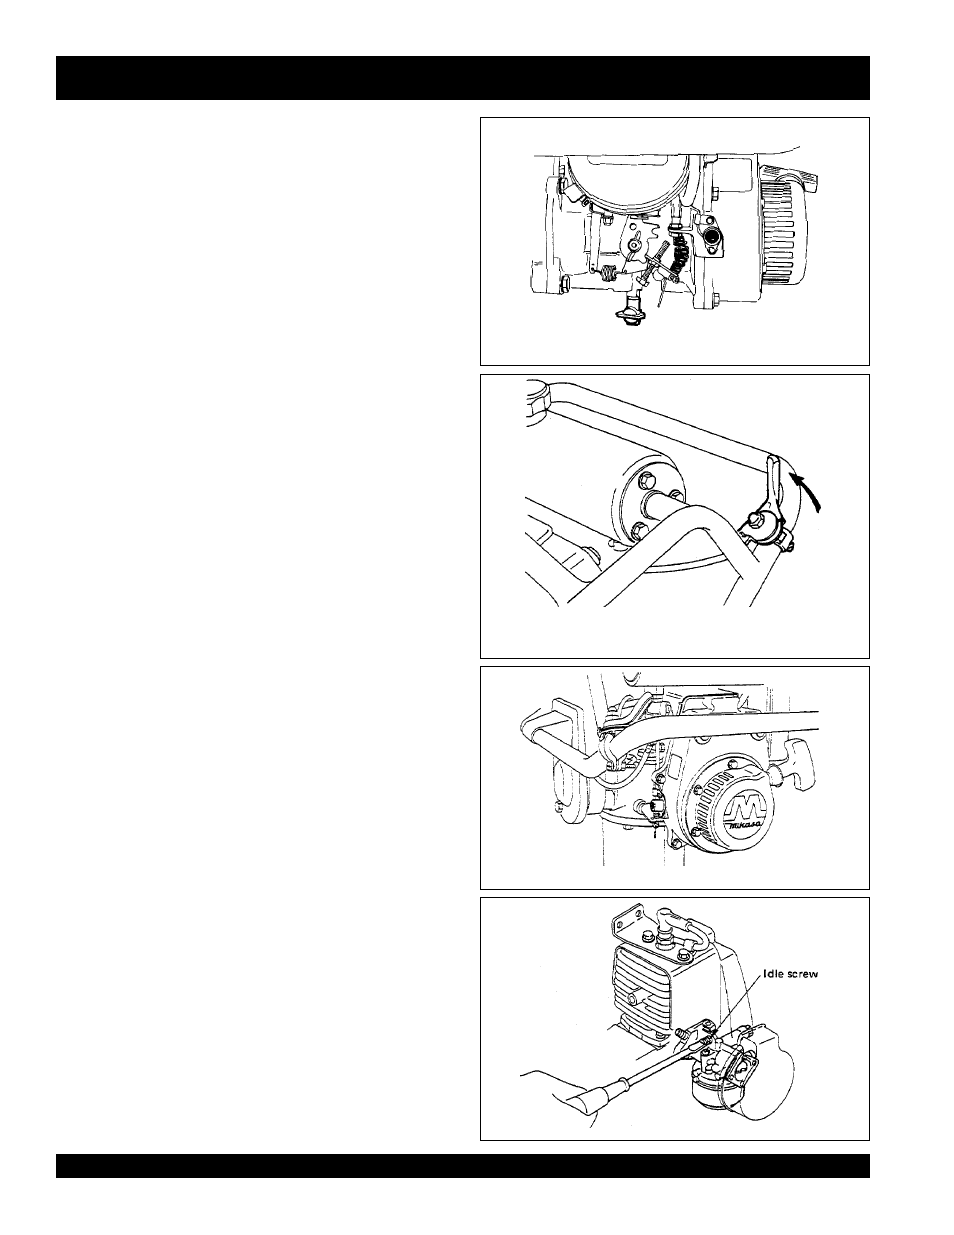
PAGE 14 — MTR-60L — PARTS & OPERATION MANUAL — REV. #7 (06/26/01)
Fig. 12
5-3.
MONTHLY (every 200 hours)
Clean the fuel filter cup and check all nuts and bolts for tightness.
5-4.
STORAGE
When storing the rammer for long periods of time, thoroughly
drain all fuel from the fuel line, carburetor, and engine.
Remove
the spark plug and put a few drops of motor oil into the cylinder
and crank the engine several times by hand.
Clean the outside
of the rammer with an oil-moistened cloth.
Cover and store in a
clean dry place.
6. Dismantling the tamping rammer
When dismantling the machine, be sure to disassemble in a
clean, dust-free area.
6-1.
Removal of the Foot: Remove the protection sleeve
(#17P17), band (#18P17), and then loosen the four nuts
(#30P17) of the foot plate (#22P17), and remove bolts (#27P17).
The foot can now be removed by lightly tapping it.
6-2.
Removal of the Foot Plate: After removing the foot, remove
the lock washer (#23P17) by loosening the bolts (#24P17).
Then remove the foot plate (#22P17) from the spindle rod
(#7P17).
6-3.
Replacement of the Springs:
a. Loosen the four bolts which connect the guide cylinder and
crankcase . Separate them, and locate the cylinder pin.
b. Remove the cylinder pin by taking off the stop rings fitted to
the cylinder cap (bottom), and the spring cylinder and the
crankcase can be completely separated.
c. Next, remove the four bolts which connect the double guide
and guide cylinder.
The complete spring cylinder can be
removed with the foot plate.
d. Remove the cylinder cap (bottom) by loosening it gradually.
CAUTION: Be careful when removing the cylinder cap (bottom),
as springs may spring out.
Spring replacement should be made
in set only.
6-4.
Replacement of the Crank Gear: Remove cylinder pin,
guide cylinder, crankcase, front cover, bolt, and lock washer,
and connecting rod.
After removing bearing cover and
Hexagonal socket bolt , hit the crank gear from engine side,
and remove.
6-5.
Replacement of Clutch: The engine, and the Clutch Assy.
can be taken off by loosening bolts.
When removing the clutch
shoe, take off the washer to prevent turning the front clutch
guide, clutch guide , and clutch spring.
Replace the clutch shoes
as one complete set.
Fig. 10 — Moving the throttle lever to the “ON”
position quickly
Fig. 11 — Stop button
Fig. 9 — Drain plug
MTR-60L — OPERATION