User instructions – Lightforce HID UPGRADE KIT User Manual
Page 2
User Instructions
SAFETY NOTES
DO NOT CUT ANY PART OF THE BALLAST OR BULB CABLES
DO NOT EXTEND THE CABLE BETWEEN THE BALLAST AND THE BULB
ALWAYS DISCONNECT POWER BEFORE DISASSEMBLY OF LIGHT
ALWAYS WEAR SAFETY GLASSES WHEN HANDLING ANY BULB
DO NOT HANDLE THE GLASS SECTION OF BULB
Handle the base of bulb only, if glass gets dirty then clean with Isopropyl Alcohol or Methylated Spirits.
READ ALL INSTRUCTIONS BEFORE COMMENCING INSTALLATION
Box Contents
Tools Recommended
INSTRUCTION DATA
PRODUCT: LANCE HID
STRIKER HID
BLITZ HID
VER:
2.0
DATE:
JANUARY 2009
1x HID Bulb and Bulb Holder
1x 3mm Buttonhead Set Screw
1x Ballast
1x Rubber Grommet
1x Loom for Ballast
2x Sections of Heat Shrink
2x High Voltage Connectors
1x User Instructions
1x 2mm Hex Key
1
6
Operating Voltage at Ballast
Mounting Fastener Torque Specifications
For 12V Light – 9-16VDC, Nominal – 12.8VDC
All M10 bolts - 70Nm (50lb-ft)
For 24V Light – 21-29VDC, Nominal – 25.6VDC
Recommended Operating Temperature (ambient)
-40°C > +40°C MAXIMUM
-40°F > +104°F MAXIMUM
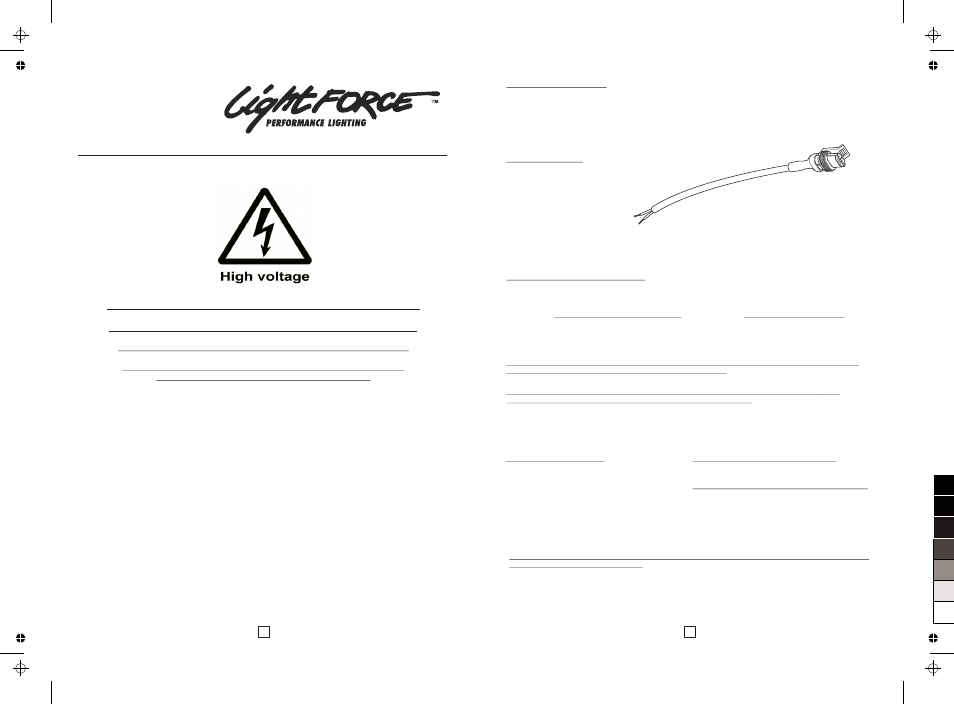
Electrical Connections
The ballast is fitted with a waterproof electrical connector. Also included is the mating
connector fitted with a length of cable (loom adaptor) - for connection with the existing
wiring harness.
Ballast Mounting
l
Locate suitable position to mount ballast
l
Fasten ballast to the desired location
l
Run cable to light and connect
Fitting Supplied Loom Adaptor
l
Strip the outer insulation (approx 5mm) from the end of your existing or new driving
light loom.
l
If using heatshrink, slide this on the cable now!
l
Connect BLUE wire to the POSITIVE (+) on your loom, BROWN to NEGATIVE (-).
l
Connect (solder recommended) your loom cables and check for integrity.
l
Insulate all connections (shrink heatshrink if using) to protect from electrical hazards
and weather.
IMPORTANT: DO NOT REMOVE CONNECTOR FROM BALLAST CABLE; THIS WILL
LEAD TO WATER INGRESS AND VOID WARRANTY
CAUTION: IMPROPER INSTALLATION OF THE TERMINALS AND CONNECTOR WILL
AFFECT THE RELIABILITY AND OPERATION OF YOUR LIGHTS
Specifications
Wire stripper
Soldering iron
Heatgun
1mm (1/32”) jewellers screw driver
3mm (1/8” )drill bit
7mm (9/32”) dill bit
Medium sized screw driver
General Care and Safety Tips
CAUTION: NEVER USE ANY SOLVENT BASED CLEANERS OR INDUSTRIAL DETERGENTS
WHEN CLEANING YOUR LIGHTS.
0
5
25
75
95
100