Hydro-Logic StealthRO200 - Electronic Shut-off Kit User Manual
Page 4
Blow through the threaded end of the mechanical float valve and go through the range of motion to
make sure it’s not being obstructed from either full flow or full shut-off. Make the necessary
adjustments until the mechanical float valve works properly.
Install the Solenoid Valve onto Feed Line of
Stealth-RO
™
Pick a spot anywhere and cut the 3/8
” feed line of the Stealth-RO™. Make sure the cut is clean and
square and the tubing in not crushed.
Push both ends of the 3/8” tubing in to the quick connect fittings
of the solenoid valve.
Look for arrow on the bottom of the solenoid valve and make sure it’s in the
correct direction for the flow of water.
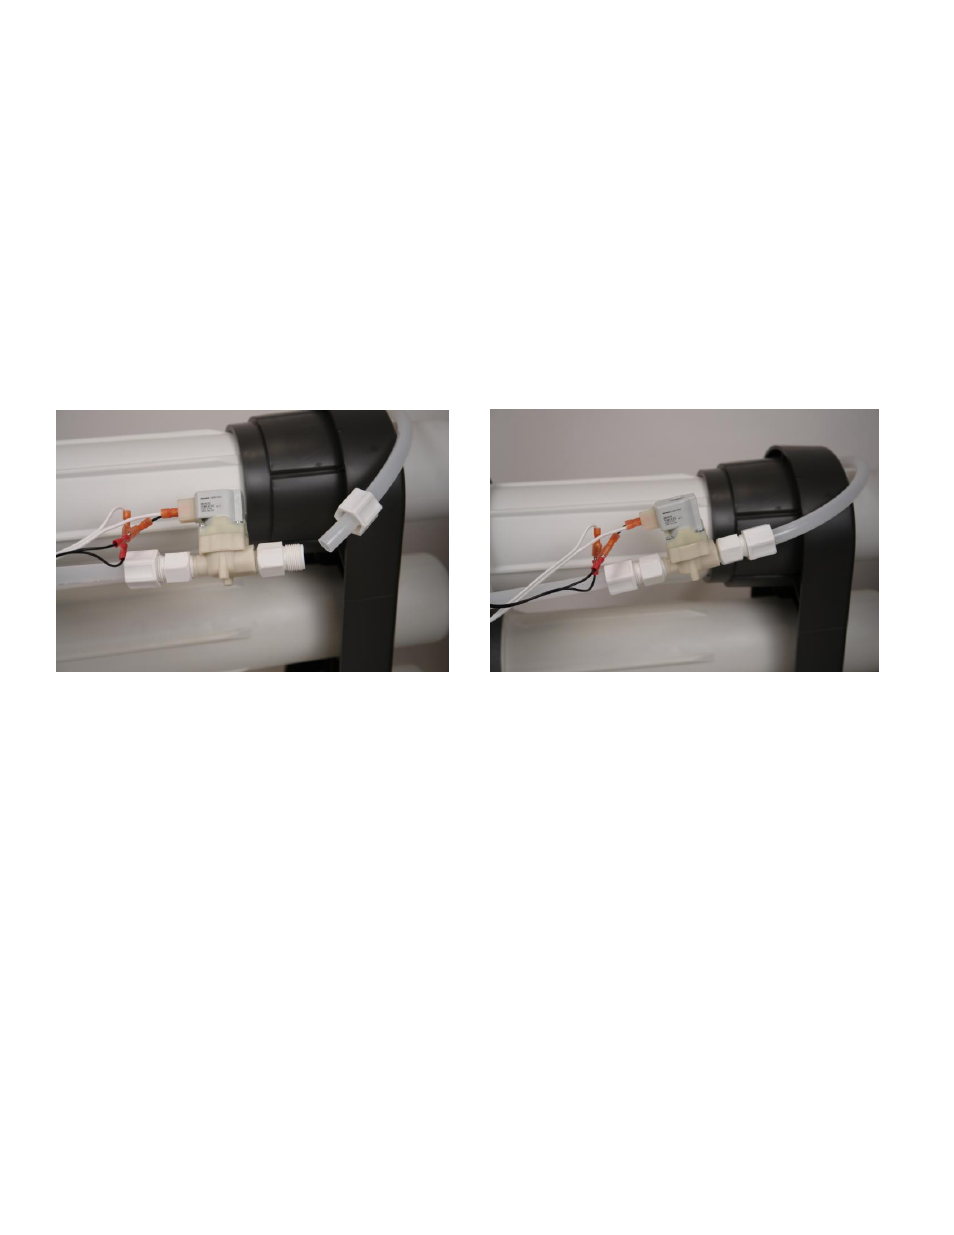
(see pictures A, E, F)
E. (Stealth-
RO kit has 3/8” fittings)
F.
The last step is connecting the two male tabs at the end of the electronic float switch’s cable to the
two female connectors
(see pictures E & F).
One female connector comes from the transformer and
the other is from the solenoid valve
(see picture A).
Once the system is connected you can plug in the
transformer to standard 120v power. The water can be turned on to the Stealth-RO and the reservoir
or tank will start filling. Any time you pull water out of the reservoir or tank the electronic float switch
will drop and the Solenoid Valve will open. With the valve open, the Stealth-RO
™ starts producing
water until the water level trips the electronic float switch, turning off the Stealth-
RO’s™ feed water
and therefore the RO and drain lines.
NOTE:
If using the Electronic Shut-off Kit with the optional Stealth-RO
™ booster pump, you must install the kit down
stream of the pump and before the Stealth-RO
™.
Setup goes as follows:
Feed water line goes into booster pump first, then the electronic shut-off kit, then the Stealth-RO
™.
Contact your dealer for assistance or call technical support at:
888-H2O-LOGIC / (888-426-5644)
Warranty:
Limited One Year on All Components.