GAM Pattern User Manual
GAM Lighting
Page 1 of 2
www.rosco.com
GAM Product #PM101
Rosco Product # 250 8010 10660
PRODUCT INSTRUCTIONS
GAM strives to see that every gobo pattern you receive
meets exacting quality standards. GAM inspects each
and every pattern before it is sold. GAM also has an on-
going research program to insure that the best possible
materials; the steel, the chemicals used for the etching
process, and the best possible etching equipment are
used in the manufacture of GAM Gobo Patterns.
The design area should be free of nicks and scratches.
The pattern is only one aspect of getting the best image.
The type of pattern holder is also important. Heat plays
a critical role in the performance of a pattern. You want
to dissipate the heat from the pattern. The best type of
pattern holder is the ‘sandwich style’ holder, which firm-
ly grips the pattern all around the design and aids in
heat dissipation. The faster heat is drawn away from the
pattern the longer it will last. The ‘sandwich style’ pattern
holder also precludes accidental dropping of the pattern
into the gate of the fixture during insertion and removal.
It also aids in maintaining a uniform focus.
The life of a pattern and the quality of the image are
dependent on the pattern itself and on the fixture used to
project the image. Stainless steel patterns can warp and
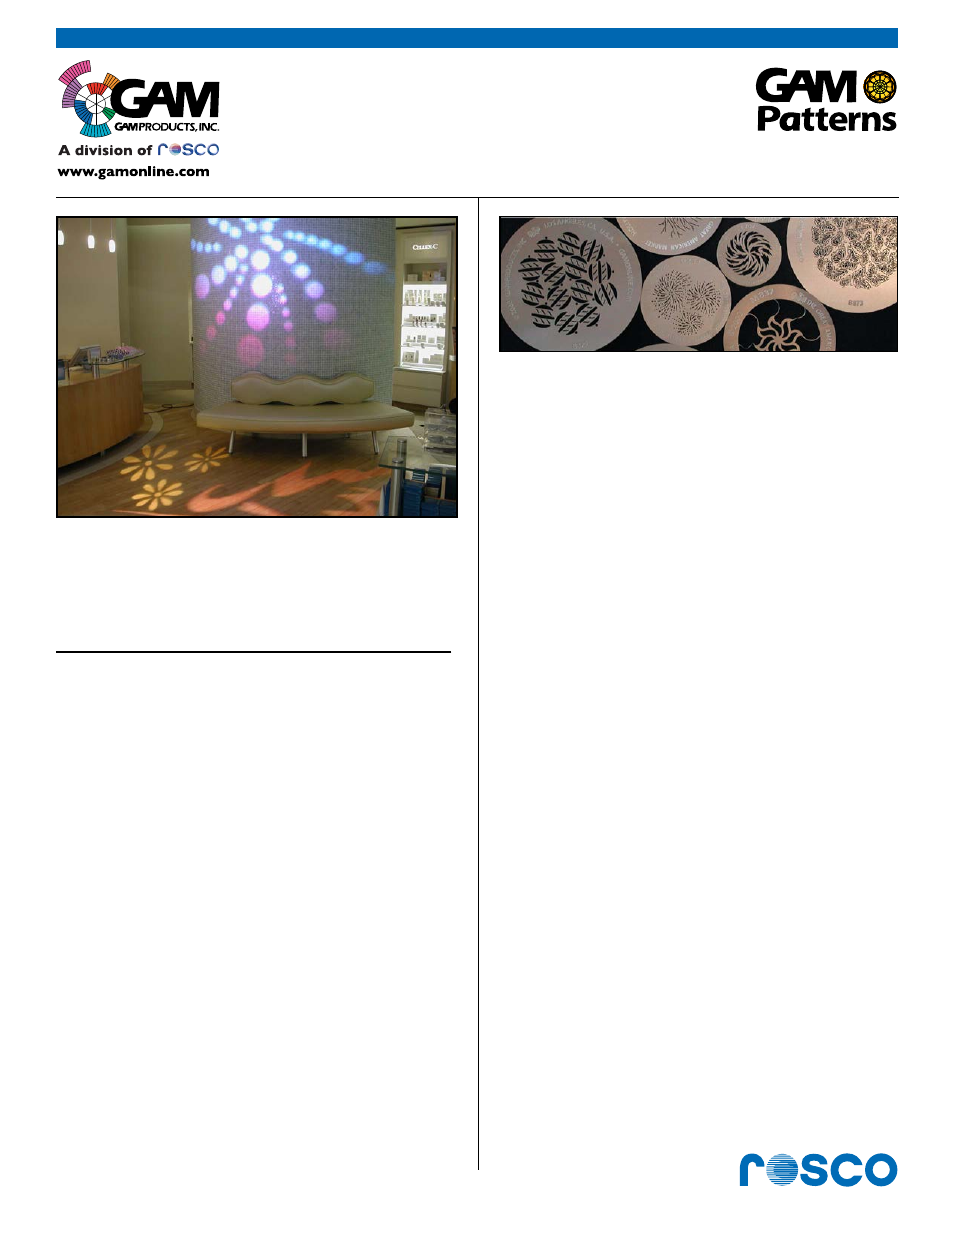
Patterns #319 Circles, #258 Daisy Pattern & #387 Concept 1
projected in Purescape retail store
burn from the concentration of heat on the surface. This
concentration at the gate is inherent in the optical design
of the ellipsoidal spotlight. Some fixtures are designed
“hotter” than others and therefore are harder on the
patterns used in them. It is important to have your ellipsoi-
dal spotlight cleaned and aligned for projecting images.
A little maintenance will greatly improve the quality of the
images and extend the life of the pattern.
You will need to take the ellipsoidal spotlights apart to
clean the lenses and then you will need to optically align
the lamp. Every make and model of ellipsoidal is differ-
ent. If you are not sure how to do this, check with the
manufacturer of the ellipsoidal or the local stage light-
ing dealer. One of those two sources should be able to
provide the needed information. In order to get the best
possible image and extend the life of your patterns, three
tasks need to be performed.
Clean the lenses, clean the reflector and finally, the lamp
(bulb) needs to be optically aligned. These three steps
will greatly enhance the quality of the image and extend
the life of your patterns. All of us have looked into the
lens of a light and asked ourselves “is there a frost gel
in that light”? In most cases, it is likely that the lens is just
dirty. The first step is to remove the lens barrel from the
fixture. Be careful to keep track of the knob when you
remove it. Try putting it back in the lens barrel if possible.
If that is not possible, make sure you put the knob in a
safe place. Replacement knobs can be hard to find.
Once you have the lens barrel out, take out the lens-
es. Make sure to keep track of where each lens goes
and how each is oriented. You will greatly affect the
output from the ellipsoidal if you put a lens in the wrong
place or the wrong orientation. Now, clean the lenses.
Some lenses have a coating on them, so only use clean
distilled water and a soft lint free cloth. Before you put
the lenses back in the lens barrel, make sure that the
lenses are truly clean, free of fingerprints, and are in the
correct place and orientation.