Chapter 2: hardware installation – chiliGREEN P4VTGM User Manual
Page 8
P
P
4
4
V
V
T
T
G
G
-
-
M
M
8
CHAPTER 2: HARDWARE INSTALLATION
2.1 C
ENTRAL
P
ROCESSING
U
NIT
(CPU)
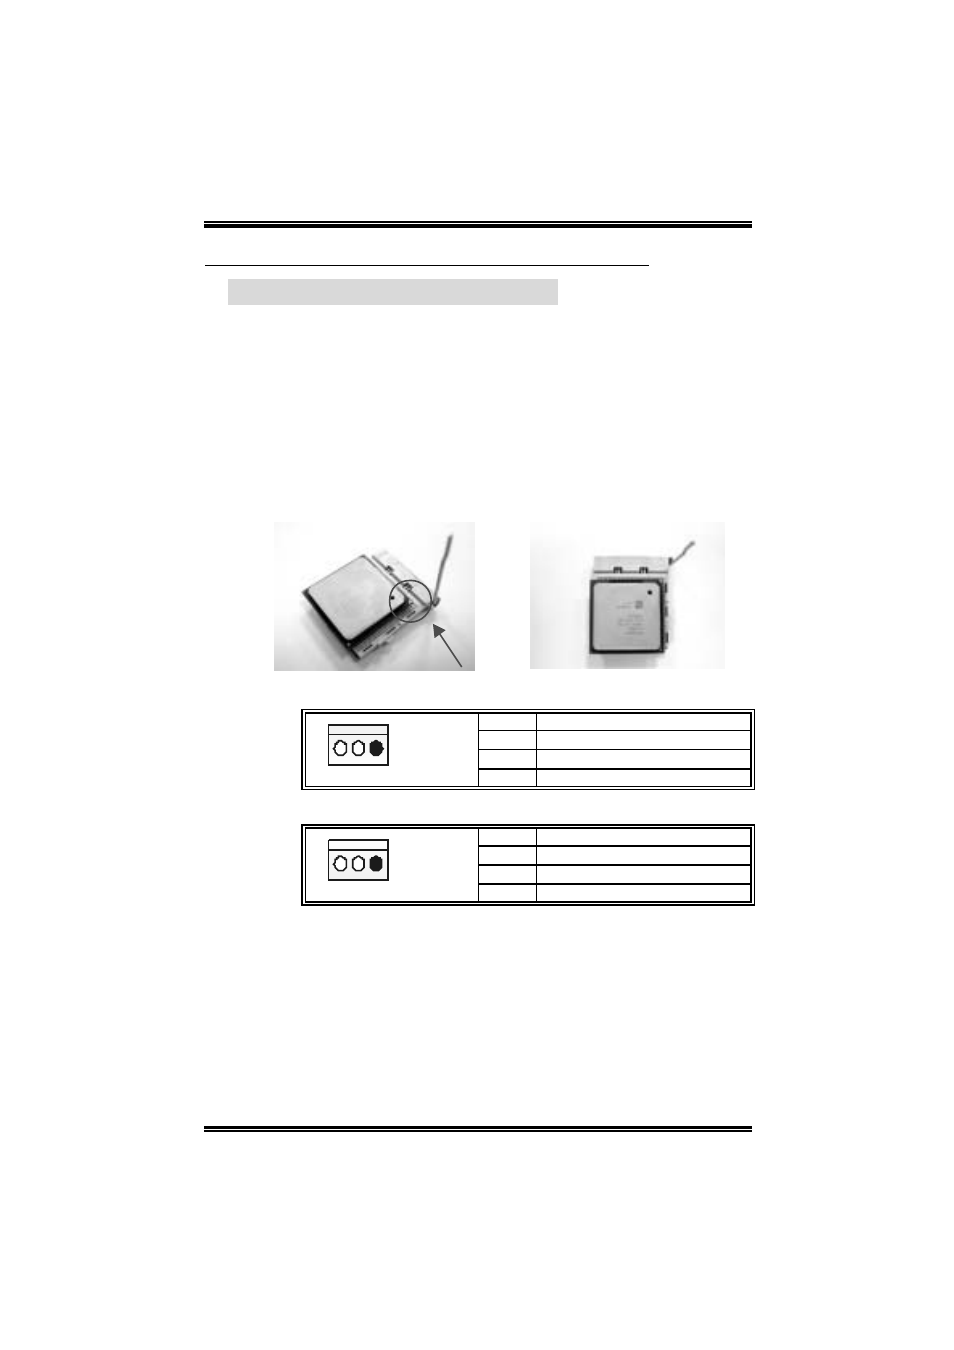
Step 1: Pull the lever sideways away from the socket and then raise
the lever up to a 90-degree angle.
Step 2: Look for the white dot/cut edge. The white dot/cut edge should
point wards the lever pivot. The CPU will fit only in the correct
orientation.
Step 3: Hold the CPU down firmly, and then close the lever to complete
the installation.
Step 4: Put the CPU Fan on the CPU and buckle it. Connect the CPU
FAN power cable to the JCFAN1. This completes the
installation.
C PU FAN He ade r: JC FAN1
Pin Assignment
1 Ground
2 +12V
1
JCFAN1
3
FAN RPM rate sense
System Fan Heade r: JSFAN1
Pin Assignment
1 Ground
2 +12V
1
JSFAN1
3
FAN RPM rate sense
Note:
The CFAN1 and SFAN1support system cooling f an with +12V. It
supports 3 pin head connector. When connecting with wires onto
connectors, please note that the red wire is the positive and should be
connected to +12V, and the black wire is Ground and should be
connected to GND.