Grind – ArcOne Auto-Darkening Filters (Singles, Hawk, Viper) User Manual
Page 3
X450V: Press and hold the Select button, to change sensitivity from standard sensitivity to TIG; a LED
will indicate when TIG and/or Delay modes are activated (see Fig 1).
X54Di: Press the SENSITIVITY button to change sensitivity from standard sensitivity to TIG; an LED will
indicate when TIG mode is activated (see Fig 1). Press the DELAY button to change the delay setting;
an LED will indicate either FAST or SLOW. (See Fig 1).
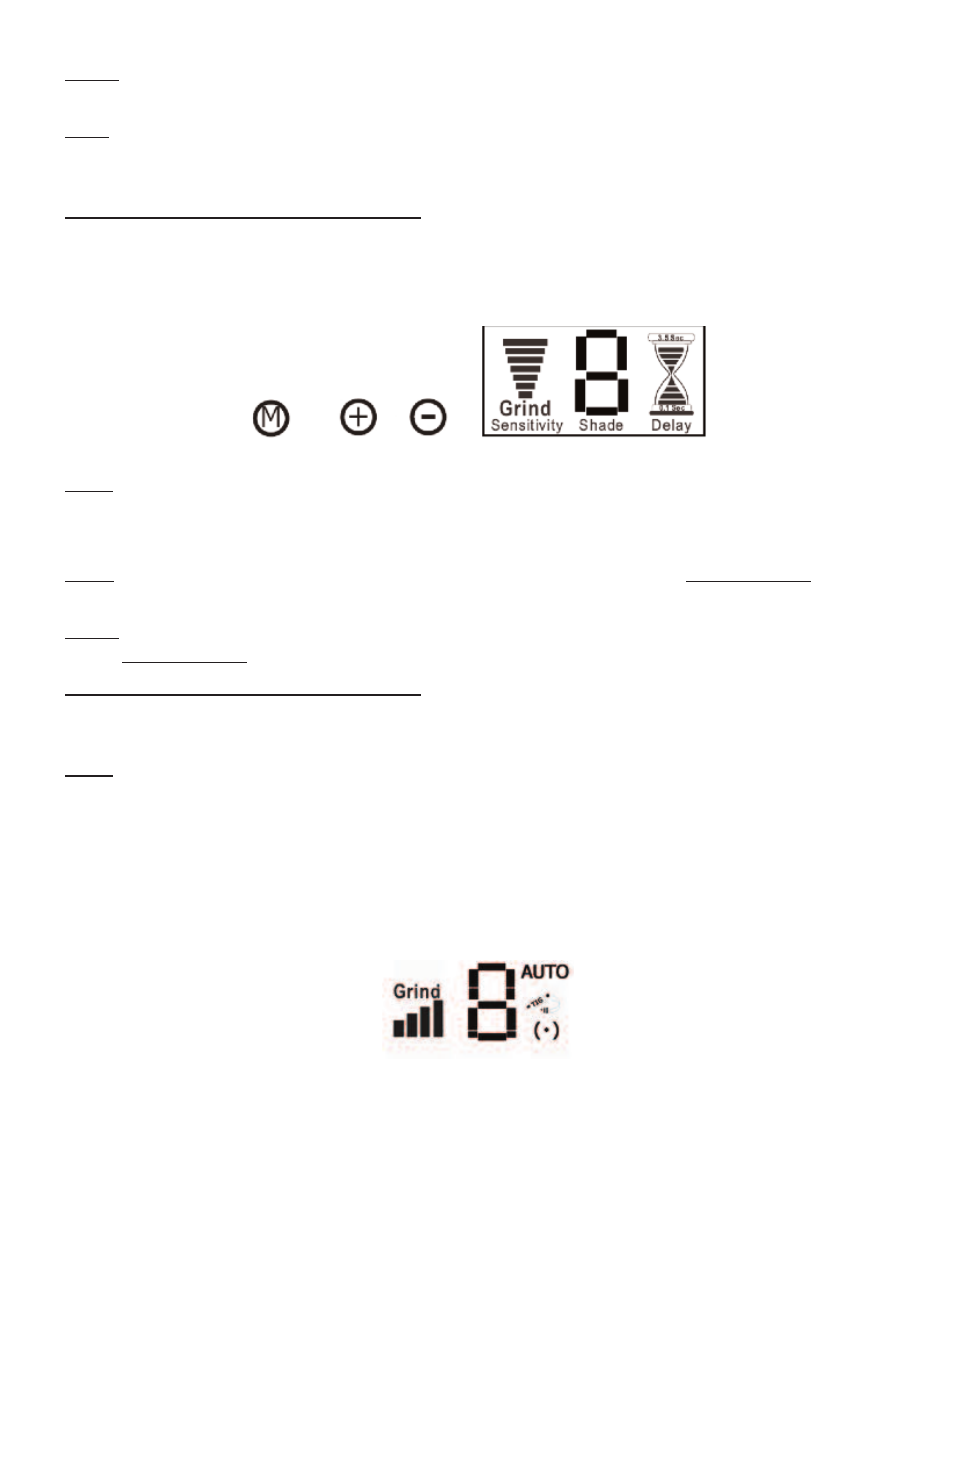
X35V, X540V, X54V, X60V, X81V, and X54Vi: Press “M” button till “Sensitivity” flashes. Use the “+” and
“-” buttons to increase or decrease; more bars equals higher sensitivity. Press “M” button till “Delay”
flashes. Use the “+” and “-” buttons to change delay from 0.1 to 3.5 seconds (see Fig 3). Note: the
function buttons may be located to either side of the digital display depending on the model. Refer to
the front cover of this manual for the configuration of each model.
iDF81: Change the sensitivity with external control (see Fig 2). Sensitivity Level is not displayed on
iDF81 LCD readout. Press Delay button to change delay bars from 0.1 to 3.5 seconds (see Fig 4).
Grind
X54Di: Press the SENSITIVITY button until the LED indicates GRIND. Press (DO NOT HOLD) again to
turn off (see Fig 1).
X450V: Press and hold the GRIND button until the LCD flickers to indicate the change to grind mode.
Press (DO NOT HOLD) again to turn off grind mode; the LCD will not flicker (see Fig 1).
X35V, X540V, X54V, X60V, X81V, and X54Vi: Press the “M” button until “Sensitivity” flashes; while
flashing, press the “-” button until the word “Grind” appears. Adjust sensitivity until you see at least one
(1) bar to reactivate the lens (see Fig. 3).
iDF81: Turn sensitivity knob counter-clockwise until it clicks and the LCD readout displays Grind.
(***NOTE: Other modes will not work when in Grind Mode, see Fig 4).
Intelligent Darkening Filter (iDF) Modes (see Fig 4)
The iDF comes equiped with two modes: Auto-Variable and iTig. To switch from one mode to the other
Press AND Hold down the Mode button for two seconds. To cycle through modes continue depressing
the Mode button.
Auto-Variable Mode: LCD displays “AUTO” (see Fig. 4). Filter automatically responds to the intensity
of the welding arc and sets the filter to the appropriate dark shade. The user can further adjust the dark
shade up or down for comfort while the “(٠)” flashes. The setting will be saved in a memory slot. This
mode has 8 memory slots, one for each shade number 7 thru 14; i.e. shade 7 = memory 1, shade 8 =
memory 2, etc. The user can reset all memory slots by Pressing and holding both Mode and Delay
buttons for two seconds.
iTIG Mode: Upon entering iTIG mode, where LCD displays “TIG” icon and flashing “(٠)” (see Fig. 4),
user first sets the lower desired shade while the “(٠)” flashes. After approximately 5 seconds of not
turning the shade knob the flashing stops and the user can then set the desired upper shade. The user
can reset memory by Pressing and holding both Mode and Delay buttons for two seconds.
- 2 -
Figure 3: Controls with LCD Readout (X35V, X540V, X54Vi, X54V, X60V and X81V)
Figure 4: LCD Readout (iDF81)