Step 6: install pondless, Waterfall vault, Step 4: prepare base – Aquascape Pondless Vault (49000) User Manual
Page 4: Step 5: install geotextile and liner
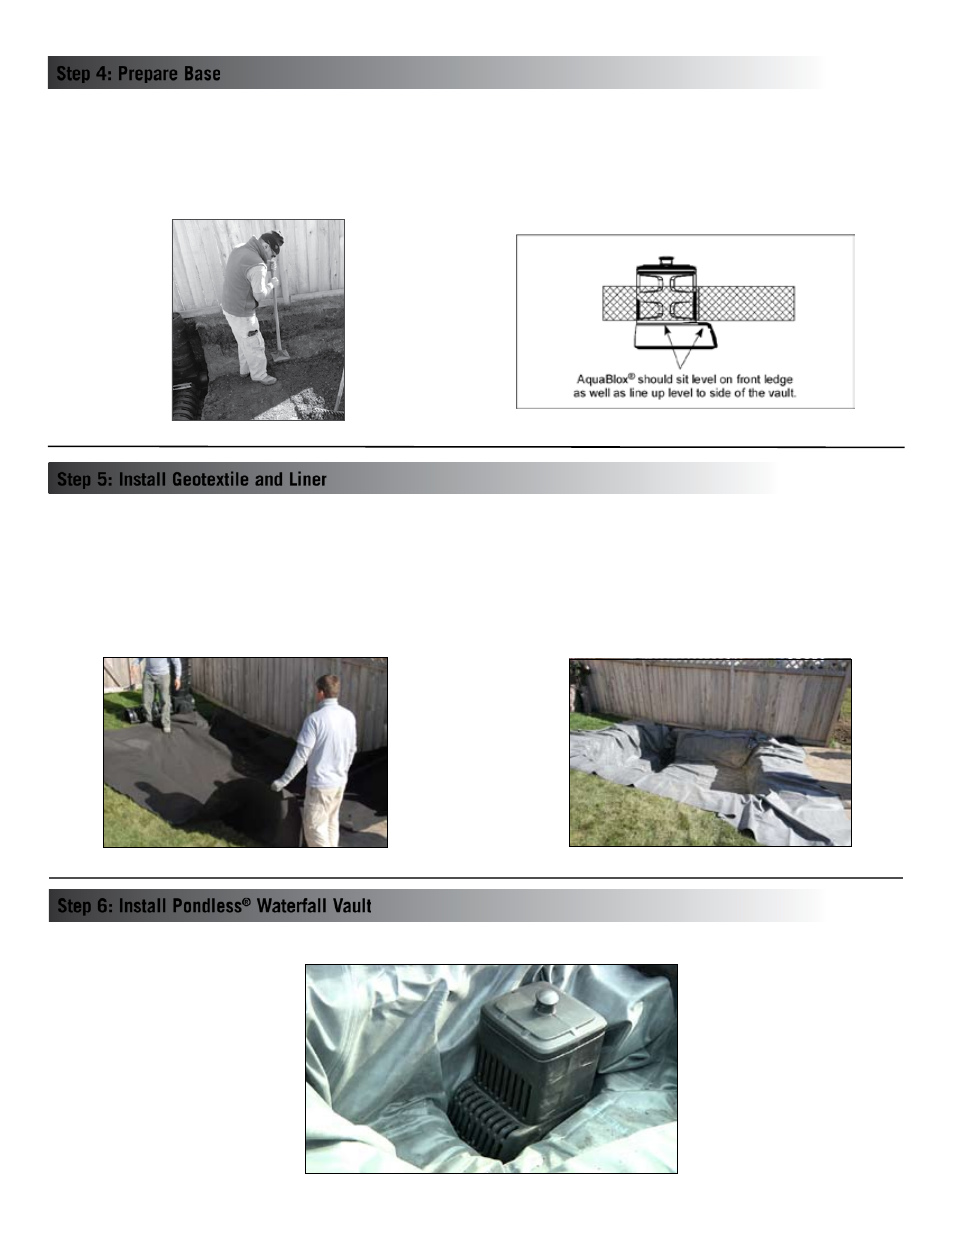
4
Place Pondless
®
Waterfall Vault into its proper location
Step 6: Install Pondless
®
Waterfall Vault
The base of the excavation should be smooth soil, flat and free of lumps and debris. Check the size and depth of the excavation by placing the Pondless
®
Waterfall Vault and AquaBlox
®
into the excavated area. The AquaBlox
®
should sit level on the front ledge of the Pondless
®
Waterfall Vault, as well
as line up level to the side of the vault. See diagram below for example. There should be approximately 6” between the AquaBlox
®
and the soil. Add
compactable material such as sand, if existing soil conditions do not meet requirements listed above. The compactable material should be spread to a
4” minimum depth and compacted.
Step 4: Prepare Base
• Install Outer Geotextile - Lay the geotextile into the excavation covering the bottom and sides. Multiple sections of geotextile can be overlapped to
accomplish complete coverage.
• Install Liner - Lay the liner into the excavation and position to cover entire storage basin. Do not trim the excess liner material until later in the
project.
• Optional Inner Geotextile - An optional second layer of geotextile may be used within the lined storage basin. The second layer is wrapped around the
bottom and sides of the AquaBlox
®
helping further protect the liner from the edges of the AquaBlox
®
. The secondary inner layer of geotextile is especially
useful protection on bigger storage basins that contain a larger quantity of AquaBlox
®
.
Step 5: Install Geotextile and Liner