Lay plumbing, Excavate your pondless, Waterfall basin – Aquascape PRO-Fit MicroPondless (29637) User Manual
Page 2: Step 4 locate & mark out your pondless, Place filters into position step 1 step 2, Step 3
At this point, please refer to the “Hook Up and Level BIOFALLS
®
Filter” step of your BIOFALLS
®
/ Endless Cascade Manual!
2
• To eliminate the need to dig a
trench, lay the PVC flex pipe in
place, along the edge of the
Pondless
®
Waterfall basin,
before excavation.
• The PVC flex pipe can withstand
extreme weather conditions so it is
unnecessary to dig a deep trench.
• To eliminate the frozen and
potentially broken PVC flex pipe,
the pipe should be sloping down
from the waterfall to the Pond-
less
®
Vault to help drain as much
water from the line as possible.
(See fig. 2)
Lay plumbing
Fig. 2 Pondless
®
Waterfall Detail.
The shape and depth
• We suggest excavating the basin
no more than 24" deep. This
depth provides the proper water
volume in the basin to operate
the waterfalls.
(See figs. 3 and 4)
• All of the soil removed from the
excavation can be spread and
compacted around the BIOFALLS
®
filter, creating a berm. The filter
should be completely surrounded
by soil by the end of the project.
(See fig. 5)
Excavate your Pondless
®
Waterfall Basin
Fig. 5 Soil backfilled around the BIOFALLS
®
filter helps hide the filter
and creates a planting berm.
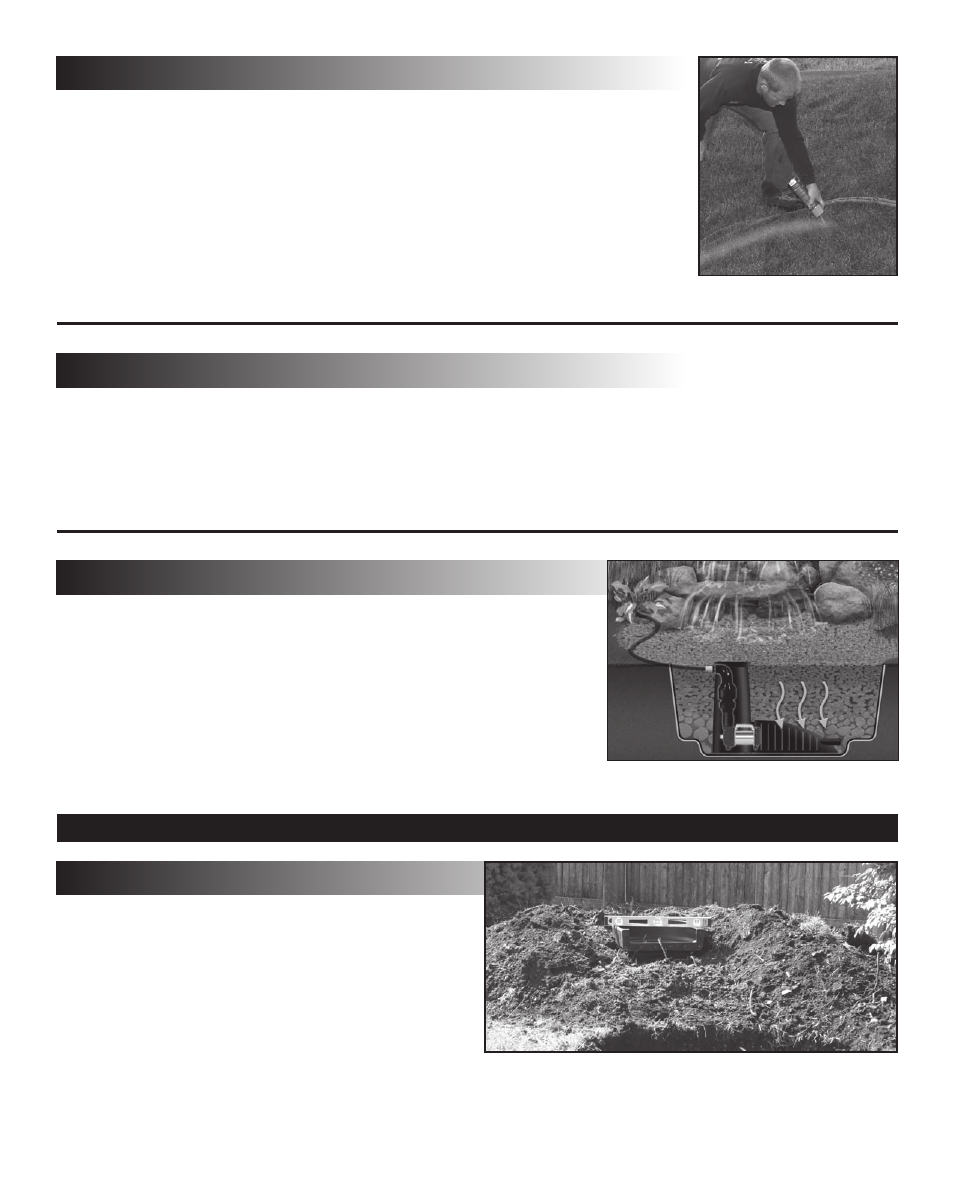
STEP 4
Locate & Mark Out Your Pondless
®
Waterfall Basin
• We suggest that you use a plain
old garden hose to define the
shape of your new water feature.
The hose is flexible, and can be
pushed and pulled in various
shapes. Step back, evaluate and
modify your design until you have
something that you really like.
• Double check to make sure the
length and width of your layout
does not exceed the amount of
liner required for the pond.
• Be sure to locate the water gar-
den close to a patio, deck, porch,
or other hardscape. Also, keep in
mind viewpoints of the water gar-
den and waterfalls from inside.
Try to make it visible from the
kitchen, family room, or bedroom
for year-round enjoyment.
• Once the water garden is shaped
and defined with the hose, take
a can of brightly colored, highly
visible spray paint and outline
the shape (around the hose) on
the grass.
(See fig. 1)
• Since the BIOFALLS
®
filter is
typically the main waterfall, it
should be positioned so it’s facing
the main viewing areas.
• Make sure it is placed close to the
edge of the Pondless
®
Waterfall ba-
sin so you can use the pond liner to
connect up to the BIOFALLS
®
filter
- unless you’re adding a stream.
Adding a stream will require the
BIOFALLS
®
filter to be set further
away from the Pondless
®
Waterfall
basin and will require an extra
section of stream liner.
Place filters into position
STEP 1
STEP 2
Fig. 1 Spray paint and outline the shape.
STEP 3