Building the stream, Creating the waterfall cont, Waterfall lights (optional) – Aquascape PRO-Fit Classic Biofalls Filter (29893) User Manual
Page 4: Excavation of the stream, Installation of liner and rocks
4
Rock
Rock
2 feet
Liner
Liner
2 feet
Small Rocks
foam. The black waterfall foam
will come in handy when filling
other gaps between the stones
that water is flowing over. The
foam keeps the water flowing
over the top of the waterfall
stones. Without the black water-
fall foam, you may lose some of
the impact of your waterfall as
water travels beneath the rocks.
• Place smaller rocks on the rock ledge
inside the BIOFALLS
®
filter to help
hide it in the landscape.
(See fig. 13)
Creating the Waterfall cont …
Fig. 1 If a thick rock along with a larger flow pump is used, the water flow may
be so great that it will flow over the sides of the BIOFALLS
®
filter.
Fig. 11 If using a natural rock for your waterfall weir, make sure that
it is fairly thin (no more than 3/4").
Fig. 13 Place smaller rocks on the rock ledge in the BIOFALLS
®
filter.
Fig. 10 Place two larger boulders on either side of the waterfalls you are
creating in order to “frame” the waterfalls.
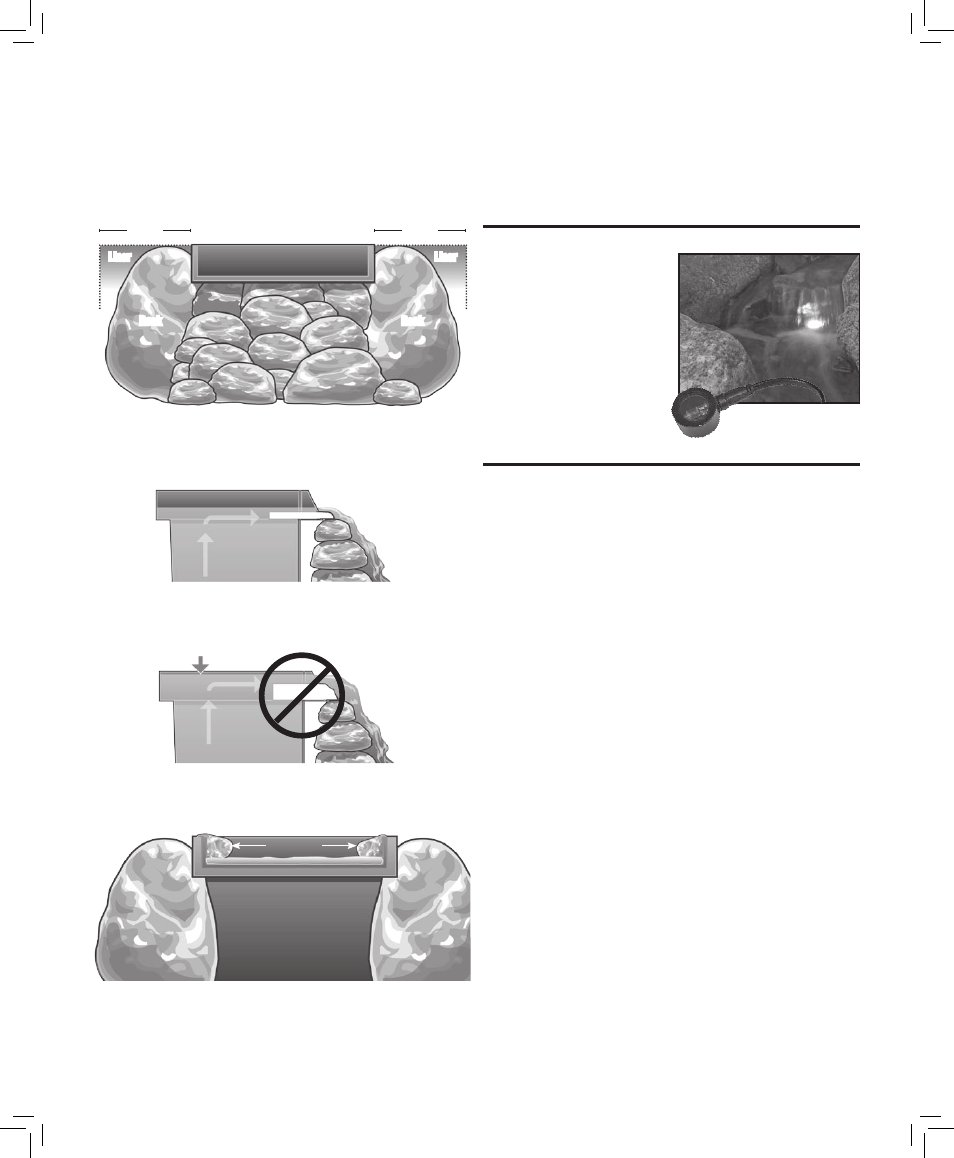
Waterfall Lights (optional)
• After the boulders are in position,
set your waterfall accent lights.
The lights can be placed beneath
the waterfall shining upwards.
• See lighting system instructions
for placement, positioning and
installation of waterfall lights.
• Placing the BIOFALLS
®
filter away
from the edge of the pond is al-
ways a good idea. This allows the
creation of a meandering stream
to add a touch of nature to your
water garden.
• We typically place the BIOFALLS
®
filter 6 - 10 feet from the edge of
the pond. Twisting and turn-
ing the stream makes it look
more natural, and will require a
minimum 10' x 15' piece of liner.
(See fig. 14)
Excavation of the Stream
• Lay out the stream from the
BIOFALLS
®
filter to the pond. The
typical width of a stream should
be between 2 - 4 feet wide
(Note:
the wider the stream, the less
movement of water you will have).
Vary the width of the stream
throughout to mimic what would
occur in nature.
(See fig. 16)
• Excavate the stream to a depth
of 6 inches to 1 foot. Vary the
depth in the corners and in
smaller pools along the run of the
stream to allow water to pool in
those areas.
• If your stream is being built on a
slope, you will need to create a
few waterfalls in it. To hold the
water back when the pump is shut
off, you need to build a check dam
at each waterfall.
(See fig. 15)
• To make the stream look much
more natural, you should place
some larger boulders into it. To
make this work properly, excavate
the area where the rock will be
placed a few inches deeper. This
will allow the rock to sit into the
bottom of the stream, not just on
the streambed.
• Once you have the stream
excavated, you can place the liner
into it.
Installation of Liner
and Rocks
• Connect the liner to the BIOFALLS
®
filter as described above.
• Where the liner overlaps the pond,
you will not need to seam the lin-
ers together as long as you have a
6-inch waterfall or higher. Simply
overlap the stream liner over the
top of the pond liner.
• Place rocks of varying sizes
around the perimeter of the
stream. During excavation of
the stream, you dug a few areas
where larger rocks will go. Put
Building the Stream
29893 PRO-Fit CLASSIC BIOFALLS I4 4
3/21/07 2:10:39 PM