Warning, Caution, 5 engine maintenance – Echo 75124 User Manual
Page 16: 3 replacing the drive belt
Truck Loader Owner’s Manual
10
SERVICE AND MAINTENANCE
4.5 ENGINE MAINTENANCE
Shut off the engine. Disconnect the spark plug wire
and negative battery terminal.
Change oil while the engine is warm.
Empty the fuel tank before changing the oil.
Drain oil by removing drain plug. Refer to Honda en-
gine owners manual for location.
Refill with new SAE recommended oil. See Honda en-
gine owners manual for specific recommendations.
Check oil level. Oil should be at FULL mark or upper
limit line.
1.
2.
3.
4.
5.
6.
Maintenance is essential in preserving engine life. The
engine oil should be checked prior to each start-up. Regular
oil service period is every season or 50 hrs. under regular
use. The engine oil will have to be changed frequently upon
first use. Service engine according to the maintenance
schedule in your Honda engine owner's manual.
4.6 OIL CHANGING INFORMATION
4.4 FLEX HOSE REPLACEMENT
Check the condition of the flex hose frequently. Replace
if split or damaged.
Shut off engine and allow rotor to completely stop.
Remove spark plug wire.
Remove the clamp attaching the hose inlet to the
flex hose.
Remove the hose inlet.
Remove two (2) bolts from the hose wraps to separate
the flex hose from the swivel boom.
Remove the remaining clamp securing the flex hose
to the hose adapter.
Install new hose on hose adapter.
Complete flex hose replacement by performing steps
1-5 in reverse order.
1.
2.
3.
4.
5.
6.
7.
8.
Check the condition of the drive belt annually or after every
25 hours of operation, whichever comes first. Replace a
cracked, frayed, worn or stretched drive belt. To adjust the
drive belt, proceed as follows:
Move the engagement lever to the start position.
Shut engine off.
Disconnect battery cables.
Remove the belt shield by removing the eight 3/8" x
3/4" bolts securing the belt shield to the rotor weld-
ment.
Loosen and remove the idler pulley.
Loosen the two mounting bolts located at both ends
of the lower belt guide.
Loosen the 5/16" bolt attaching the belt guide to the
engine.
Loosen the four carriage bolts attaching the engine
plate to the trailer.
To release the tension on the belt, loosen the jam nut
and engine plate pushoff bolt located above the gas
tank. If needed, the gas tank can be removed for better
access to the jam nut and push off bolt.
Lift the engine belt guide away from the belt; remove
the old belt and install the new belt.
Reinstall the idler pulley.
Adjust the drive belt (Section 4.2).
1.
2.
3.
4.
5.
6.
7.
8.
9.
10.
11.
12.
4.3 REPLACING THE DRIVE BELT
WARNING
The rotor continues to turn after the engine is shut off.
Make sure that all moving parts have come to a complete
stop before servicing, adjusting or repairing.
CAUTION
Place truck loader on a level surface prior to filling
engine oil.
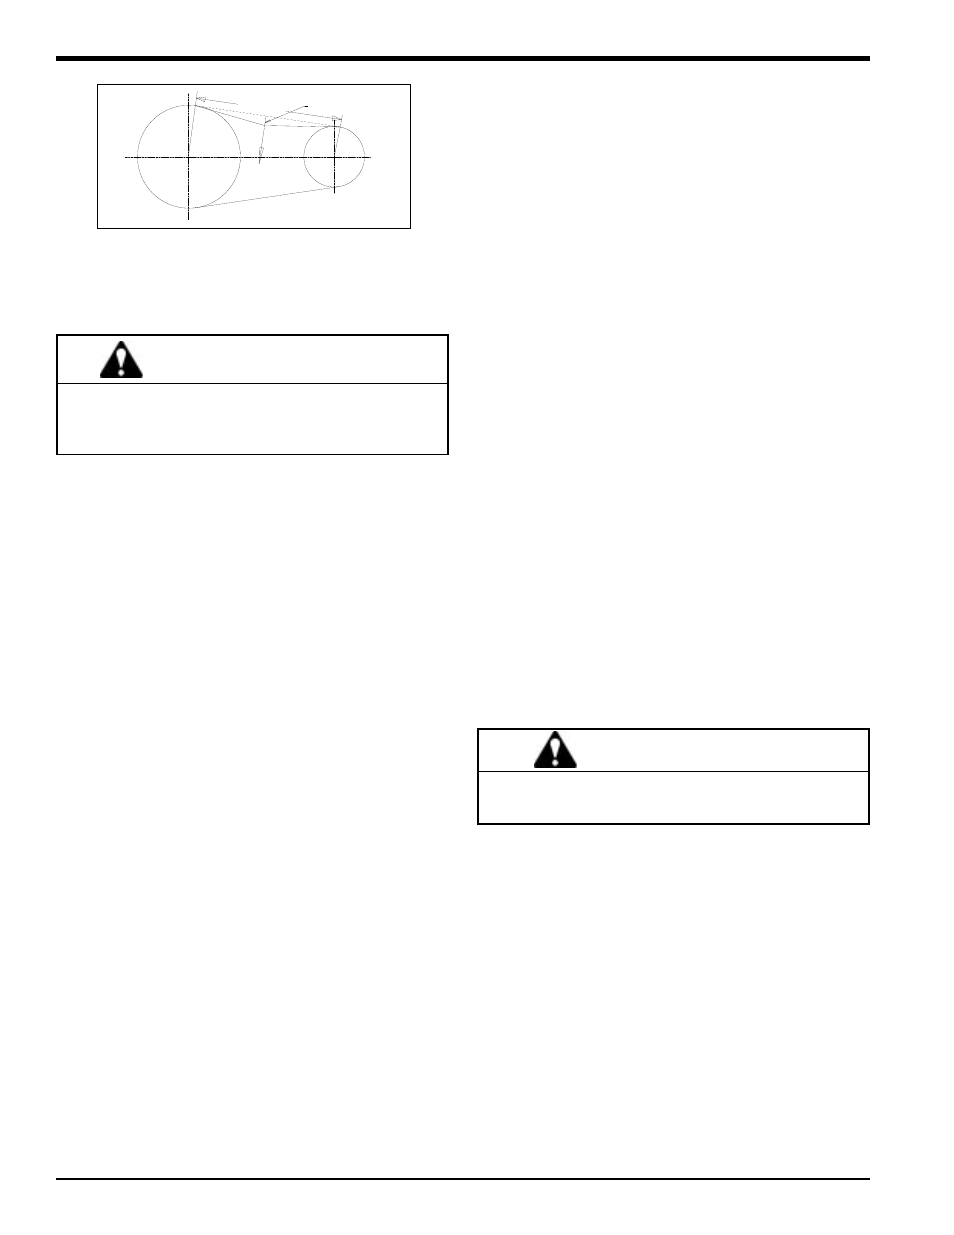
Span Length
Force
20 lbs
7/16" Deflection
3” Deflection
Force
20 lbs.
Span Length
Figure 4.1 - Belt Tension