Warning, Feed sensor programming instructions – Echo CH9540H Instruction v.1 User Manual
Page 3
Instruction Sheet
FEED SEnSOR PROgRaMMIng
InSTRUCTIOnS
STEP 1. InITIaTIng PROgRaM MODE
Hold down the “S” button while turning the engine key to
the “on” position until “l” starts to flash on the lcd.
STEP 2. EnTER LOw (L = LOw) RPM
the low setting is the rPM speed where the feed roller
stops. the “up” arrow increases the rPM setting, while
the “down” arrow decreases the rPM setting. Setting the
speed lower causes the engine to lug down more before
the feed roller stops.
Hold the appropriate (either up or down) arrow until
1.
the desired rPM speed is displayed (recommend ed
setting is 1375 rpm).
Push the “S” button once to save.
2.
nOTE: do not choose a setting equal to or below zero.
STEP 3. EnTER nORMaL
(n = nORMaL) RPM
the normal setting is the rPM speed that the chipper rotor
usually rotates.
Hold the appropriate (either up or down) arrow until
1.
the desired rPM speed is displayed (recommended
setting is 1500 rpm).
Push the “S” button once to save.
2.
STEP 4. EnTER hIgh (h = hIgh) RPM
the high setting is not needed with this application.
Set to zero to deactivate.
1.
Push the “S” button once with zero displayed to
2.
save.
STEP 5. EnTER RETURn
(RET = RETURn) RPM
the return setting is the rPM speed at which the feed
roller restarts. the feed roller should restart before the
rotor reaches “normal” rPM to maximize chipper efficiency.
Setting the speed higher allows the engine to recover more
before the feed roller restarts.
Hold the appropriate (either up or down) arrow until
1.
the desired rPM speed is displayed (recommended
setting is 1400 rpm).
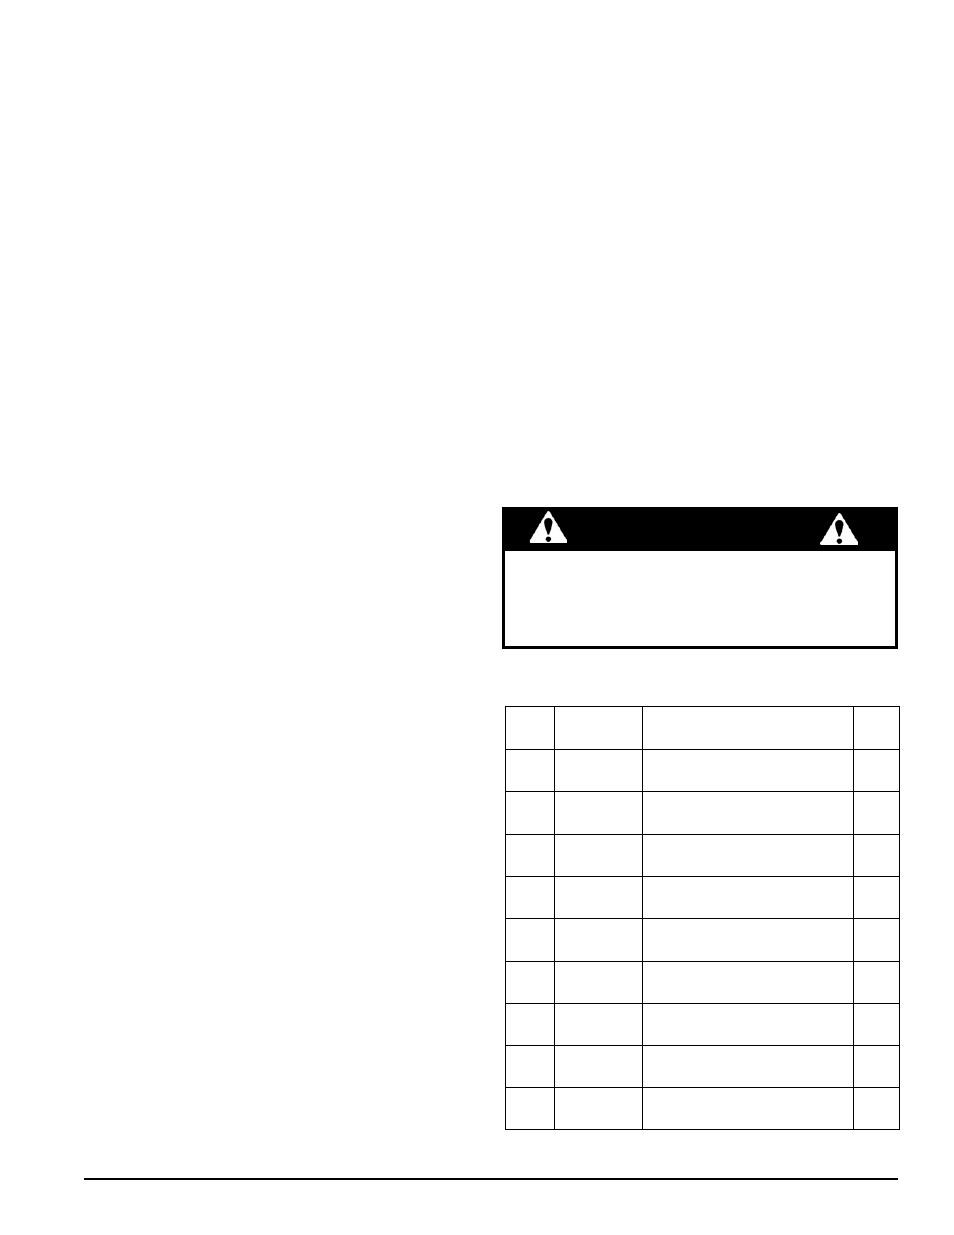
waRnIng
notE: wHEn APProAcHing tHE End oF A log, it
MigHt BE nEcESSAry to MAnuAlly ovErridE
tHE AutoMAtic FEEd SEnSor. BE SurE to PAy
AttEntion to tHE EnginE SPEEd And FEEding
oF tHE MAtEriAl.
STEP 6. EnTER nUMbER OF POLES
(IPU=nUMbER OF POLES
the number of poles is used to indicate the number of
speed pickup devices.
Press the arrow until (1) is displayed.
1.
Push the "S" button once to save.
2.
DISPLay CODES
when "dAy" is displayed, this will indicate the total number
of hours the machine has been operated since it was reset
by the operator. to reset the dAy hours:
when dAy is flashing, hold the "S" button down until
1.
the display reads 0 (zero).
to see the total number of operating hours for the machine,
press the "S" button once. the total number of operating
hours on the machine will be displayed. this number
cannot be reset.
ELECTROnIC FEED PaRTS LIST (Pn 74898-00)
ITEM
PaRT
nUMbER
DESCRIPTIOn
QTy
1
12674
control, loFA
HydrAulic
1
2
15225
ScrEw, #10 X 3/4 HEX
tAP Sc
2
3
15602
wASHEr, #6 SAE FlAt
4
4
15640
nut, M4-0.7 ZP HEX
8
5
16967
vAlvE, SolEnoid
cArtridgE
1
6
16968
coil, SolEnoid vAlvE
1
7
17320
StrAP, nylon tiE-11”
4
8
18022-00
HArnESS, 8” Pto loFA
1
9
73242-12
BrAcKEt, ProXiMity
SEnSor
1