Bosch 11258VSR User Manual
Page 9
INSTALLING & REMOVING ACCESSORIES
3-JAW CHUCK
The 3 Jaw Chuck with SDS Shank can convert
your tool for use with straight shank bits.
For small bits, open jaws enough to insert the
bit up to the flutes. For large bits, insert the bit
as far as it will go. Center the bit as you close
the jaws by hand. This positions the bit
properly, giving maximum contact between the
chuck jaws and the bit shank (Fig. 8).
To tighten chuck, insert key into each of the
three key holes in succession and tighten
clockwise firmly.
The chuck can be released by using one hole
only.
Note: The 3-Jaw Chuck is for use only in “Dril
only” mode. The 3-Jaw Chuck is not for use
when drilling with hammering action.
-9-
TOOL TIPS
Following a few simple tips will reduce wear
on the tool and the chance of injury to the
operator.
NOTE: The high efficiency available from the
rotary hammers can only be obtained if sharp
and undamaged accessories are used. The
“cost” to maintain sharp and undamaged
accessories is more than offset by the “time
saved” in operating the tool with sharp
accessories.
All hammers require a short period of time to
warm up. Depending on the room
temperature, this time may vary from
approximately 15 seconds (90˚F) to 2 minutes
(32˚F). A new hammer requires a break-in
period before full performance is realized. This
period may require up to 5 hours of operation.
Carbide tipped bits: Used for drilling stone,
concrete, cement, brick, cinder block and
other unusually hard non-metals. The Rotary
Hammer is designed for “SDS” Carbide
Tipped Bits up to 3/4 inch diameter.
FIG. 8
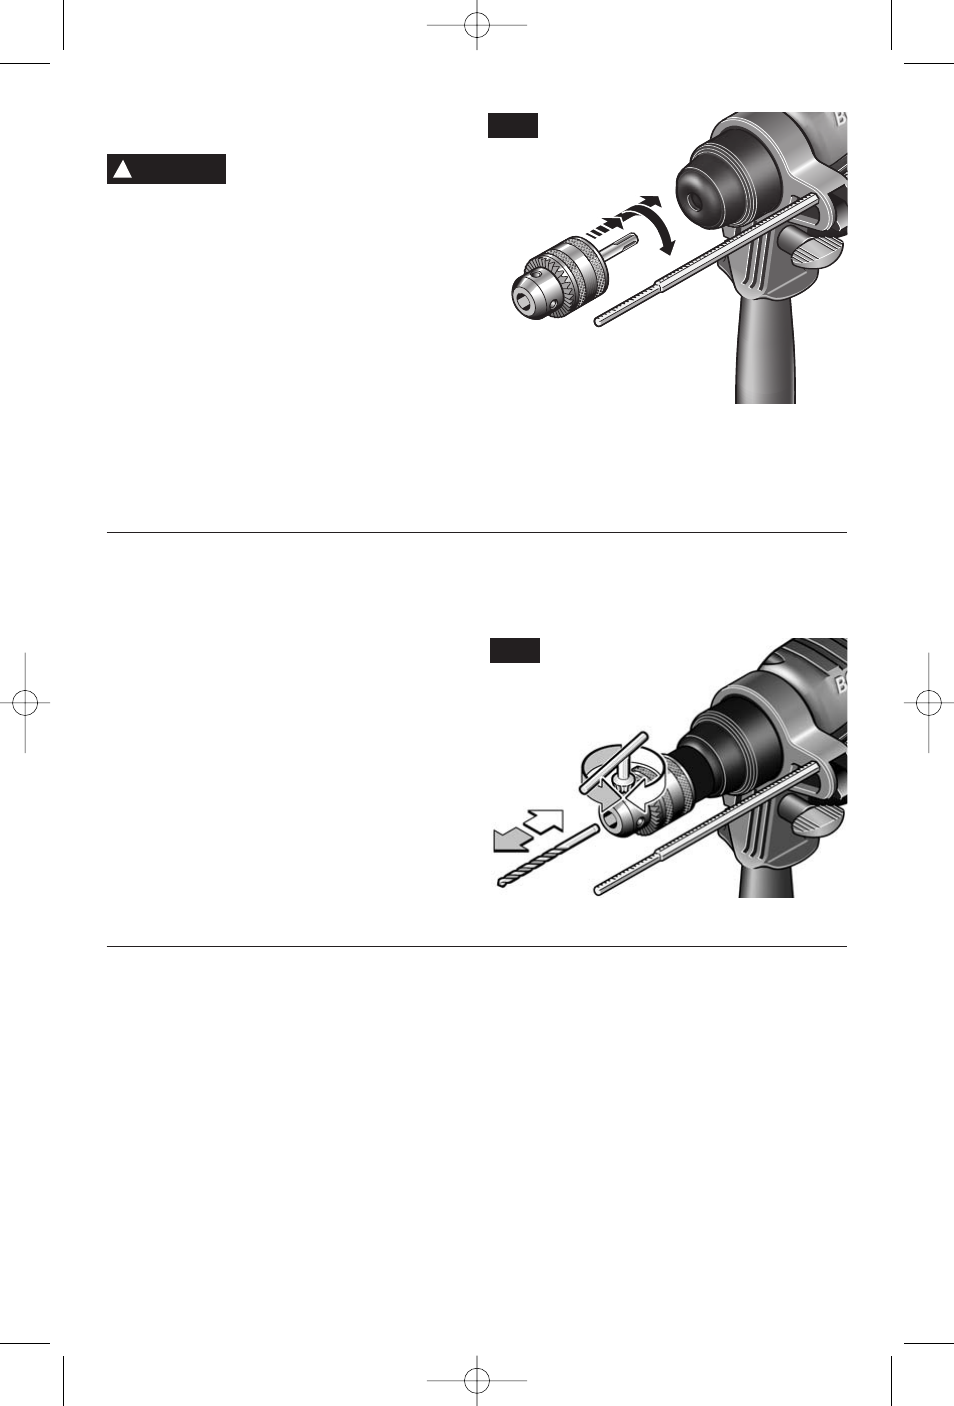
INSTALLING & REMOVING 3-JAW CHUCK
(Model 11258VSRC only)
Disconnect the plug from
the power source before
making any assembly, adjustments or
changing accessories. Such preventive
safety measures reduce the risk of starting the
tool accidentally.
Clean the insert shank end of the chuck to
remove any debris, then lightly grease with a
light oil or lubricant.
Insert chuck into the bit holder through the
dust shield, while twisting and pushing
inward until it locks automatically into place.
Pull outward on the accessory to be certain it
is locked into the tool holder (Fig. 7).
To remove the chuck, pull the locking sleeve
backwards (towards the rear of tool), while
pulling the chuck outward
!
WARNING
FIG. 7
BM 1619P00836 12-06 1/5/07 9:43 AM Page 9