Step 1, Step 2, Step 3 – Road Armor 1992-1997 Ford F-250,F-350 Front Bumper User Manual
Page 2
STEP 1 :
Make sure you have all necessary tools
and hardware.
Hardware Kit Includes : ( all Grade 8 )
( 10 ) ¾ Nuts
( 14 ) ¾ Washers
( 10 ) ¾ Lock washers
( 4 ) ¾ Retaining clips
( 2 ) ¾ Bolt tabs
( 2 ) 2x 3/4 Bolt tabs
STEP 2:
Removing OEM Bumper
• Park on a level surface
• Pop Hood
• Remove license plate
• Disconnect battery
• After this is done you are free to start the remov-
al of your stock bumper.
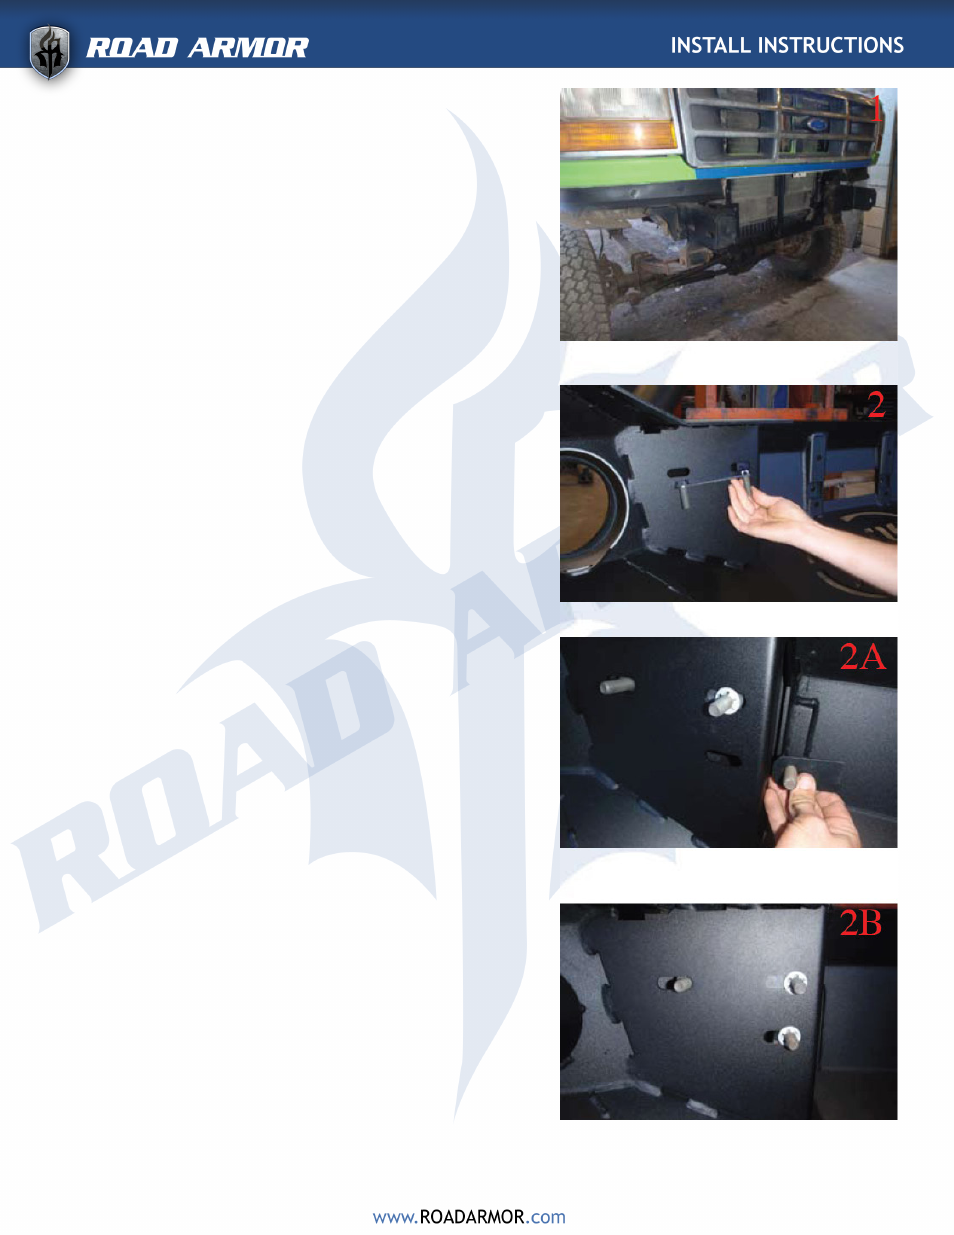
*Your truck should look like picture
one when everything is removed
STEP 3:
Installing Road Armor Bumper
• Place the bolt tabs through the holes on the bum-
per and use the retaining clips to keep the tabs
from falling back when installing the bumper.
-Use a small socket to help push the ratainer clip on.
Pictures 2-2D
• Mount up the brackets to the frame using the bolt
tabs and 3/4 hardware. Tighten the hardware
finger tight.
Pictures 3, 3A
• Position the brackets so that the holes are the
same distance apart as the holes in the bumper.
Pictures 4, 4A
• Install the Road Armor bumper onto the mounts
using the 1/2 hardware.
• Once that’s complete measure the gaping on both
sides to ensure the proper alignment. Use a body
line or the headlight to measure from.
• Now that everything is all mounted up and
aligned, tighten all the hardware and add the
Road Armor emblem.