Menu c, Creen, Ontrols – Philips TS2554C User Manual
Page 6: Continued, Leep, Tereo, Icture
SLEEP TIMER :58
15 MIN
SLEEP
CAPTION
VOL. BAR
EXIT
SETUP
BRIGHTNESS
S
T
AT
US
P
OWER
M
ENU
MUT
E
SUR
F
-
CH
CH
VOL
+
VOL
1
SMART
SLEEP
2
3
4
5
6
7
8
9
0
2
1
3
H
ave you ever fallen
asleep in front of the TV
only to have it wake you up at
two in the morning with a test
pattern screeching in your
ears? Well, your TV can save
you all that trouble by auto-
matically turning itself off.
S
LEEP
T
IMER
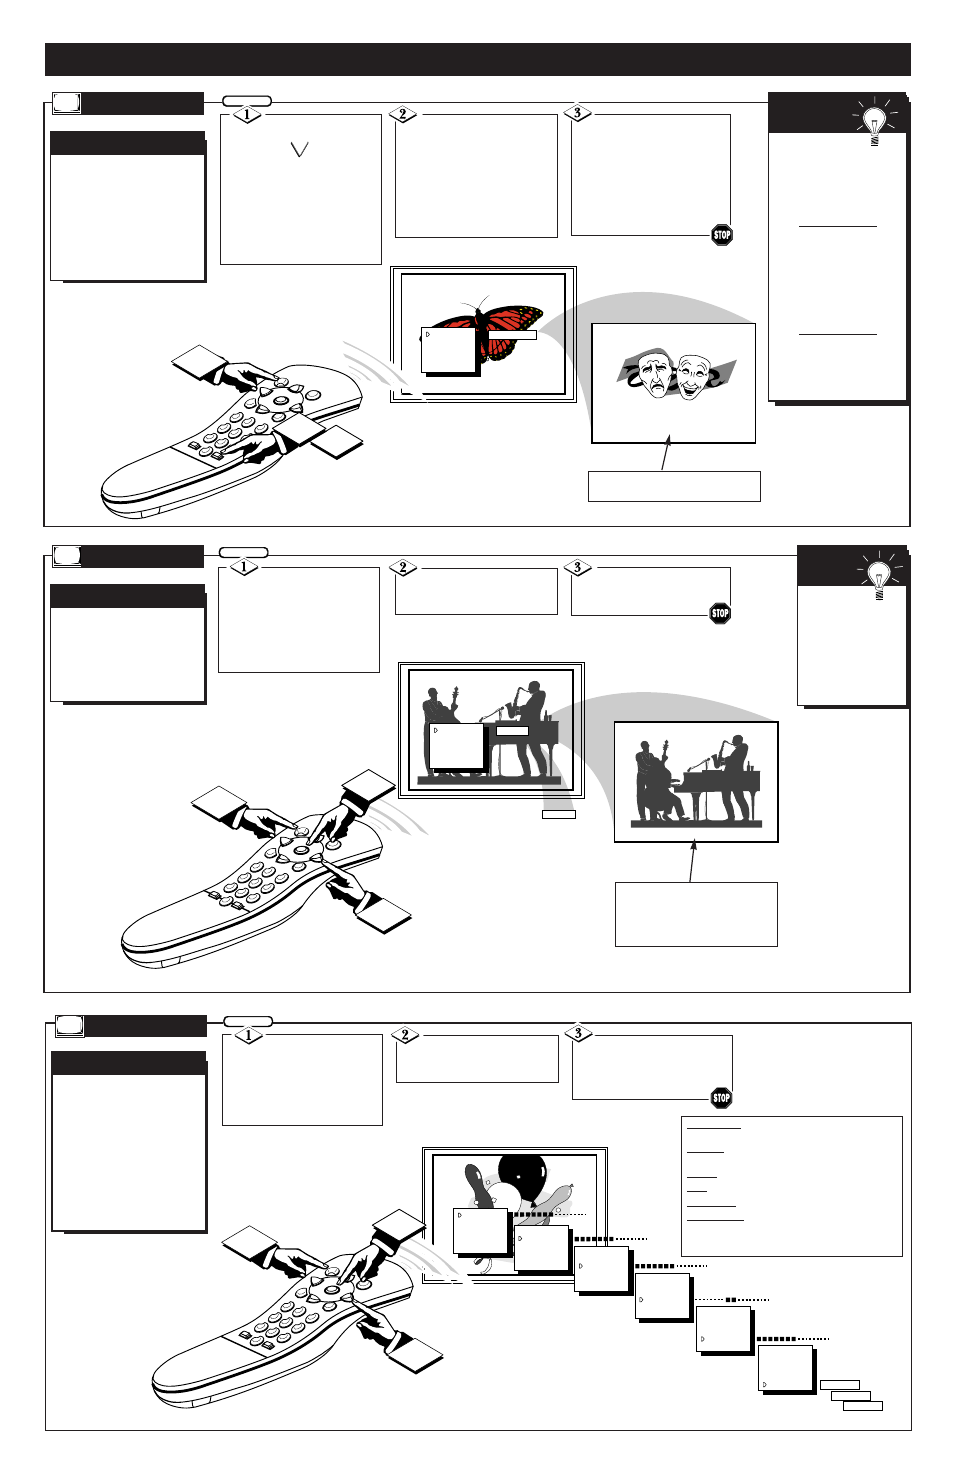
Press the SLEEP but-
ton on the remote.
Press the MENU (M) button
on the remote, then press the
CHANNEL ▲ or ▼ (or press
the MENU ▲ or ▼ buttons on
the TV) to select the word
SLEEP with the TV’s on-
screen Arrow.
Press the SLEEP button
repeatedly to pick the amount
of time (15 minutes to 2 hours
ahead) before the TV will turn
itself off.
The VOLUME (+) or (-) but-
tons can also be used to set the
amount of time.
BEGIN
Remember. If
you ever want to see how
many minutes are left
before the TV shuts itself
off, press the STATUS
button on the remote.
If you want to stop a
SLEEP TIMER setting,
reset the timer back to
OFF. You could also turn
the TV off, and then back
on again, to cancel a set-
ting.
Pressing any key on the
remote or TV in the last
60 seconds will cancel the
SLEEP TIMER setting.
S
MART
H
ELP
Press the STATUS button
to clear the screen after you
have set the time for the TV to
turn off.
An on-screen count down will
appear during the last minute
before the TV shuts itself off.
OR
S
LEEP
O
N
-S
CREEN
MENU C
ONTROLS
(
CONTINUED
)
12
S
T
AT
US
P
OWER
M
ENU
MUT
E
SUR
F
-
CH
CH
VOL
VOL
1
SMART
SLEEP
2
3
4
5
6
7
8
9
0
1
3
2
ON
STEREO
INPUT
CABLE
CHANNEL
SLEEP
CAPTION
STEREO
OFF
Y
our TV can receive
broadcast stereo TV pro-
grams. The TV has both an
amplifier and twin speakers
through which the stereo
sound can be heard.
S
TEREO
TV S
OUND
Press the MENU (M)
button on the remote, then the
CHANNEL ▲ or ▼ buttons (or
the MENU ▲ or ▼ buttons on
the TV) to select the word
STEREO with the TV’s on-
screen Arrow.
Press the VOLUME (+)
button to turn the STEREO
mode ON.
Remember,
if the TV is
set to STEREO but
the current channel
is not broadcasted
in stereo, the sound
at the TV will
remain monaural.
S
MART
H
ELP
Press the STATUS but-
ton on the remote control to
clear the screen.
S
TEREO
BEGIN
BRIGHTNESS
PICTURE
COLOR
TINT
SHARPNESS
COLOR TEMP
S
T
AT
US
P
OWER
M
ENU
MUT
E
SUR
F
-
CH
CH
VOL
VOL
1
SMART
SLEEP
2
3
4
5
6
7
8
9
0
1
3
2
BRIGHTNESS
PICTURE
COLOR
TINT
SHARPNESS
COLOR TEMP
BRIGHTNESS
PICTURE
COLOR
TINT
SHARPNESS
COLOR TEMP
BRIGHTNESS
PICTURE
COLOR
TINT
SHARPNESS
COLOR TEMP
BRIGHTNESS
PICTURE
COLOR
TINT
SHARPNESS
COLOR TEMP
BRIGHTNESS
PICTURE
COLOR
TINT
SHARPNESS
COLOR TEMP
NORMAL
COOL
WARM
T
o adjust your TV picture
controls, select a channel
and follow the steps shown to
the right.
NOTE: The Smart Picture
control can automatically
adjust your TV's picture for a
variety of programs and
viewing conditions. See page
5 for details.
P
ICTURE
A
DJUSTMENTS
Press the MENU (M)
button on the remote, then
press the CHANNEL ▲ or ▼
(or press MENU ▲ or ▼ but-
tons on the TV) until the desired
control shows on-screen.
Press the VOLUME (+)
and (-) to adjust the selected
picture control.
BEGIN
Press STATUS button (or
EXIT Menu) to clear the screen
when picture adjustments are
completed.
P
ICTURE
BRIGHTNESS Press (-) or (+) until darkest parts of the pic-
ture are as bright as you prefer.
PICTURE Press (-) or (+) until lightest parts of the picture
show good detail.
COLOR Press (-) or (+) to add or eliminate color.
TINT Press (-) or (+) to obtain natural skin tones.
SHARPNESS Press (-) or (+) to improve detail in the picture.
COLOR TEMP Press (-) or (+) to select NORMAL, COOL,
or WARM picture preferences. (NORMAL will keep the
whites, white; COOL will make the whites, bluish; and
WARM will make the whites, reddish.)
NOTE: The TV’s on-screen “STEREO”
indicator appears whenever the TV detects an
incoming stereo signal. Be sure the TV’s
STEREO control is also turned “ON” in order
for the stereo sound to be heard through the
TV’s twin speaker system.
During the last minute of a SLEEP TIMER set-
ting, an on-screen count down will be displayed.
6 - IB7757 E001