Installation – Black Box AC506A User Manual
Page 7
AC506A
6
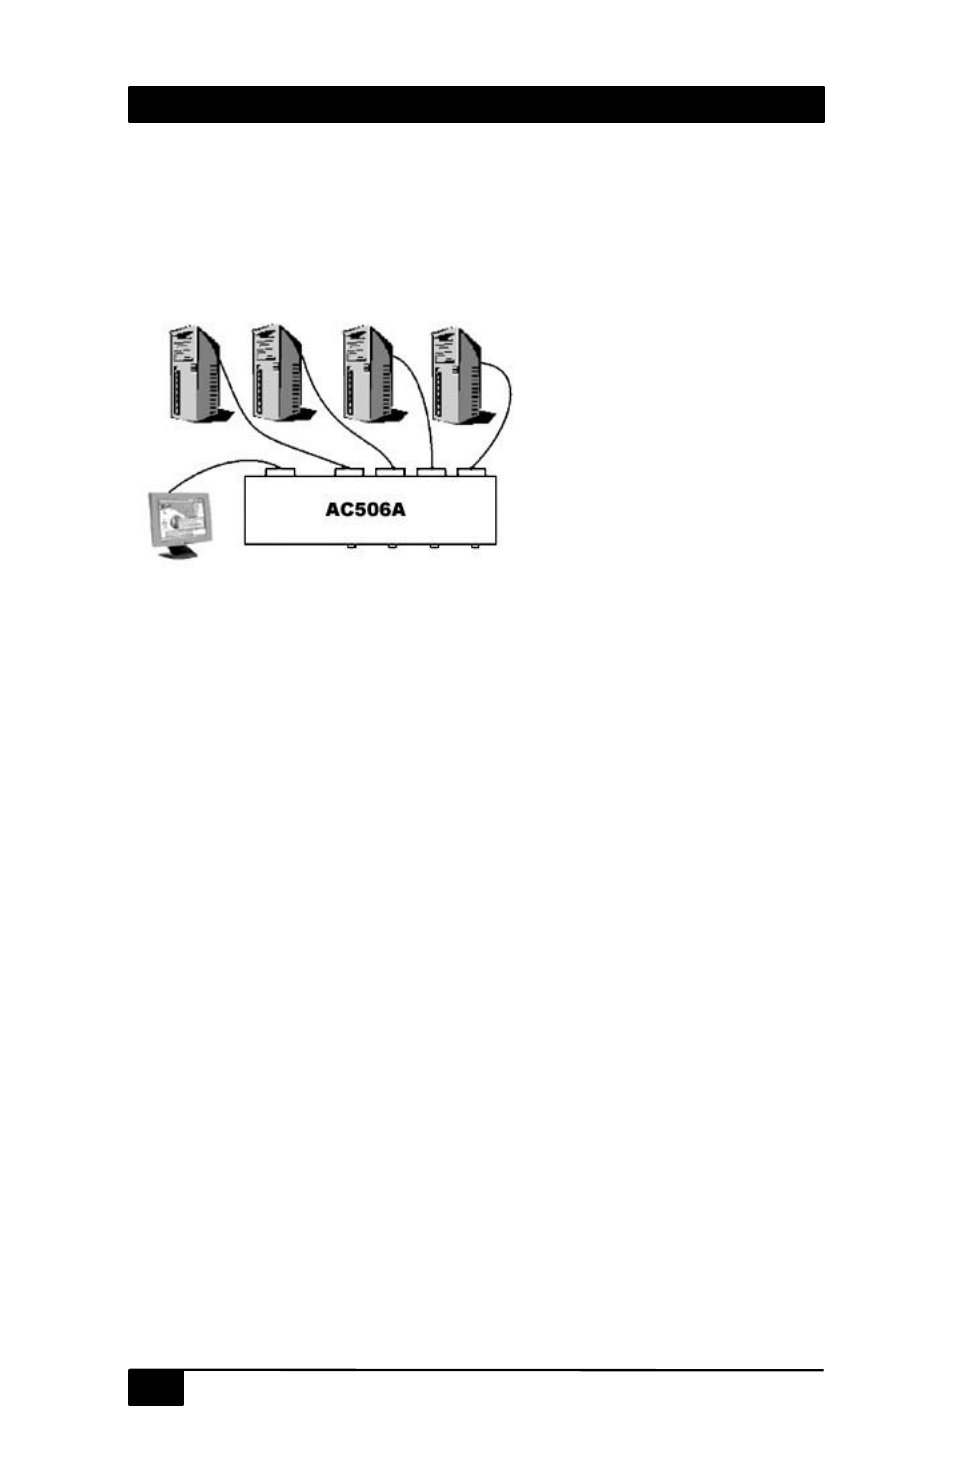
2. Installation
1.
Plug in the desired number of VGA sources to the VGA inputs on
the back of the AC506A.
2.
Connect an output device to the VGA output on the back of the
AC506A.
3.
Connect the included RS-232 cable to a PC if so desired.
4.
Connect the included power supply.
5.
Power on the included power supply
Plug-and-Play
DDC (Direct Data Channel) is a standard by which a compatible
monitor sends its identification and other parameters to a PnP
operating system such as Windows XP etc. The AC506A does not
switch the PNP signal lines to the PC. This means that, in some
instances, you may have to select a new monitor or video settings on
your PC. Also notice that most Notebook PC's have a special function
key to activate the external video output connector
Figure 2.1
- AC552A-2 (3 pages)
- ACS250A (28 pages)
- ACS2009A-R2-SM (3 pages)
- Dual-Speed 10/100 Stackable Hub (3 pages)
- MT1000A-85-R4 (2 pages)
- SP143A-R2 (1 page)
- #22017 (3 pages)
- RS-232 (4 pages)
- RS-232 (3 pages)
- ACS236A (103 pages)
- 15839 (2 pages)
- Ps166A-r2 (1 page)
- 26640 (1 page)
- ACTIVE STAR HUB RJ-45 (18 pages)
- ACR6216A (5 pages)
- ACS335A-AS (4 pages)
- CATx (4 pages)
- LTL-KL (8 pages)
- RM192A-R2 (1 page)
- 24985 (5 pages)
- NetPower 26542 (3 pages)
- ACU2028A (66 pages)
- LTD5 (16 pages)
- 26645 (2 pages)
- DT Pro II (3 pages)
- Active Star AS/400 5250 (2 pages)
- ACS1009A (38 pages)
- ACU4201A (41 pages)
- 4site (3 pages)
- Code-Operated Switch-16 (3 pages)
- BRI-HUB ISU2011-8-UK (16 pages)
- WLI-CB-G54S (41 pages)
- Surge Protector (4 pages)
- SP361A-R2 (2 pages)
- 26715 (3 pages)
- 26611 (2 pages)
- 26592 (3 pages)
- 26610 (2 pages)
- 10-/100-Mbps (5 pages)
- CAT5 KVM (3 pages)
- SP075A (2 pages)
- 26720 (2 pages)
- 26615 (2 pages)
- IEEE 1284 Serial→Parallel Converter 26658 (3 pages)