Dvd menu options, Preferences menu – Philips DVP642-37B User Manual
Page 32
English
32
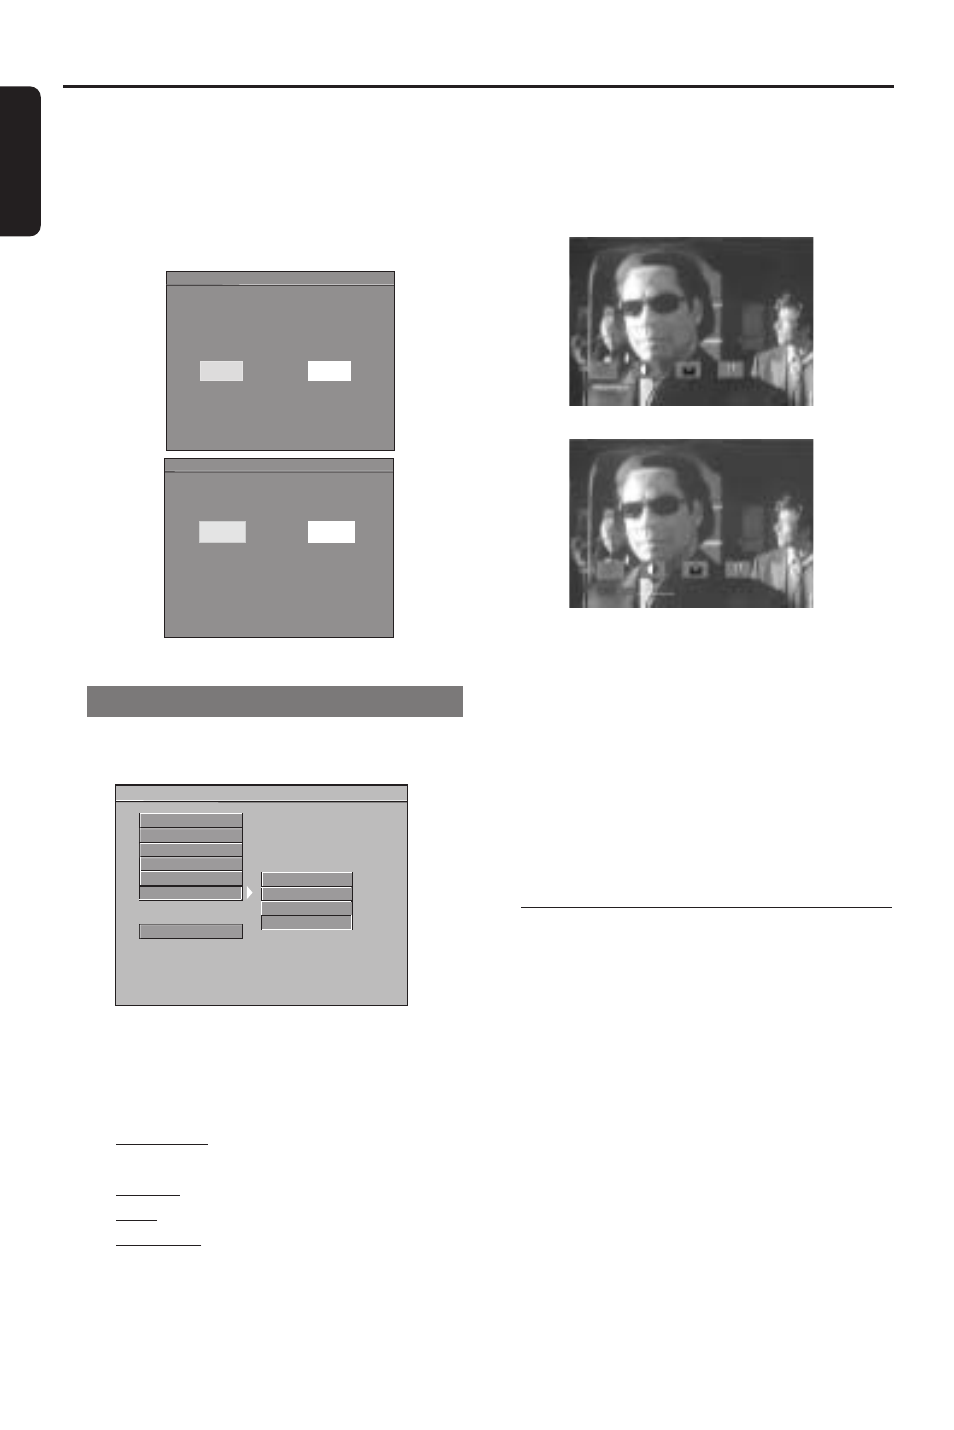
Smart Picture
In this menu, you can choose an ideal
predefined picture setting.
- - VIDEO SETUP PAGE - -
TV STANDARD
TV DISPLAY
CLOSED CAPTIONS
VIDEO OUTPUT
PROGRESSIVE
SMART PICTURE
MAIN PAGE
STANDARD
BRIGHT
SOFT
PERSONAL
1
Press
34 to highlight ‘Smart Picture’.
2
Enter its submenu by pressing
2.
3
Press
34 to choose a setting.
➜
Standard: select the standard picture
setting.
➜
Bright: make the TV picture brighter.
➜
Soft: make the TV picture softer.
➜
Personal: set the ‘Brightness’,
‘Contrast’, ‘Hue’ and ‘Saturation’ as you
prefer (see ‘Brightness’ at right).
4
Press OK, then press
1 to return to the
Video Setup Page.
DVD Menu Options
Brightness
You can personalize your picture by
adjusting brightness,contrast, hue and
saturation.
1
Press
1 2 to highlight ‘Brightness’.
2
Press
4 to open the level bar.
3
Press
1 2 to decrease or increase the
brightness level.
●
Repeat steps
1
-
4
for adjusting the
contrast, hue and saturation.
4
Press OK to exit.
Preferences Menu
The options in the Preferences menu are:
‘Audio’, ‘Subtitle’, ‘Disc Menu’, ‘Parental’,
‘Password’, ‘Default’ and ‘MP3/JPEG Nav’.
1
Press STOP twice.
2
Press SYSTEM MENU to enter the
setup menu.
3
Press
3 4 to select the ‘Preferences’ page.
4
Press OK to confirm.
Helpful Hint:
–
If a blank/distorted TV screen appears,
wait for 15 seconds for auto recover.
–
To deactivate the progressive function,
refer to the hint menu displayed on the TV
screen or see pages
16 and 17.
CANCEL
- - REFER TO THE OWNER'S MANUAL - -
Confirm again to use progressive scan
If picture is good, press OK button on remote control
OK
2 3 - Move OK - Select
To deactivate progressive:
1. Open tray,
2. Press '1' Key.
- - REFER TO THE OWNER'S MANUAL - -
ACTIVATING PROGRESSIVE:
1. Ensure your TV has progressive
2. Connect with YPbPr (GBR) video
3. If there is a blank screen on normal
wait 15 seconds for auto recover
CANCEL
OK
2 3 - Move OK - Select