Care and cleaning – Black & Decker CM1010B User Manual
Page 6
0
Care and Cleaning
This product contains no user serviceable parts. Refer service to qualified
service personnel.
CLEANING
1. Be sure the unit is unplugged and has cooled.
2. open the one-piece cover.
3. To remove the filter basket, grip the handle and lift straight up.
4. discard the paper filter, if used, and the coffee grounds.
5. Wash the filter basket, permanent nylon mesh filter and carafe in the
dishwasher (top-rack) or wash by hand in hot, sudsy water.
6. Wipe the appliance’s exterior surface, control panel and "Keep Hot" carafe
plate with a soft damp cloth.
7. do not use abrasive cleansers or scouring pads. Never immerse the
coffeemaker in water.
8. To clean the inside of the cover, open the cover and leave in the open position;
wipe surfaces with a damp cloth.
WATER FILTER HOLDER
To clean water filter holder:
1. Press latch on filter holder to open (see illustration E).
2. Take out carbon filter.
3. Place carbon filter on top of a paper towel.
4. Filter holder is top rack dishwasher-safe or it may be hand washed in warm,
sudsy water.
5. Rinse carbon filter with tap water.
6. Place carbon filter back inside filter holder.
7. Close the filter holder tightly until it snaps into place (see illustration F).
8. Place filter holder inside the water reservoir and insert it into the recess at
the bottom right hand corner (see illustration G).
Note: To replace filter see WATeR FIlTeR RePlACeMeNT.
Tip: Replace carbon filter every 60 brewing cycles or every 2 months after
removing it from the sealed packaging. (Call the 800 number on the front cover
for replacements)
WATER FILTER REPLACEMENT
1. Press latch on filter holder to open (see illustration E).
2. dispose of old carbon filter.
3. Remove new carbon filter from packing material.
4. Place new carbon filter inside filter holder.
5. Close the filter holder tightly until it snaps into place (see illustration F).
6. Place filter holder inside the water reservoir and insert it into the recess at
the bottom right hand corner (see illustration G).
Note: Replace carbon filter every 60 brewing cycles or every 2 months after
removing it from the sealed package. (Call the 800 number on the front cover
for replacements)
CLEANING WITH VINEGAR
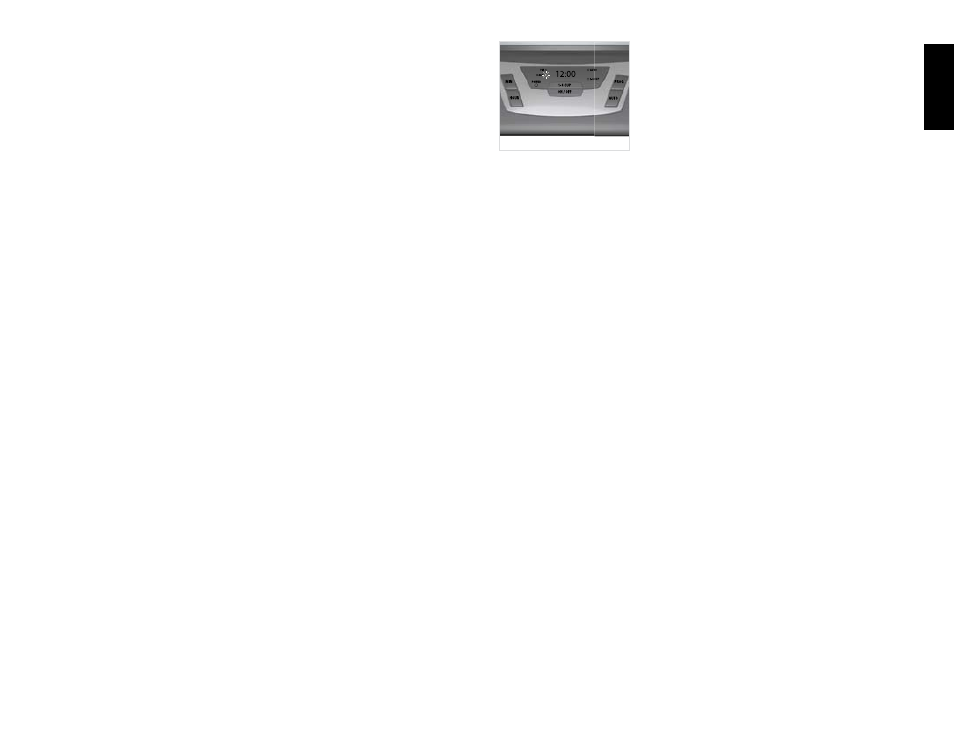
Note: This coffeemaker automatically records
number of times coffee has been brewed, to keep
track of when a full cleaning is needed. once 60
cycles of coffee have been brewed, the CleAN light
on digital display will blink to remind you to run the
cleaning cycle (P).
Important: If coffeemaker is unplugged or loses
power, the CLEAN cycle counter will be reset.
1. Pour white vinegar into the water reservoir up to the 6-cup mark on the
water window. Add cold water up to the 10-cup mark.
2. Put a paper filter or the permanent nylon mesh filter in the filter basket
and close the cover. Set the empty carafe on the “Keep Hot” carafe plate.
3. Press the on/off button to turn the coffeemaker on.
4. Press and hold the PRoG button (for about 5 seconds). This will start the
cleaning cycle.
Note: once the cycle is started, the CleAN light will turn on and flash. It will
continue to flash at 1-second intervals until the cleaning cycle is complete. A
full cleaning cycle will take about 45 – 60 minutes.
5. during the cleaning cycle, your coffeemaker will:
a. Brew approximately 3 cups of the cleaning solution through the
coffeemaker.
b. Pause for 30 minutes to help soften any mineral deposits.
c. Brew the remaining cleaning solution.
6. When the cleaning cycle is complete, the coffeemaker will turn off
automatically.
7. Before brewing coffee again, turn the coffeemaker on and run a full
carafe of clean water through a regular brewing cycle – without adding
coffee grinds. This will help remove any vinegar smell or taste. You may
wish to repeat this step.
8. once cleaning is complete, this will reset the CleAN cycle counter.
Note: If you want to skip a cleaning cycle, simply press and hold the on/off
button (for about 2 seconds) until the CleAN indicator light stops flashing.
Activating the CLEAN cycle:
Important: If you want to run a cleaning cycle before the CLEAN indicator
light starts to flash:
. Follow steps – above.
2. Press and hold the PROG button (for about seconds) until the CLEAN
indicator light starts to flash.
. Once the CLEAN indicator light begins flashing, the CLEAN cycle will
proceed as above.
ENGLISH
P