Digital audio output, Configuring shared input, Digital audio output configuring shared input – Toshiba L9363 User Manual
Page 87: E 87.)
87
Eng
lis
h
CONTROLS AND FEATURES
When connecting a surround sound amplifier to the digital
audio output (Sony/Philips Digital Interface Format [S/
PDIF]), the following options can be selected or adjusted.
a
In the Sound menu, press
B
/
b
to select Digital
Audio Output and press OK.
b
Press
B
/
b
to select an option.
Audio Format
Press
C
/
c
to select PCM or Auto.
PCM: This mode outputs PCM format to the digital
audio output socket.
Auto: This mode outputs Dolby Digital (if
available) or PCM to the digital audio output
socket.
Dolby Digital
S
Dolby Digital
Dolby Digital Plus
S
Dolby Digital
MPEG
S
PCM
HE-AAC
S
Dolby Digital
Audio Delay
Press
C
/
c
to select Auto or Manual.
Auto: This mode automatically adjusts the audio
timing to meet the video timing.
NOTE: The time lag might be large
between the image and sound depending
on the connected equipment (amplifier
etc.). In that case, select Manual.
Manual:You can manually adjust the audio signal
timing to meet the video signal timing.
Delay Adjustment
Press
C
/
c
to adjust the audio signal timing
(0 – 250 ms) to meet the video signal timing.
NOTE:
• This feature is greyed out when Audio Delay is
in Auto.
• A time lag will occur when the video signal or
audio signal is changed. Adjust the timing
accordingly.
• When adjusting the timing, turn down the volume
of the AV equipment used as far as possible.
Depending on the equipment, noise etc. may
occur when the signal is changed.
• Depending on the connected equipment
(amplifier, etc.), adjustment may not be possible.
• When the optical digital output setting
(Auto
t
PCM) is changed, it may be necessary
to adjust the timing again.
• Do not use other than for audio output from the
AV amplifier, etc. (Malfunction may occur)
When connecting a device to the PC/HDMI2 (AUDIO) jack
using an audio cable, select the terminal where the video
connection is made.
a
Press
and
B
/
b
to highlight Options icon.
b
Press
c
and
B
/
b
to select AV Connection.
c
Press
c
and
B
/
b
to select PC/HDMI 2 Audio.
d
Press
C
/
c
to select PC or HDMI 2.
NOTE: To apply the setting, switch the input to PC or
HDMI 2.
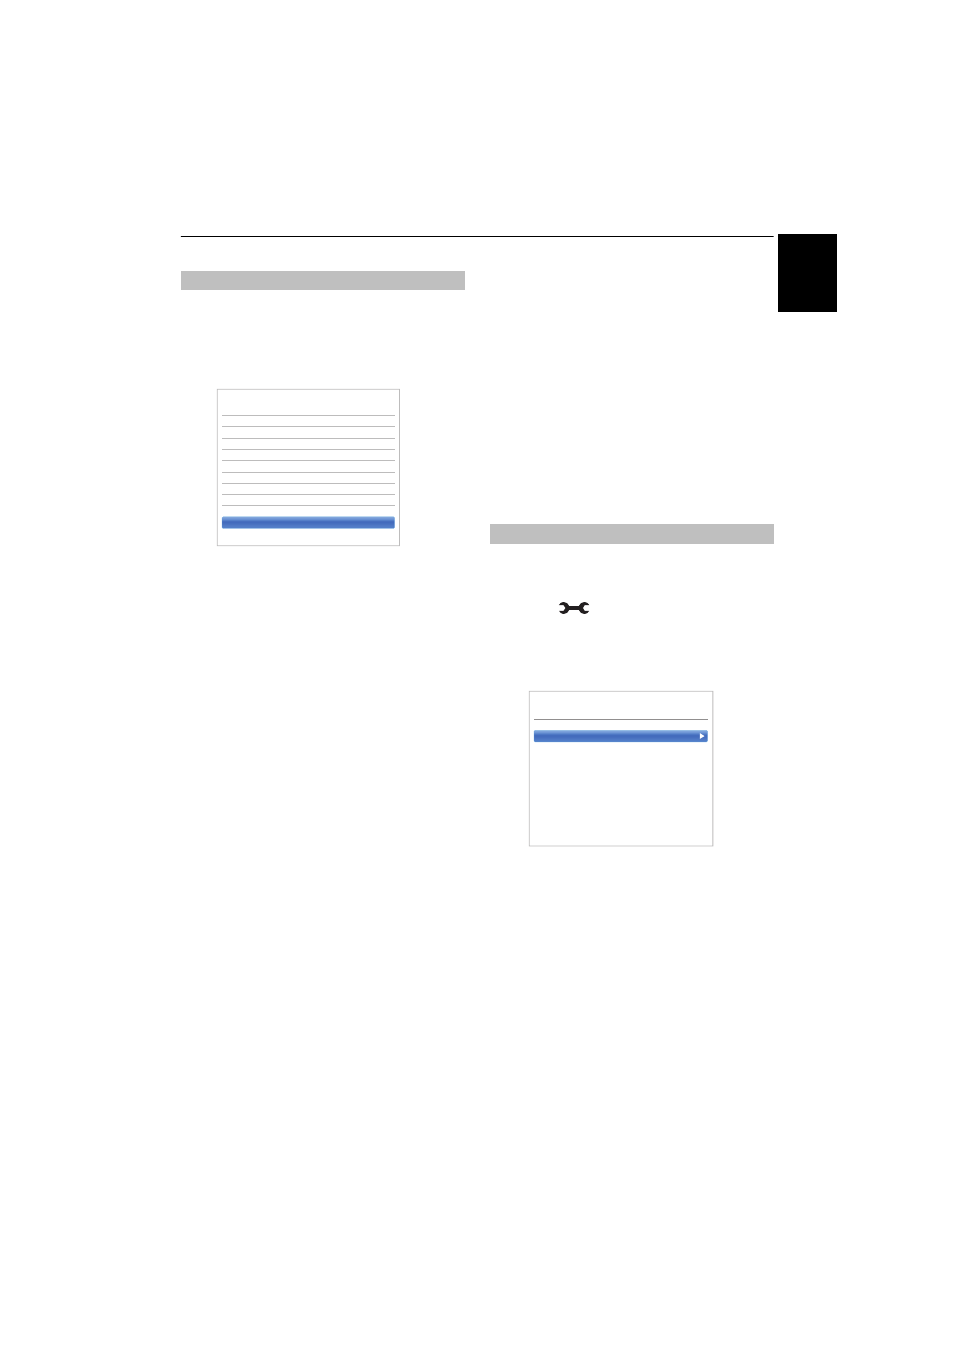
Digital Audio Output
< Sound
Balance
0
Bass
0
Treble
0
Audyssey Premium Television
Dynamic Range Control
On
Dual
Dual 1
Audio Level Offset
TV Speakers
On
Headphone Level
Audio Description
Digital Audio Output
Configuring shared input
Input Labelling
Colour System
PC/HDMI 2 Audio
< AV Connection