Scanning to a digital photo frame, Connecting the scanner to a computer, System requirements (for computer) – Toshiba JournE Scan User Manual
Page 10
10
User’s Manual
EN
n
This scanner only supports output images in JPEG (.jpg) format, and the
date/time mark will not be added.
n
For more information on how this scanner stores the scanned image files on
the memory card, see “Orientation of the original and scanned image” on
n
If the memory card is near full (lower than 1MB), the Status/card indicator
blinks. Use another card or delete some files on it if necessary.
Scanning to a Digital Photo Frame
By connecting this photo scanner to a compatible digital photo frame, the
scanned images will be transferred to and displayed on the digital photo frame
automatically.
NOTE
:
This function requires a compatible digital photo frame (visit
www.computers.toshiba-europe.com for information about purchasing the digital
frame and using this function).
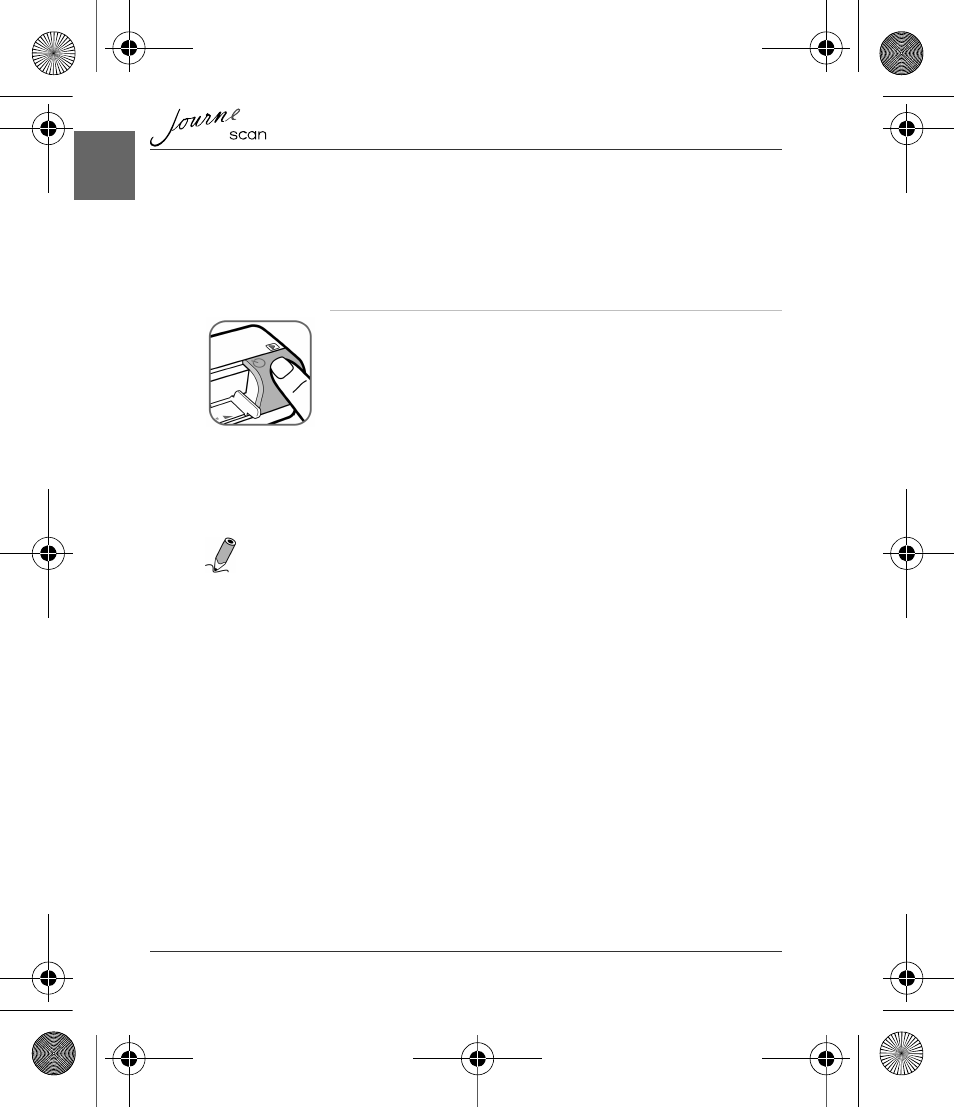
Connecting the Scanner to a Computer
By connecting the scanner to a computer, you can access the scanned images on
the memory card directly, or use the scanner as a memory card reader.
System requirements (for computer)
n
Operating system: Windows: Windows 2000, XP or Vista.
n
An available USB 1.1 or 2.0 port
4. To turn off the scanner after all originals are scanned, press
and hold the Power button for 1 second. The power indicator
will blink and then go off.
UM_EU_Scan_1108.book Page 10 Monday, December 15, 2008 12:15 PM