Using the dj software, About the driver software (windows), Before installing the driver software – Pioneer XDJ-R1 User Manual
Page 26: Installing the driver software, Connecting this unit and computer, Adjusting the buffer size
26
En
Using the DJ software
About the driver software
(Windows)
This driver software is an exclusive ASIO driver for outputting audio
signals from the computer.
! There is no need to install the driver software when using Mac OS X.
Operating environment
Supported operating systems
Windows
®
8/Windows
®
8 Pro
32-bit version
1
64-bit version
1
1
Windows
®
7 Home Premium/Professional/Ultimate
32-bit version
1
64-bit version
1
1
Windows Vista
®
Home Basic/Home Premium/
Business/Ultimate
32-bit version
1
64-bit version
1
1
Windows
®
XP Home Edition/Professional (SP2 or later) 32-bit version
1
1
When using a 64-bit version of Windows, the driver software can only be used for
32-bit applications.
Before installing the driver software
! First read the Software end user license agreement on page 6
carefully.
! Turn off this unit’s power switch, then disconnect the USB cable
connecting this unit and the computer.
! If any other programs are running on the computer, quit them.
! To install or uninstall the driver software, you need to be authorized
by the administrator of your computer. Log on as the administrator of
your computer before proceeding with the installation.
! If you connect this unit to your computer without installing the driver
software first, an error may occur on your computer depending on
the system environment.
! If installation of the driver software is interrupted after it has started,
start the installation procedure over again from the beginning.
Installing the driver software
1 Turn on the computer’s power.
2 Insert the included CD-ROM into the computer’s CD
drive.
3 When the CD-ROM menu appears, select [Install
Driver Software (Pioneer_XDJ_R1_Driver_X.XXX)], then
click [Start].
4 Proceed with installation according to the instructions
on the screen.
If [Windows Security] appears on the screen while the installation is
in progress, click [Install this driver software anyway] and continue
with the installation.
! When installing on Windows XP
If [Hardware Installation] appears on the screen while the installa-
tion is in progress, click [Continue Anyway] and continue with the
installation.
! When the installation program is completed, a completion message
appears.
Connecting this unit and computer
1 Connect this unit to your computer via a USB cable.
For instructions on connections, see Connecting the input/output termi-
nals on page 10.
2 Press the [STANDBY/ON] button.
Turn on the power of this unit.
! The message [Installing device driver software] may appear when
this unit is first connected to the computer or when it is connected to
a different USB port on the computer. Wait a while until the message
[Your devices are ready for use] appears.
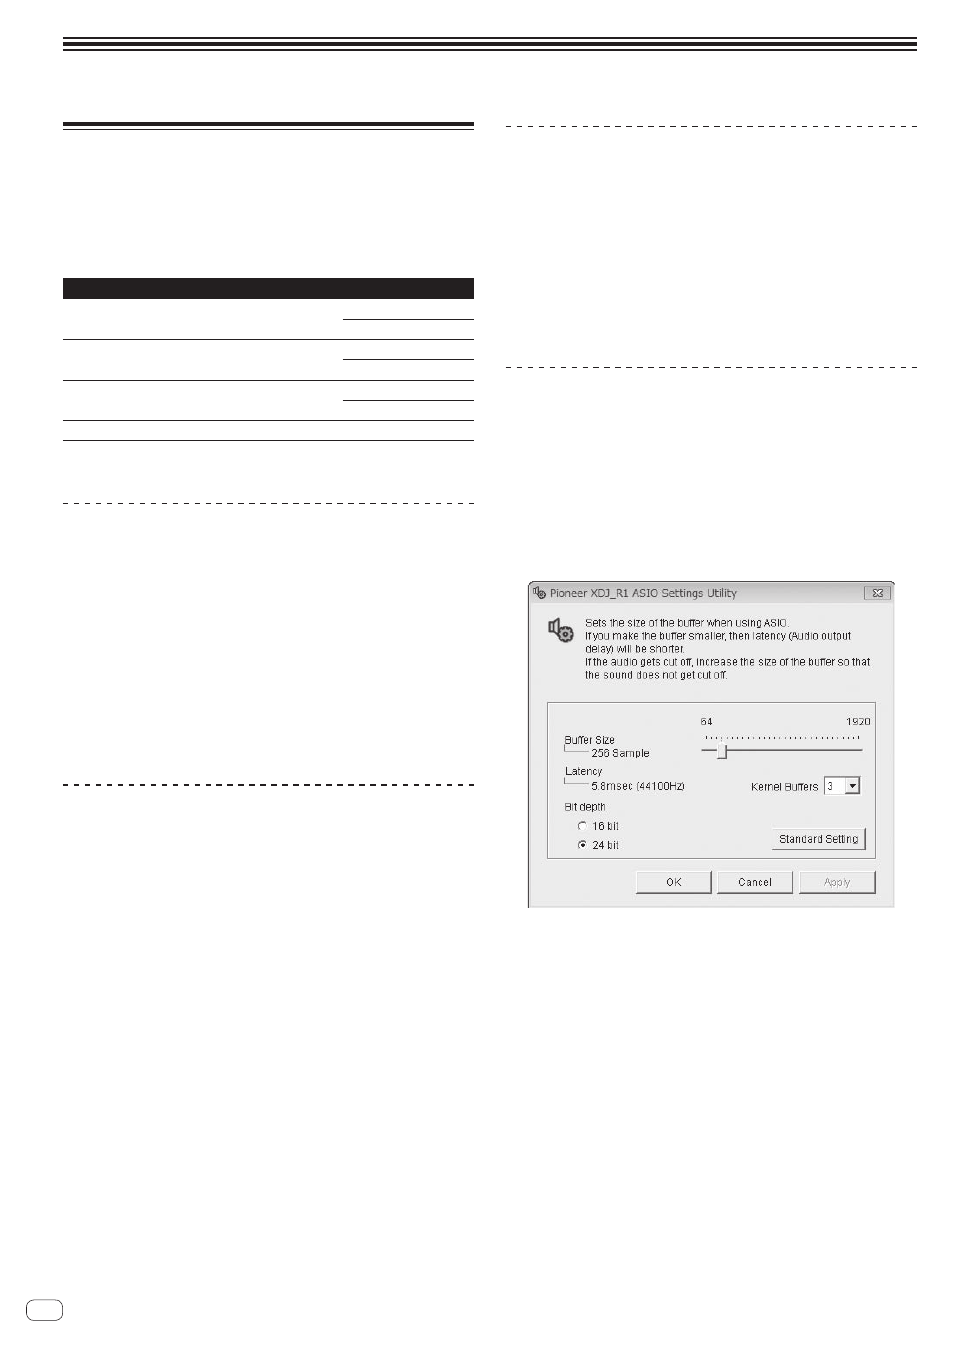
Adjusting the buffer size
This unit functions as an audio device conforming to the ASIO
standards.
! If an application using this unit as the default audio device (DJ
software, etc.) is running, quit that application before adjusting the
buffer size.
Click the Windows [Start] menu>[All Programs]
>[Pioneer]>[XDJ_R1]>[XDJ_R1 ASIO Settings Utility].
! For Windows 8, click [XDJ_R1 ASIO Settings Utility] from the
[Start] menu.
! If the buffer size is made large, drops in audio data (breaks in the
sound) occur less easily, but the time lag due to the delay in the
transfer of the audio data (latency) increases.
! If the kernel buffer number is made large, breaks in the sound occur
less easily, but the time lag due to latency increases.
! Operate referring to the procedure below to adjust the buffer size and
kernel buffer.
If there are no interruptions in the sound with the
default settings
1
Gradually decrease the buffer size, setting it to the minimum
value at which there are no interruptions in the sound.
2
Set the kernel buffer size to [2] and check whether there are inter-
ruptions in the sound.
— If there are interruptions in the sound, set the kernel buffer size to
[3].
If there are interruptions in the sound with the default
settings
1
Set the kernel buffer size to [4], then set the buffer size to the
minimum value at which there are no interruptions in the sound.