Assigning the digital inputs, Fine tuning your system, Return button – Pioneer VSX-D1011-S User Manual
Page 80: This exits the digital-in select mode
Fine Tuning Your System
80
En
5 Use the
5∞ buttons to move
through the different digital input
settings and press the ENTER
button.
LOUDNESS
MIDNIGHT
TONE DNR
ATT
STEREO
TUNED
RDS
Hi-BIT/
MULTI-ROOM
SAMPLING
EON
RF ATT
MONO
Neo :6
DIGITAL
DTS ES EX
MPEG AAC
STEREO
PRO LOGIC
DSP
L
C
R
LFE
AUTO
SB CH
ON
MOVIE
MUSIC
OFF
L
S
S
R
S
AUTO
RF
DIGITAL
dB
SIGNAL
SP
A
B
ANALOG
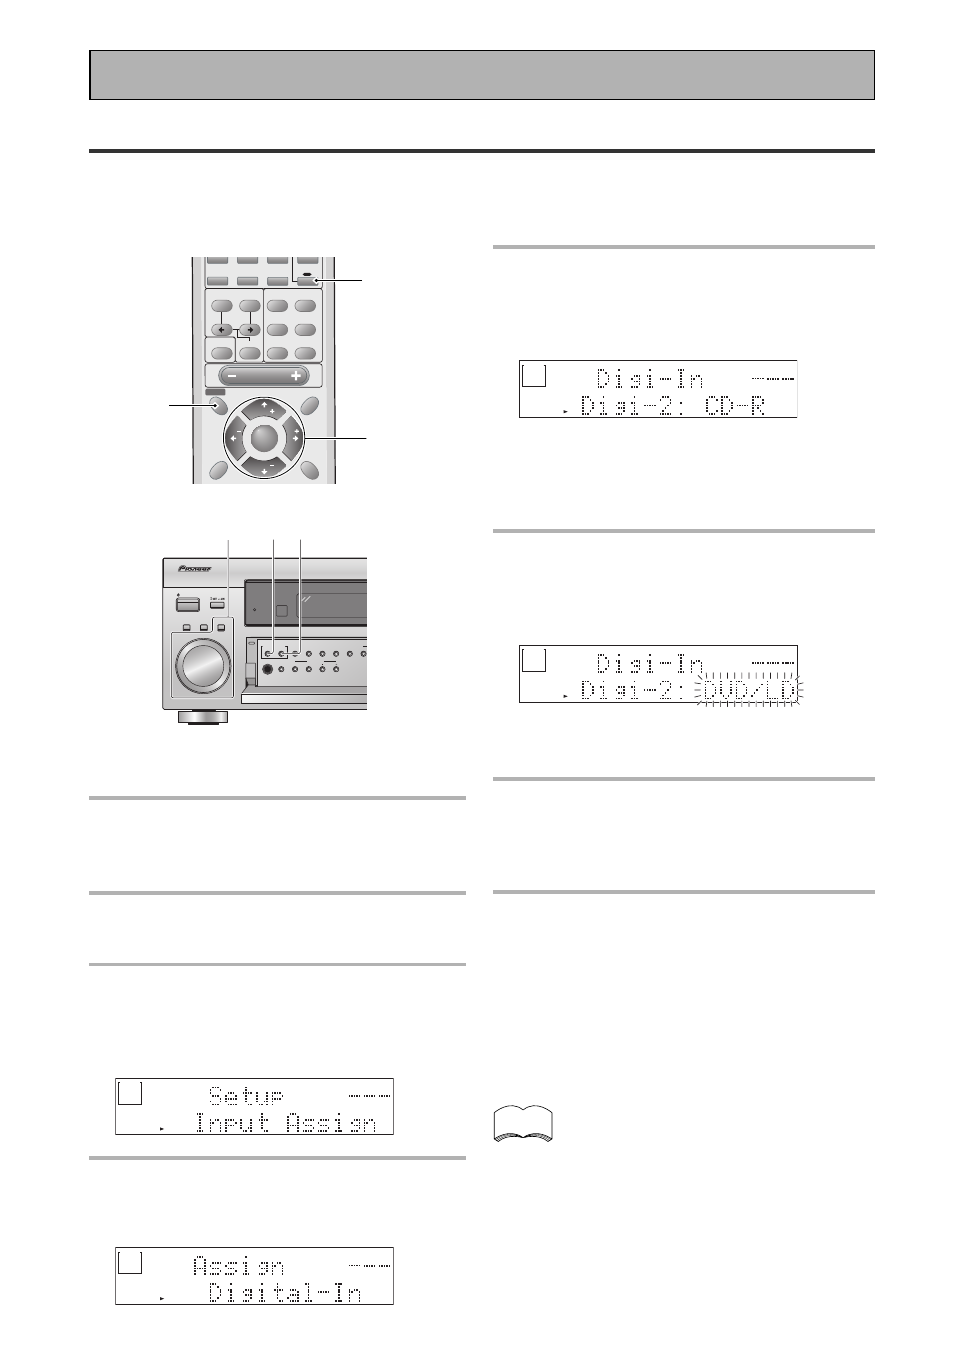
The available digital input settings are:
DIGI-1: TV/SAT, DIGI-2: CD-R,
DIGI-3: DVD/LD, DIGI-4: CD
The selected setting will blink.
6 Use the
5∞ buttons select the
component that you hooked up
to that digital in. Press the
ENTER button.
LOUDNESS
MIDNIGHT
TONE DNR
ATT
STEREO
TUNED
RDS
Hi-BIT/
MULTI-ROOM
SAMPLING
EON
RF ATT
MONO
Neo :6
DIGITAL
DTS ES EX
MPEG AAC
STEREO
PRO LOGIC
DSP
L
C
R
LFE
AUTO
SB CH
ON
MOVIE
MUSIC
OFF
L
S
S
R
S
AUTO
RF
DIGITAL
dB
SIGNAL
SP
A
B
ANALOG
If you're not sure which component is connected
to which digital in, look on the back of the
receiver and check the cables you connected.
7 When you're finished use the
5∞
buttons to select EXIT and press
ENTER.
This exits the DIGITAL-IN SELECT mode.
8 Use the
5∞ buttons to select
EXIT and press ENTER. Then, use
the
5∞ buttons to select EXIT
and press ENTER.
This exits the SYSTEM SETUP mode and returns
to normal operation.
memo
• The possible digital inputs that can be assigned are:
DVD/LD, TV/SAT, VCR1, VCR2, CD, CD-R, MD.
• If you assign a digital input to a certain function (for
example DVD/LD) then any digital inputs previously
assigned to that function will automatically be set to
OFF. This is because one function cannot be assigned
to two different places.
(If you are continuing from page 78 you can skip
the first two steps.)
1 Turn on the receiver, press the
RECEIVER button on the remote
control.
2 Press the SYSTEM SETUP
button.
3 Looking at the display on your
receiver, use the
5∞ buttons to
select INPUT ASSIGN. Press the
ENTER button.
LOUDNESS
MIDNIGHT
TONE DNR
ATT
STEREO
TUNED
RDS
Hi-BIT/
MULTI-ROOM
SAMPLING
EON
RF ATT
MONO
Neo :6
DIGITAL
DTS ES EX
MPEG AAC
STEREO
PRO LOGIC
DSP
L
C
R
LFE
AUTO
SB CH
ON
MOVIE
MUSIC
OFF
L
S
S
R
S
AUTO
RF
DIGITAL
dB
SIGNAL
SP
A
B
ANALOG
4 DIGITAL-IN should be selected, if
not use the
5∞ buttons to select
it. Press the ENTER button.
LOUDNESS
MIDNIGHT
TONE DNR
ATT
STEREO
TUNED
RDS
Hi-BIT/
MULTI-ROOM
SAMPLING
EON
RF ATT
MONO
Neo :6
DIGITAL
DTS ES EX
MPEG AAC
STEREO
PRO LOGIC
DSP
L
C
R
LFE
AUTO
SB CH
ON
MOVIE
MUSIC
OFF
L
S
S
R
S
AUTO
RF
DIGITAL
dB
SIGNAL
SP
A
B
ANALOG
MOVIE
MUSIC
ENTER
SURROUND
MODE
STEREO/
DIRECT
ACOUSTIC
EQ
SB CH
MODE
INPUT
MIDNIGHT
MUTE
MENU
TOP MENU
TEXT ON
TUNER EDIT
GUIDE
SYSTEM
SETUP
AUDIO
RETURN
MULTI CH
INPUT
ST
TUNE
MASTER
VOLUME
ST
TUNE
DVD/LD
ENTER
VCR 2
TV / SAT
C D
VCR1/DVR
TV CONT
TUNER
RECEIVER
2
3-8
1
Assigning the Digital Inputs
If you did not hook up your digital equipment in accordance with the default settings for the digital inputs
(see page 16, 18 & 21) you need to complete the procedure below. You have to do this in order to tell the
receiver what digital equipment is hooked up to which terminal so the buttons on the remote correspond
to what you have hooked up.
STANDBY/ON
MOVIE
MUSIC
MULTI JOG
ENTER
PHONES
SPEAKERS
SIGNAL
SELECT
SB CH
MODE
HI-BIT
HI-SAMPLING
SET UP
RETURN
TONE
TONE CONTROL
BASS/TREBLE
CLASS
BAND
MULTI JOG CONTROL
SELECT
STANDBY
3-8 2
RETURN button