Border erase, Border erase 19 – Xerox DocuColor 2240-1540 User Manual
Page 23
USER GUIDE (S
CAN)
3–19
U
S E R
G
U I D E
(S
C A N
)
Border Erase
The Border Erase feature enables you to eliminate unwanted
marks near the edges of the original from the output copy. The
range for Border Erase is 0 through 50 mm in 1mm increments.
Border Erase offers the following options which can be used
individually or combined together:
Top & Bottom
The default is 5mm.
Left & Right
The default is 5mm.
Center (Gutter)
The default is 5mm.
The selected settings are applied to both Side 1 and Side 2 of 2-
sided copies.
When the image is reduced or enlarged, the selected percentage
will be applied to the border erase.
When making copies the copier always automatically adds a
border erase of 2mm to the top, bottom, left and right. This cannot
be eliminated.
1
Load your originals and select the mailbox for saving the scanned
data.
2
On the Scan Options tab select Border Erase. The Border Erase
screen is displayed.
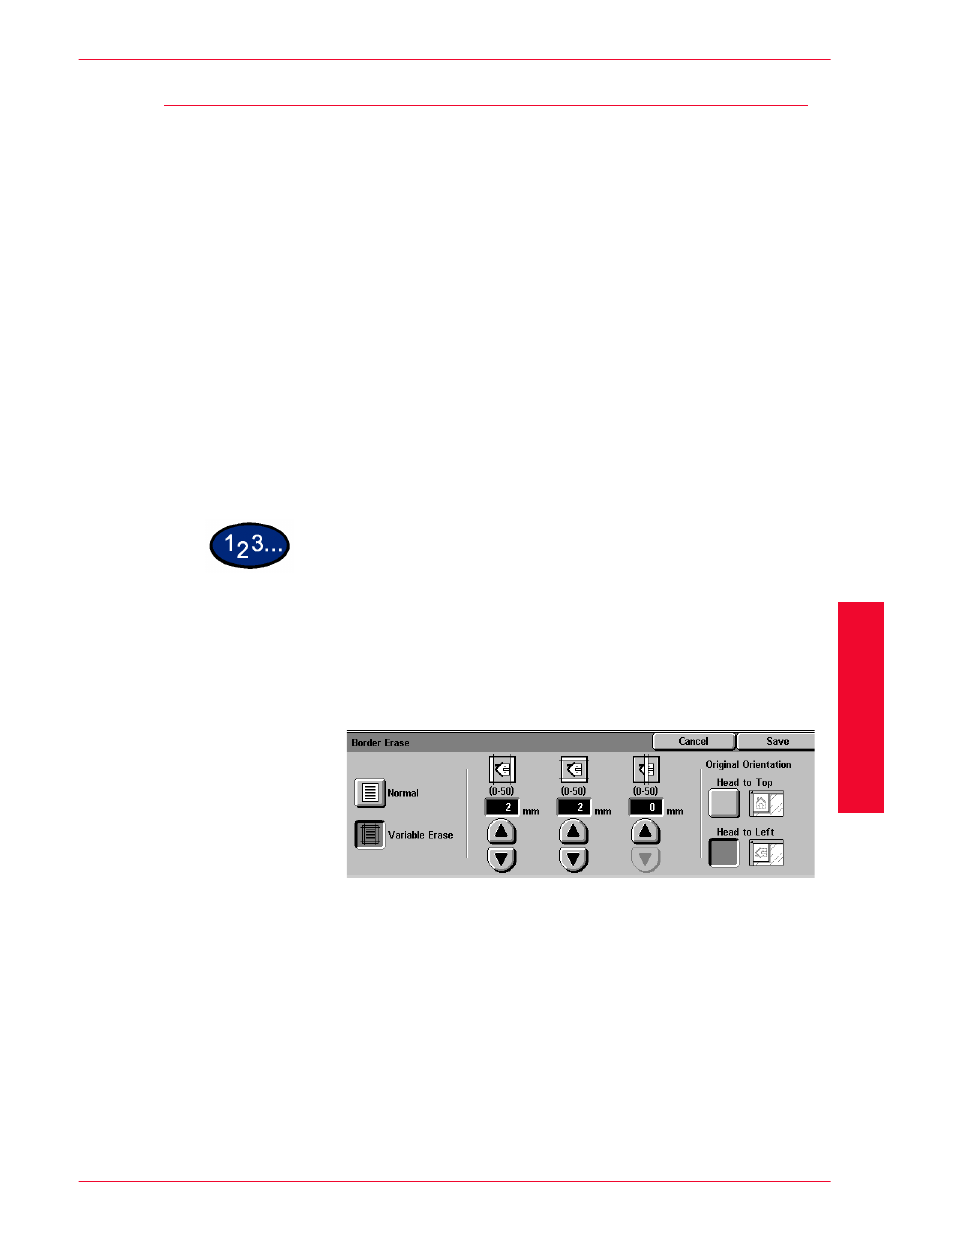
3
Select Normal or Variable Erase.
4
Press the up or down arrows to increase or decrease the Border
Erase amount for Top & Bottom, Left & Right, and Center.
5
Select the icon that most closely resembles the Original
Orientation.
6
Select additional scanning features, or press Start to begin
scanning.