Muxlab Rackmount Balun Chassis 16 User Manual
Specifications, Introduction, Installation
© MuxLab Inc. 2007
Specifications
Environment
Custom audio-video systems in a structured cabling environment.
Application
Head-end installations, audio-video rooms, telecom rooms.
Capacity
Sixteen (16) positions.
Compatible baluns
MuxLab baluns measuring: 2.4” x 2.25” x 1” (6.1 x 5.7 x 2.5 cm).
Orientation
Baluns may be installed front or rear facing.
Snap-in mechanism
Baluns lock into position via spring latch mechanism.
Rack height
2U (3.5”).
Enclosure
Black painted steel.
Mounting holes
Four (4) rackmounting holes
Mounting hardware
Four (4) rackmounting 10-32 screws and washers are included.
Slot Id
Silkscreen on front and rear. Slots numbered “1” to “16”.
Dimensions
19” (W) x 3.5” (H) x 3.0” (D) (48 cm x 8.9 cm x 7.6 cm).
Weight
1.9 lbs (.86 kg).
Standards
EIA/TIA.
Warranty
Lifetime.
Order Information
500900 Rackmount Balun Chassis 16
8114 Trans Canada Hwy, St. Laurent, Quebec, Canada, H4S 1M5
Tel.: (+1) 514-905-0588 Fax: (+1) 514-905-0589
Toll Free (North America): (877) 689-5228
E-mail: [email protected] URL:
www.muxlab.com
94-000615-A
SE-000598-A
Rackmount Balun Chassis 16 (500900)
Installation Guide
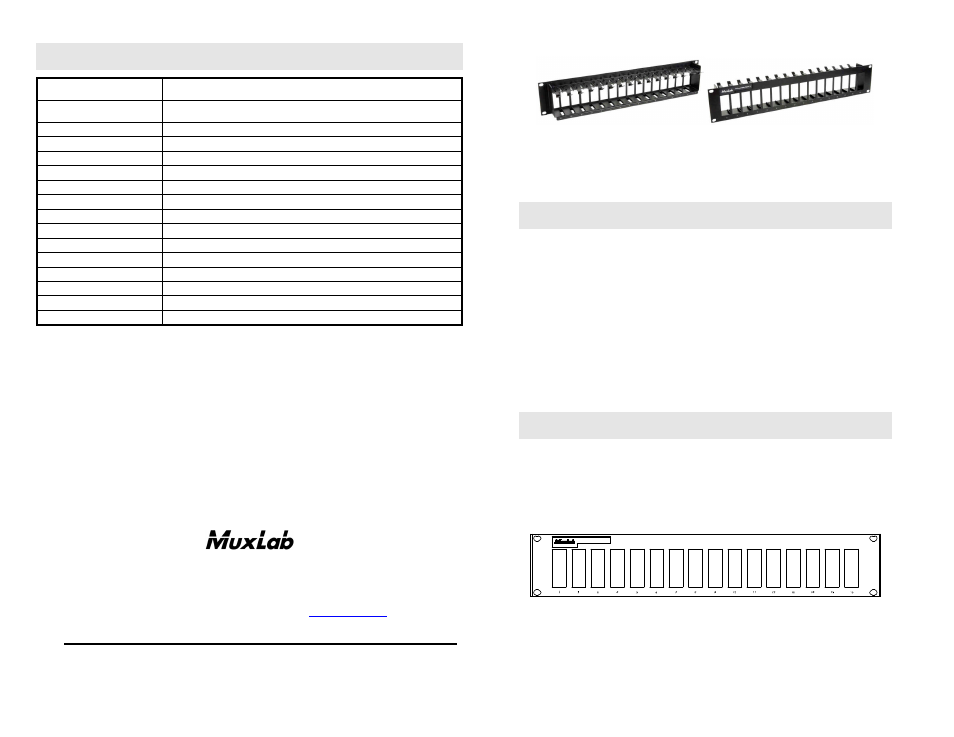
Introduction
The Rackmount Balun Chassis 16 is designed as a head-end cable management
solution, allowing any combination of up to sixteen (16) MuxLab square baluns to be
installed in a standard 19” telecom relay rack. Head-end AV equipment such as DVD
players, video servers and cable boxes may be installed in a local wiring closet and
connected to the Cat5 structured cabling system via a wide array of MuxLab balun
solutions.
The baluns may be installed in either front or rear- facing orientation depending on the
application. At the display end, the appropriate MuxLab baluns are installed at the
receivers to support a fully Cat5 cabling solution. Each balun snaps into place and is
held firmly by a spring latching mechanism. The product features a rugged one-piece
design for ease of installation and maintenance.
Installation
In order to install the Rackmount Balun Chassis 16 (500900), perform the following steps:
1.
Identify the final location of the Rackmount Balun Chassis.
2.
Install the Rackmount Balun Chassis in the 19” relay rack using the 10-32 rack
screws and nylon washers included with the product.
Rackmount Balun Chassis 16