Air hammer safety, Intended use, Unpacking your tool – Silverline Air Hammer Set 5pce User Manual
Page 7: Before use
6
1
Quick Change Spring
2
Trigger
3
Quick Connector
4
Air/Torque Control Dial
Included Accessories:
5
Panel Cutting Chisel
6
Taper Punch
7
Spot Weld Breaker Chisel
8
Ripping Chisel
Product Familiarisation
Additional Safety Instructions for
Pneumatic Power Tools
Air under pressure can cause severe injury:
• Always shut off air supply, drain hose of air pressure and disconnect tool
from air supply when not in use, before changing accessories or when
making repairs
• Never direct air at yourself or anyone else
• Whipping hoses can cause severe injury. Always check for damaged or
loose hoses and fittings
• Whenever universal twist couplings (claw couplings) are used, lock
pins should be installed and whipcheck safety cables should be used
to safeguard against possible hose-to-tool or hose-to-hose connection
failure
• Do not exceed the maximum air pressure stated on the tool
• Never carry an air tool by the hose
Air Hammer Safety
• Air hammers and chisels can produce large amounts of vibration. Some
workpieces (like sheet metal, car body parts, etc.) will amplify sound and
vibration and can start to ring
• Any spectators in the vicinity of the work area must wear eye and
hearing protection
• Chiselling can lead to chips of material flying off, and to dust being
created
• Be aware of paint finishes or treatments that may have been applied to
the material that is being worked on. Many treatments can create toxic
chips or dust, or otherwise harmful substances
• Dusts are particularly hazardous to children, pregnant women, and
people with high blood pressure. Do not allow these people to enter the
work area, even if wearing appropriate personal protective equipment
GB
Intended Use
Air hammer, powered by compressed air from a compressor, designed
primarily for use on vehicle bodywork and similar thin sheet metal
constructions.
Unpacking Your Tool
• Carefully unpack and inspect your tool. Fully familiarise yourself with all
its features and functions
• Ensure that all parts of the tool are present and in good condition. If
any parts are missing or damaged, have such parts replaced before
attempting to use this tool
Before Use
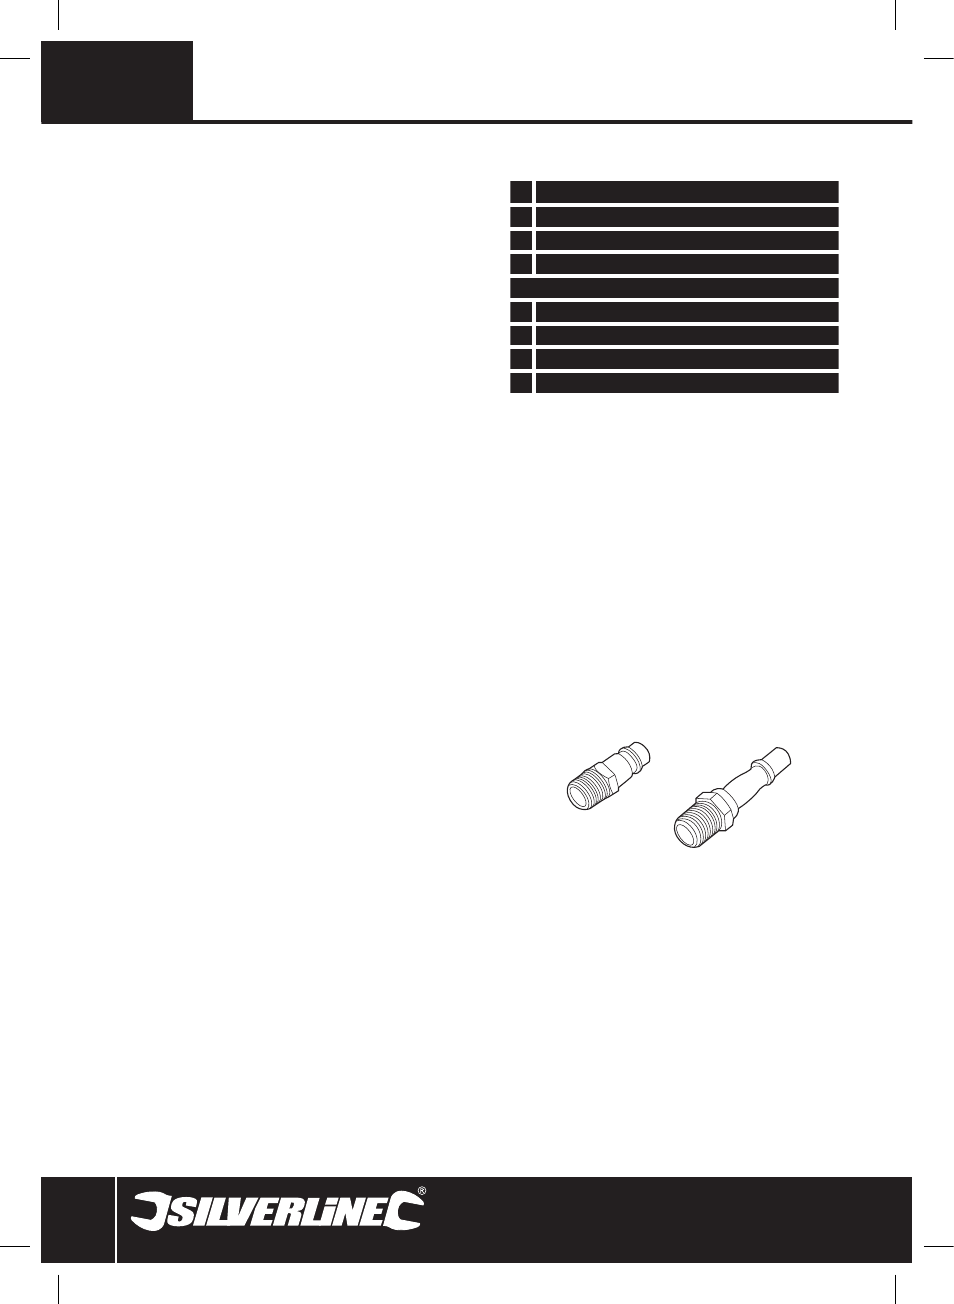
Fitting the quick connector
Note: This tool is supplied with two different male airline quick connectors:
EQ-4 – commonly used in Europe
EN-6 – mainly used in the UK
• Please choose the connector that is compatible with the airline system
you are using, and install as outlined below:
1. Apply PTFE tape (not included) to the screw threads of the Quick
Connector (3). This will help to maintain an air tight seal
Note: Apply PTFE tape tightly and in a clockwise direction, so it does not
come off when the thread is screwed into the tool.
2. Remove the protective plug from the air inlet
3. Using a spanner (not included) screw the quick connector into the air
inlet located at the base of the handle
4. Connect to airline, pressurise carefully and carry out a leak check
(e.g. by spraying small amounts of soapy water on to the outside of
the connectors)
EQ-4
Europe
EN-6
UK
394970_Z1MANPRO1.indd 6
10/07/2013 16:01