Installing the light kit assembly – Minka Group F514-BN User Manual
Page 18
NOTE:Before starting installation, disconnect the power by turning off the circuit
breaker or removing the fuse at fuse box.
Step1. Remove the three outer screws from the switch box plate.(Fig. 17)
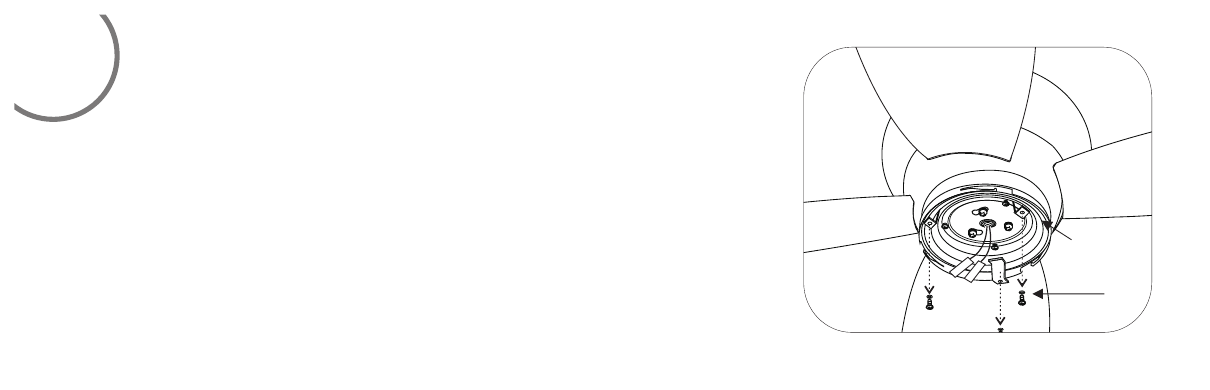
Step2. Connect WHITE(BLUE) wire from switch box plate to WHITE(BLACK) wire from light
kit assembly with the connector.(Fig.18)
Step3. Secure the light kit assembly to the switch box plate with the three outer screws
previously removed.(Fig.18)
NOTE: If you want to install the fan without the light kit assembly, please skip this
intallation process and proceed to Page11 (Fan Without Light Kit Assembly).
9
INSTALLING THE LIGHT KIT ASSEMBLY
Light Kit Warranty
“This Ceiling fan Light Kit Fixture is covered by a Limited 2 year Warranty from the
Manufacturer, effective from the date of purchase. This fixture is warranted against defects in
the quality of the housing, trims, diffuser, shades, and electrical components. Fixture finishes
and/or lamps (bulbs) are expressly excluded from this warranty; refer to bulb manufacturer for
lamp warranty.”
Fig.17
SWITCH BOX
PLATE
OUTER
SCREW