Loadmaster for cisco c-series installation – KEMP Cisco C-Series User Manual
Page 14
Copyright © 2002 - 2014 KEMP Technologies, Inc. All Rights Reserved. Page 14 / 18
LoadMaster for Cisco C-Series Installation
Installation Guide
18. Click the Set Address button.
This interface is optional, depending on the network configuration.
19. Select the Local DNS Configuration > Hostname Configuration menu options.
Figure 2-12 Set Hostname screen
20. In the Hostname configuration screen, enter the hostname into the Current Hostname
input field.
21. Click the Set Hostname button.
22. Click the Local DNS Configuration > DNS Configuration menu option.
Figure 2-13 DNS configuration screen
23. Enter the IP address(es) of the DNS Server(s) which will be used to resolve names locally
on the LoadMaster into the DNS NameServer input field.
24. Click on the Add button.
25. Enter the domain name that is to be prepended to requests to the DNS nameserver into
the DNS NameServer input field.
26. Click the Add button.
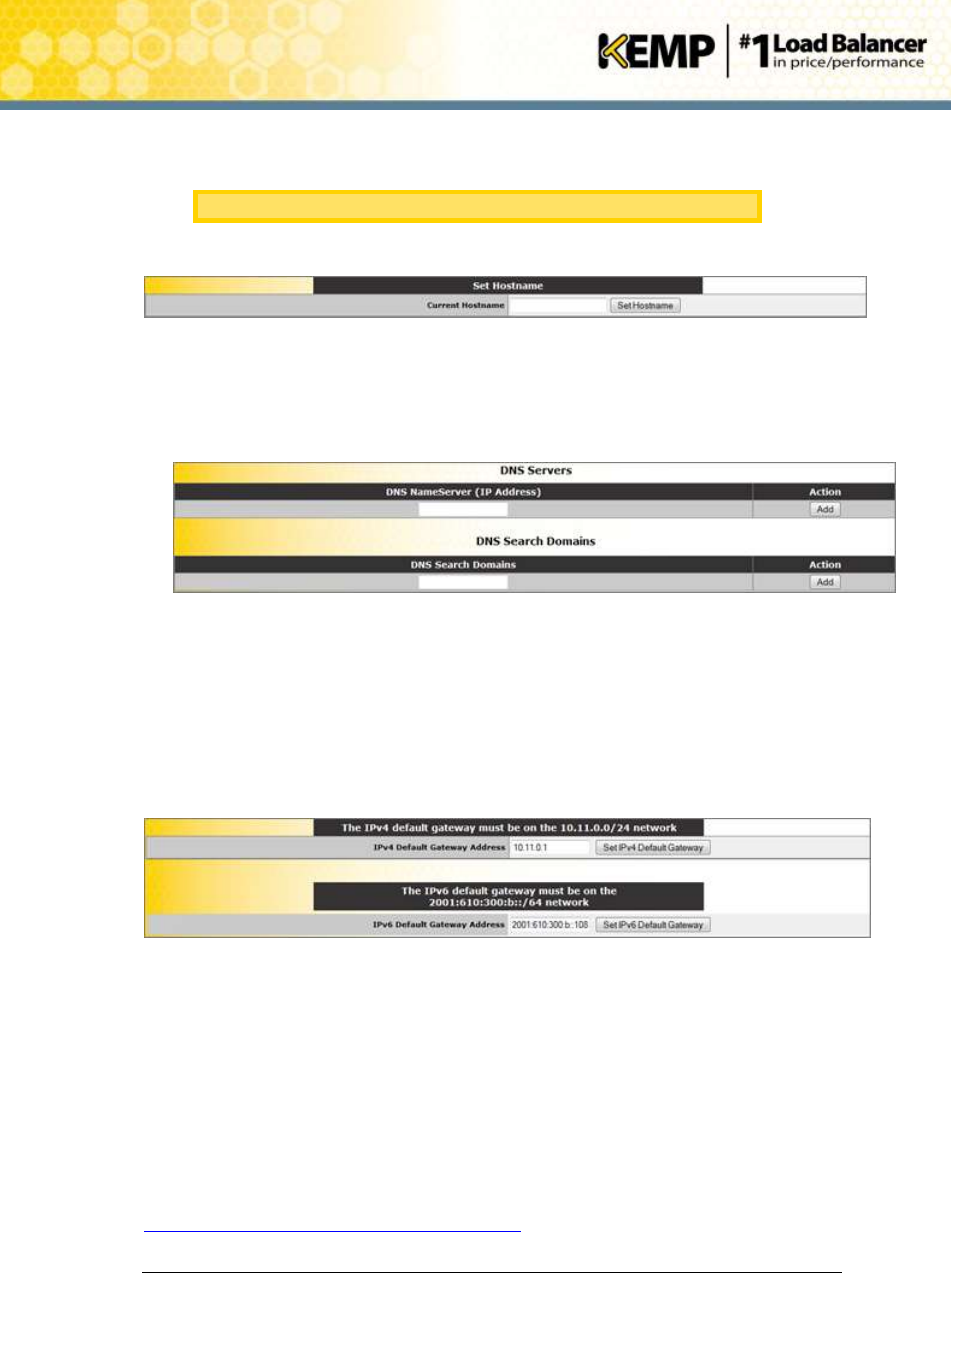
27. Select the Route Management > Default Gateway menu options.
Figure 2-14 Default gateway screen
28. In the DNS configuration screen, enter the IP address of the default gateway into the
IPv4 Default Gateway Address input field.
If you have an IPv6 Default Gateway, please enter the value in the IPv6 Default Gateway
Address input field.
29. Click the Set IPv4 Default Gateway button.
The LoadMaster is now fully installed and ready to be used. For further information on how to
configure and implement the Virtual LoadMaster, please refer to the LoadMaster
documentation which can be downloaded from the
page.