Uploading the ini file to the gateway – AudioCodes MP-118 User Manual
Page 18
MP-11x & Microsoft Office Communications Server 2007
Quick Installation Guide
18
Document #: LTRT-26301
Notes:
•
Ensure that you download the correct ini file so that your gateway is
configured correctly for interoperability with the deployed PBX / PSTN.
•
The gateway configuration for the PBX-Sends-Digits option is similar to the
One-to-Many option. Therefore, for the PBX-Sends-Digits option, download
the ini file for the One-to-Many option.
¾
To download the ini file to your PC, take these 4 steps:
1.
Open your Web browser, and then in the URL address field, enter the following address:
rosoft Office Communications
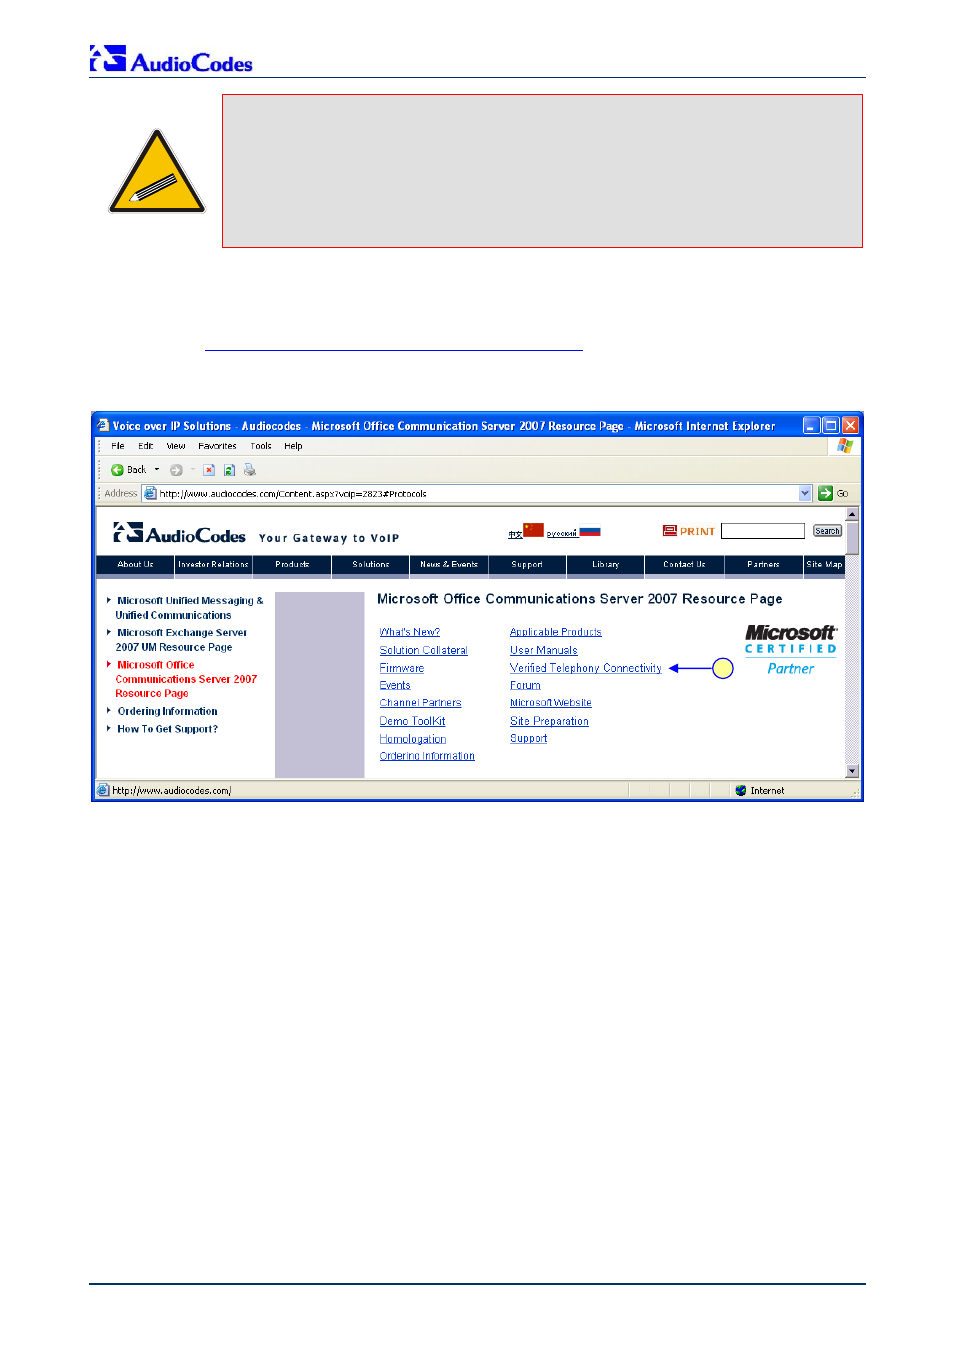
Server 2007 Resource Page' page opens, as shown below:
Figure 3-7: Microsoft Office Communications Server 2007 Resource Page
2.
Navigate to the 'Verified Telephony Connectivity' table (which contains ini files per tested
PBX), by either clicking Verified Telephony Connectivity or scrolling down to the table.
3.
In the 'Download' column, click the ZIP file icon corresponding to the required PBX / PSTN
protocol; the 'File Download' message box appears.
4.
Click the Save button, navigate to the folder on your PC to where you want to download the
file, and then click Save; the file is downloaded to the folder and when complete, the
'Download Complete' message box appears.
3.3.1.2 Uploading
the
ini File to the Gateway
Once you have downloaded the correct ini file from the Web, you need to upload it to the
gateway's non-volatile memory using the gateway's Embedded Web Server.
¾
To upload the ini file to the gateway, take these 6 steps:
1.
Unzip the downloaded ZIP file that you downloaded in the previous section. An ini file (with
the file extension *.ini) is extracted along with any relevant files.
2.
Login to the gateway's Embedded Web Server (refer to Section
3.
Open the ‘Configuration File’ screen (Advanced Configuration menu > Configuration
File
).
2