Installation preparations maintenance, Connecting the power plug to the power outlet, The ice/water dispenser and automatic ice maker – Panasonic NRB54X1 User Manual
Page 13
13
English
Installation
Preparations
Maintenance
Remove all the packing materials and tapes.
Wipe the inside of the refrigerator using a soft cloth which has been dipped in lukewarm water and then
wrung out.
Wash and completely dry the icebox before installing it. (Do not use a dish dryer, hair dryer or other appliance
when drying.)
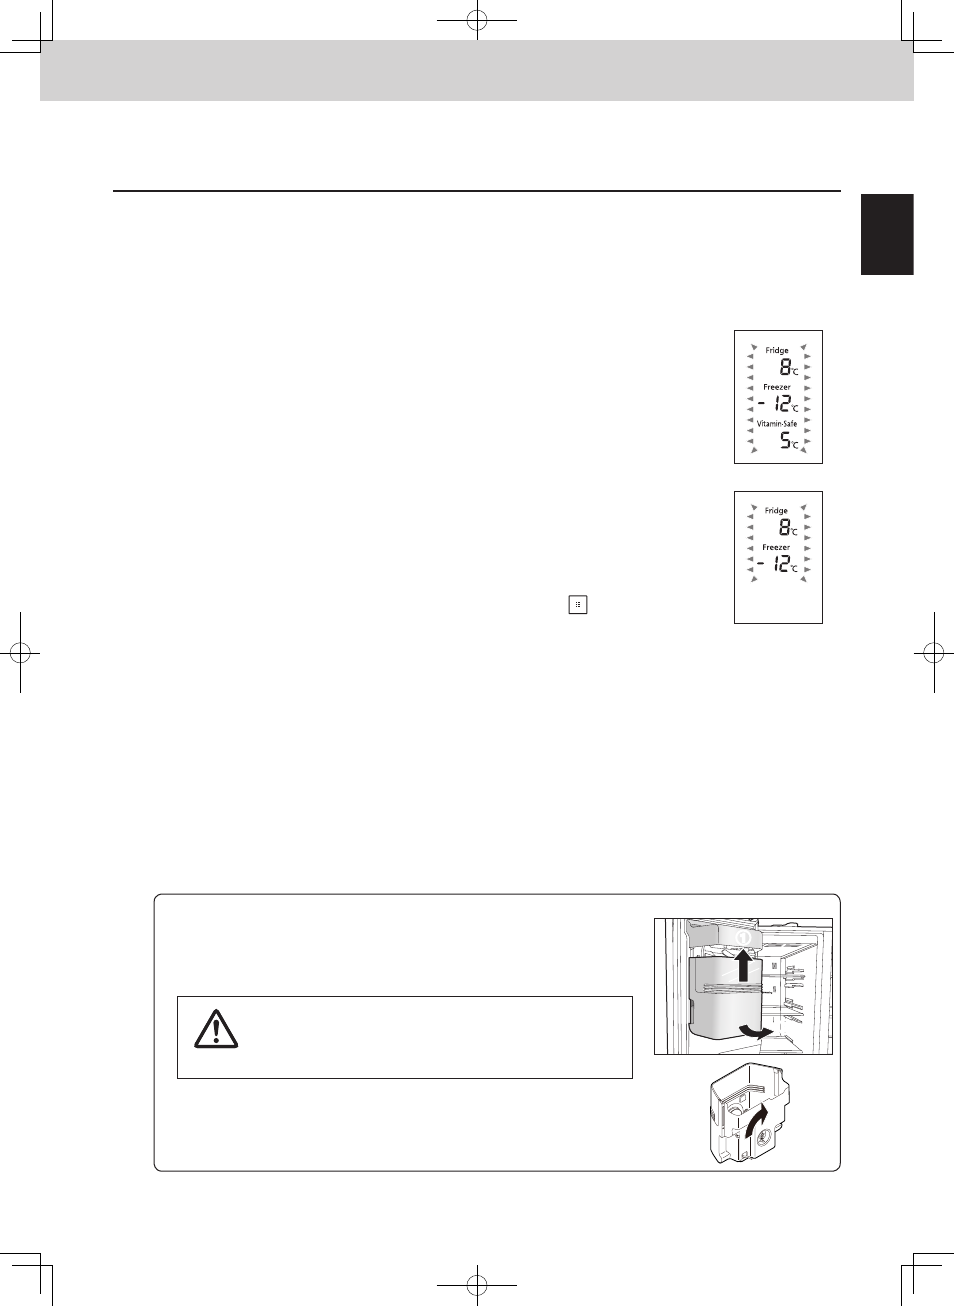
Connecting the power plug to the power outlet
When the power plug is connected to the power outlet, the temperature display starts
flashing as shown in the figure on the right, and cooling starts inside the refrigerator.
The temperatures displayed at this time are not the actual temperatures.
When the temperature inside the refrigerator approaches the set temperature, the
temperature display stops flashing and lights, and it shows the actual temperature.
It takes about half a day to reach the set temperatures (when the room temperature is
around 32 °C, there is no food inside the refrigerator, and the doors are closed).
Place the food inside the refrigerator only after it was confirmed that the refrigerator
compartment had been cooled.
Notes:
● Cooling may take longer in the summer months or at other times when the room
temperature is higher.
● While the temperature display is flashing, the alarm sounds to warn that the
temperature has risen. The alarm can be turned off by pressing
.
● If you need to unplug the refrigerator, wait at least 10 minutes before you plug it back
in again. You might damage the compressor.
(model NR-B53V1)
(model NR-B54X1)
The Ice/Water dispenser and automatic ice maker
Ice must first be made by the automatic ice maker before the Ice/Water dispenser can start dispensing ice.
The automatic ice maker can make six cubes of ice at a time and about 60 cubes of ice a day (although this
will differ depending on the prevailing conditions).
When using the ice maker for the first time, it takes about 8 hours for ice to be made.
Automatic ice-making stops as soon as the icebox becomes full.
Note:
● When using the Ice/Water dispenser and automatic ice maker for the first time, the water or ice may be
discoloured or smell: this is normal and not indicative of any trouble. When water goes around through
the water filter and pipes and other parts inside the refrigerator, these symptoms will disappear so keep
supplying the water and removing the ice from Ice/Water dispenser until the discolouration/smell dissipates.
In some homes, this procedure may have to be repeated a number of times.
How to remove the icebox
● Raise the icebox slightly, and pull the bottom part out toward you. (fig 1)
How to set the icebox
● First align its top part with the automatic ice maker, then push down its
bottom part and insert it firmly into place below as far as it will go.
CAUTION
● Be sure to hold the icebox with both hands.
● Be sure to confirm that the icebox has been set firmly
when installing.
(Fall of icebox may cause injury or trouble.)
When the icebox can not be installed correctly
● Insert the icebox to the original position completely after rotating the knob
90 degrees which located in the back of icebox as indicated in fig 2.
1
2
fig 1
fig 2